@boonies
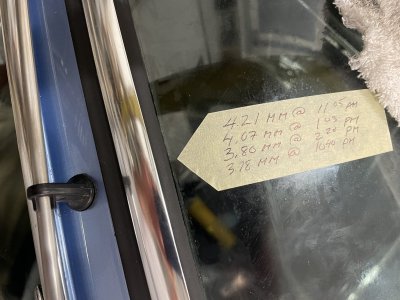
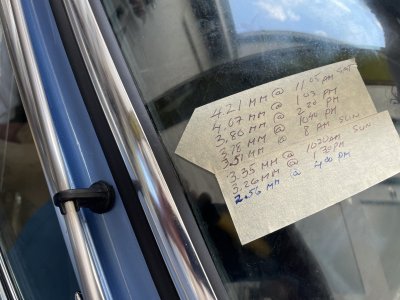
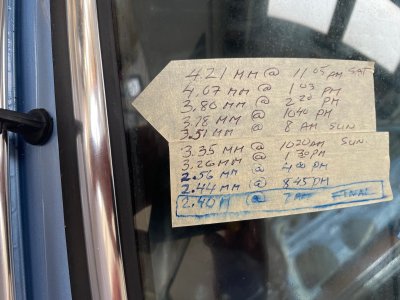
As of 8am PST, we are at 3.51mm and another click of the ratcheting mechanism.
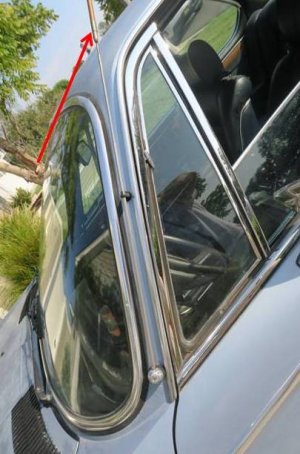
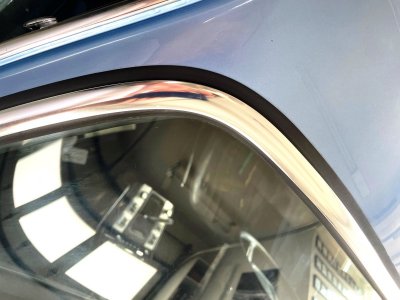
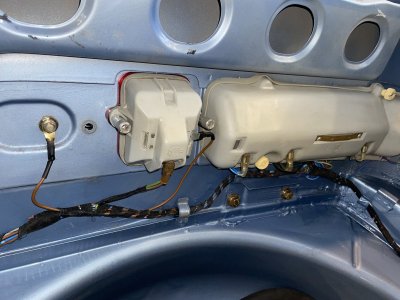
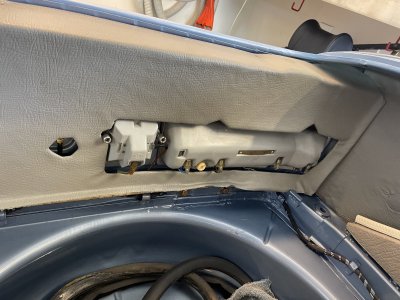
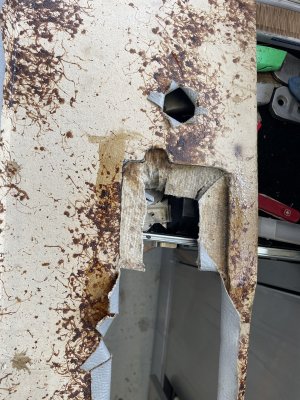
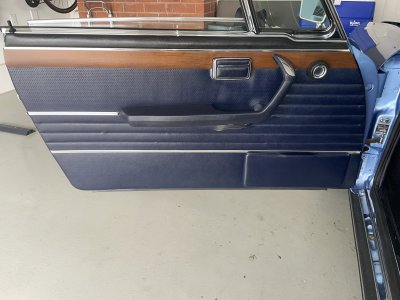
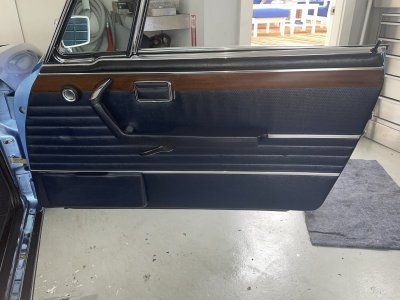
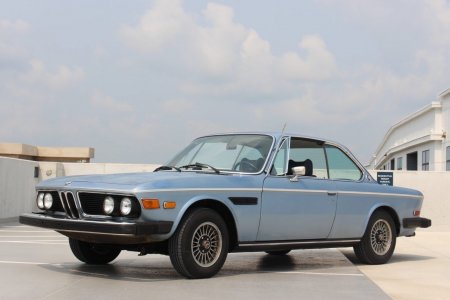
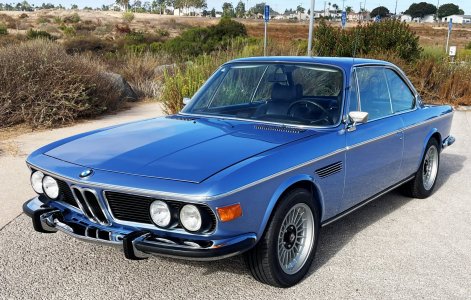
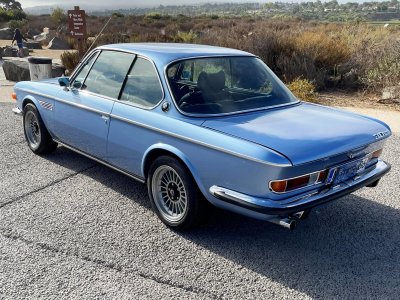
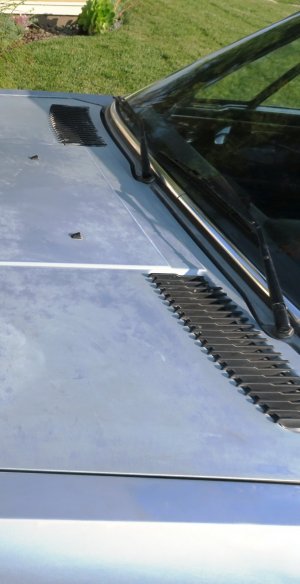
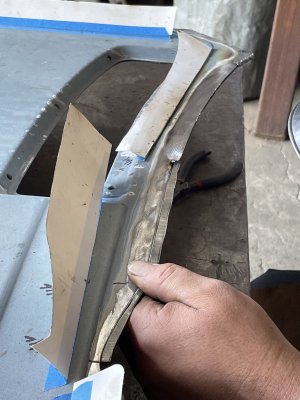
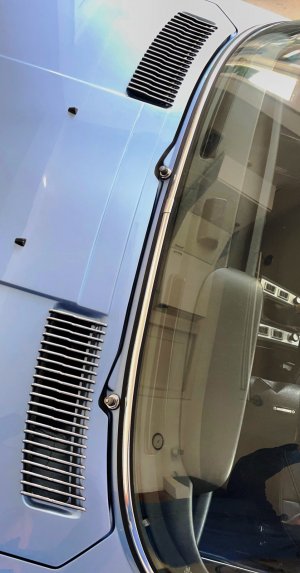
Antenna came on the 'A' pillar. During the body prep phase we did find a patched hole in the top of the left front fender, clearly done in the early days of the coupes life as the touched up paint had 'faded to match' the rest of the cracked (original) clear coat on the surrounding area. I ended up cutting out all of the poorly patched area and welding in a new rectangle.
My 'guess', is the car originally had the fender mounted antenna. Then Patricia installed the CB radio, this is when the antenna moved to the 'A' pillar and they patched the fender.
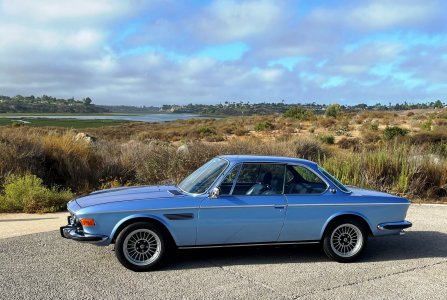
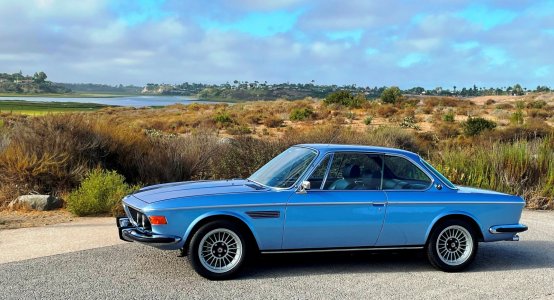
Chris Macha and I really tried to document the car on day one, as it came off the transporter -and well before I got my clammy little grubs on it- idea being to capture all tiny, quirky 'as delivered' features in the 200 + photos that we archived.
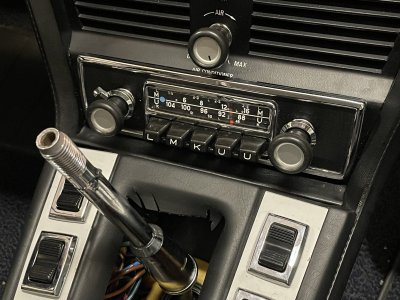
I missed getting a photo of this tip of the antenna but you can see a coil winding at the very tip. There may be some CB or HAM radio experts on the forum who can comment more expertly on what this is, I am assuming this as the antenna, as it was connected to that FINE CB RADIO THAT IS STILL FOR SALE
")