De Q,
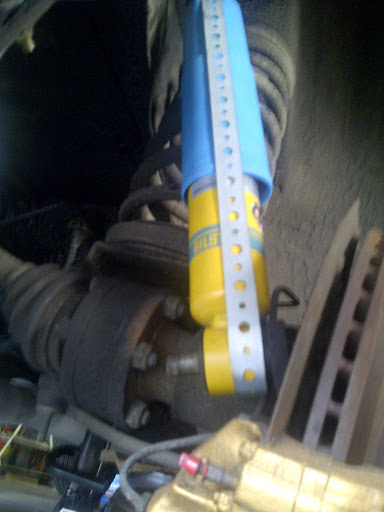
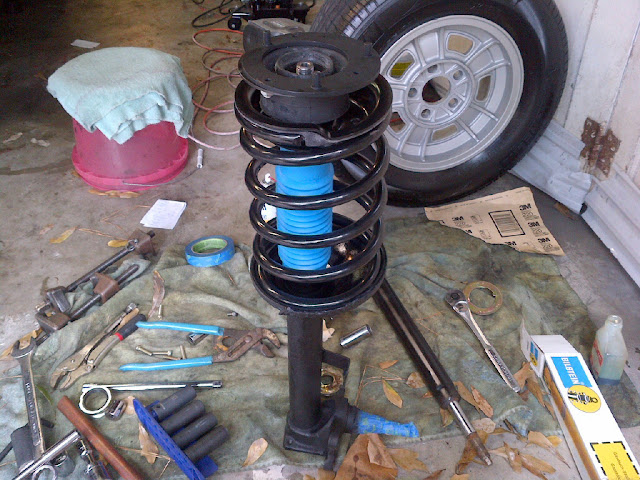
I found it helpful to secure the base of the blue plastic cover to the strut with a black zip tie. Because the diameter of the strut is smaller than the blue cover, you may need to place a piece of thick rubber or plastic tube in between in order to take up the gap. With the cover secured, you can significantly reduce the amount of debris that can damage the shock and seals. You may have done this but it was not mentioned.
Drew
") . Luckily I have access to all the proper equipment so it's just a matter of a few hours. You seem to be at about that stage. BTW, I am grateful for your time spent posting all these pictures-much better than the manual!!
. Luckily I have access to all the proper equipment so it's just a matter of a few hours. You seem to be at about that stage. BTW, I am grateful for your time spent posting all these pictures-much better than the manual!!