The first liners I cut (taken from the originals) were a bit off, so I used them as draft templates to mark up and prepare the second set, The second set now appears to fit and I plan to use contact cement to place them tomorrow. Once I verify the fit I can prepare a master template from a second identical set I prepared and share photos with the group.
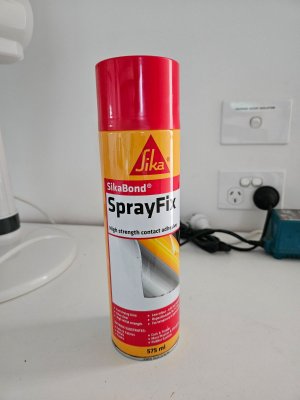
It’s a floppy piece of vinyl applied to a curved surface, so I expect the cementing will be a two step process. First to cement to some anchor points and second to cement the rest. If it all fits well I’ll create a master template from the second set and share pics. And if I get really ambitious I’ll see if I can dimension it.
Pls note I thought my originals were just crude pieces slapped in place, with no cutouts for other than the gas filler, antennae, and some other minor features. I’ve added cutouts for all the belt trim mounting bolts and the bumper end mounting bolts, though not for rear side markers as I have none. These cutouts serve as anchor points to align the liners, and I’ve added generous clearances around these features as alignment while cementing will be challenging.
Also these liners are only cosmetic and serve no functional purpose, so I have not tried to completely mimic the originals but rather improve on them. While they will fit my car and will be completely acceptable to me, I do expect some perfectionists could take it to another level……..
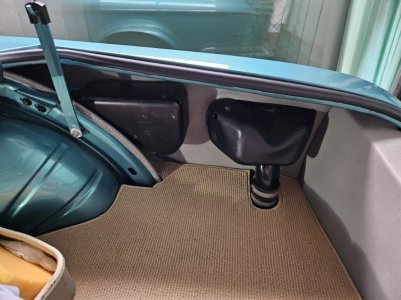
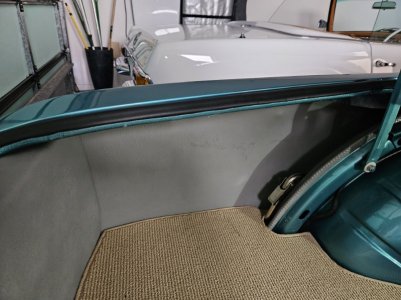
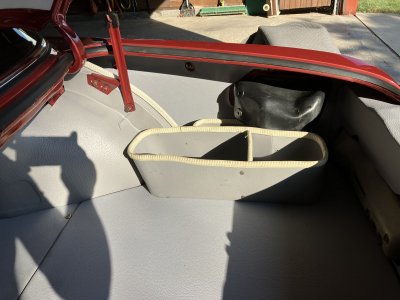
Original liners:

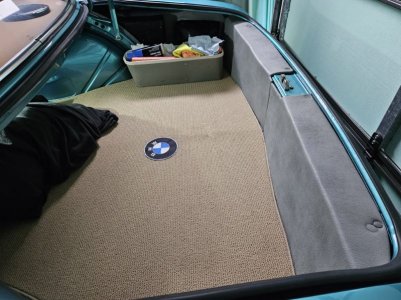
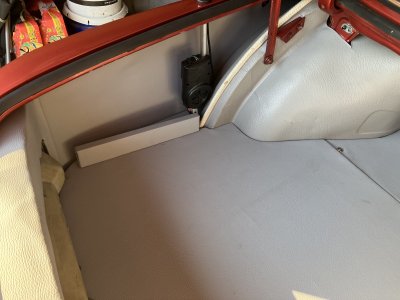
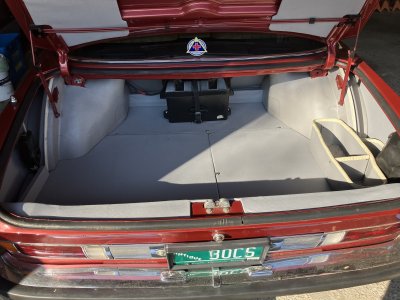
Current Master liners:

It’s a floppy piece of vinyl applied to a curved surface, so I expect the cementing will be a two step process. First to cement to some anchor points and second to cement the rest. If it all fits well I’ll create a master template from the second set and share pics. And if I get really ambitious I’ll see if I can dimension it.
Pls note I thought my originals were just crude pieces slapped in place, with no cutouts for other than the gas filler, antennae, and some other minor features. I’ve added cutouts for all the belt trim mounting bolts and the bumper end mounting bolts, though not for rear side markers as I have none. These cutouts serve as anchor points to align the liners, and I’ve added generous clearances around these features as alignment while cementing will be challenging.
Also these liners are only cosmetic and serve no functional purpose, so I have not tried to completely mimic the originals but rather improve on them. While they will fit my car and will be completely acceptable to me, I do expect some perfectionists could take it to another level……..
Original liners:
Current Master liners:
")