My torsion bar is a PIA to replace and also so tight between the hood attachment sites that it will scratch the crap out of my new paint. I threw on an old E24 hood shock and it handles the E9 hood with ease ( angle such that it cannot close using current attachment sites). Has anyone finally figured this out with an optimal solution, type of shock, location etc? Some of the pictures from old posts seem to have the hood shock right in the way if you needed to work in the engine bay.
You are using an out of date browser. It may not display this or other websites correctly.
You should upgrade or use an alternative browser.
You should upgrade or use an alternative browser.
Is There an Update on Hood Shocks?
- Thread starter bavbob
- Start date
Roger S
Well-Known Member
My torsion bar is a PIA to replace and also so tight between the hood attachment sites that it will scratch the crap out of my new paint. I threw on an old E24 hood shock and it handles the E9 hood with ease ( angle such that it cannot close using current attachment sites). Has anyone finally figured this out with an optimal solution, type of shock, location etc? Some of the pictures from old posts seem to have the hood shock right in the way if you needed to work in the engine bay.
Do a search on the o2FAQ for "torsion bar." They have many posts on installing, tightening, etc. I referred to these posts when I reinstalled mine but also had an extra set of hands.
This link speaks to positioning, i.e., identifying top/bottom, left/right. Hope this is helpful.
Hood Torsion Bar Mystery Solved
Several weeks ago I reached out/begged to those on the site if they any experience with hoods that would not close because of torsion bar hinges that would not fold neatly under the hood and instead collided with the top of the fender. Thanks to Bill Williams and Michael Hollister (Dubois) and sl...
 www.bmw2002faq.com
Roger S
Well-Known Member
Bob, which hood support did you decide on or will you back OEM with the torsion bar?
We had discussed/cautioned but I went to take another look at orientation and fitment in case you opted to return to OEM (and for ease of search for future persons, the embedded link). I noticed a mark on my o2 fender and on the Malaga. PITA. As it's more of a resto light mod, if I had to do it again, I would do springs and save the paint job.
We had discussed/cautioned but I went to take another look at orientation and fitment in case you opted to return to OEM (and for ease of search for future persons, the embedded link). I noticed a mark on my o2 fender and on the Malaga. PITA. As it's more of a resto light mod, if I had to do it again, I would do springs and save the paint job.
i WOULD GUES YOUVE SEEN THIS AND REALLY ITS NOT AT ALL IN THE WAY WHEN YOU WORK THERE
AND IT FITS PERFECT ITS 19" LONG AS ITS TOO LOW TO MATTER EASY TO REACH OVER AND WORK

AND IT FITS PERFECT ITS 19" LONG AS ITS TOO LOW TO MATTER EASY TO REACH OVER AND WORK
i was looking for a pic that i saw of 2 gas shocks that were mounted vertically in front of the radiator and connected up to the horizontal hood brace above. it seemed really clean and out of the way ... except to put in / remove the a/c fan
Roger S
Well-Known Member
Hi Allen, if Bob made a selection and/or if someone else listed recommended sizes and vendors, it's just easier for future queries. Thank you for stating size (19") and posting your image of a passenger side mount. Similarly, to Scott's point, if Doug or someone else has detailed pictures (both sides and closer, especially on 3.5 swaps with an air box and AC) it would be good to have it in one thread so future searches don't have to refer back to other threads. Especially as older posts often used photobucket and images are now unavailable.
Trying to keep in mind legacy, making posts worthwhile, and how valuable this forum is to many who don't post/ask questions. Many of the older intact pictorial posts are heaven sent for those who do not have the confidence or technical/mechanical acumen of some other forum members but would like to do some of their own work. FWIW, I find the search feature and pictorials very useful and enables me to not post redundant concerns.
Trying to keep in mind legacy, making posts worthwhile, and how valuable this forum is to many who don't post/ask questions. Many of the older intact pictorial posts are heaven sent for those who do not have the confidence or technical/mechanical acumen of some other forum members but would like to do some of their own work. FWIW, I find the search feature and pictorials very useful and enables me to not post redundant concerns.
Last edited:
You've seen this thread, right?
 e9coupe.com
Has anyone ever..
Used pressurized pistons to keep the hood open on their e9? I know the proper way is to use the torsion bar set-up, but it's so clumsy and since I have already deleted the battery tray among other non-purist modifications I figured I'd like to try to clean up that part of the hood area. Please...
Roger S
Well-Known Member
Thank you for posting the link, Bo. I don't recall but now it's here. Once the car is running I will revisit the hood supports. It only came up as I was discussing torsion bars with Bob and saw this post.
Allen, thanks for sharing the picture. I trust my explanation for posting, i.e., in case Bob wanted to revisit using the torsion bar, and process in legacy posting wasn't miscontrued as unappreciative.
Allen, thanks for sharing the picture. I trust my explanation for posting, i.e., in case Bob wanted to revisit using the torsion bar, and process in legacy posting wasn't miscontrued as unappreciative.
Last edited:
I remember that pic. Can’t find it anymore. It was a very clean install.i was looking for a pic that i saw of 2 gas shocks that were mounted vertically in front of the radiator and connected up to the horizontal hood brace above. it seemed really clean and out of the way ... except to put in / remove the a/c fan
I finally figured out a simple system to "pre-load" the original torsion bar. It is a variation of that first posted by deQ a while back. I inquired about hood shocks in a moment of weakness. I apologize for lack of step by step images since I did not intend to post a DIY initially. I also realize there are already posts on this but even with reading those (and contacting deQ directly), I still had a hard time.
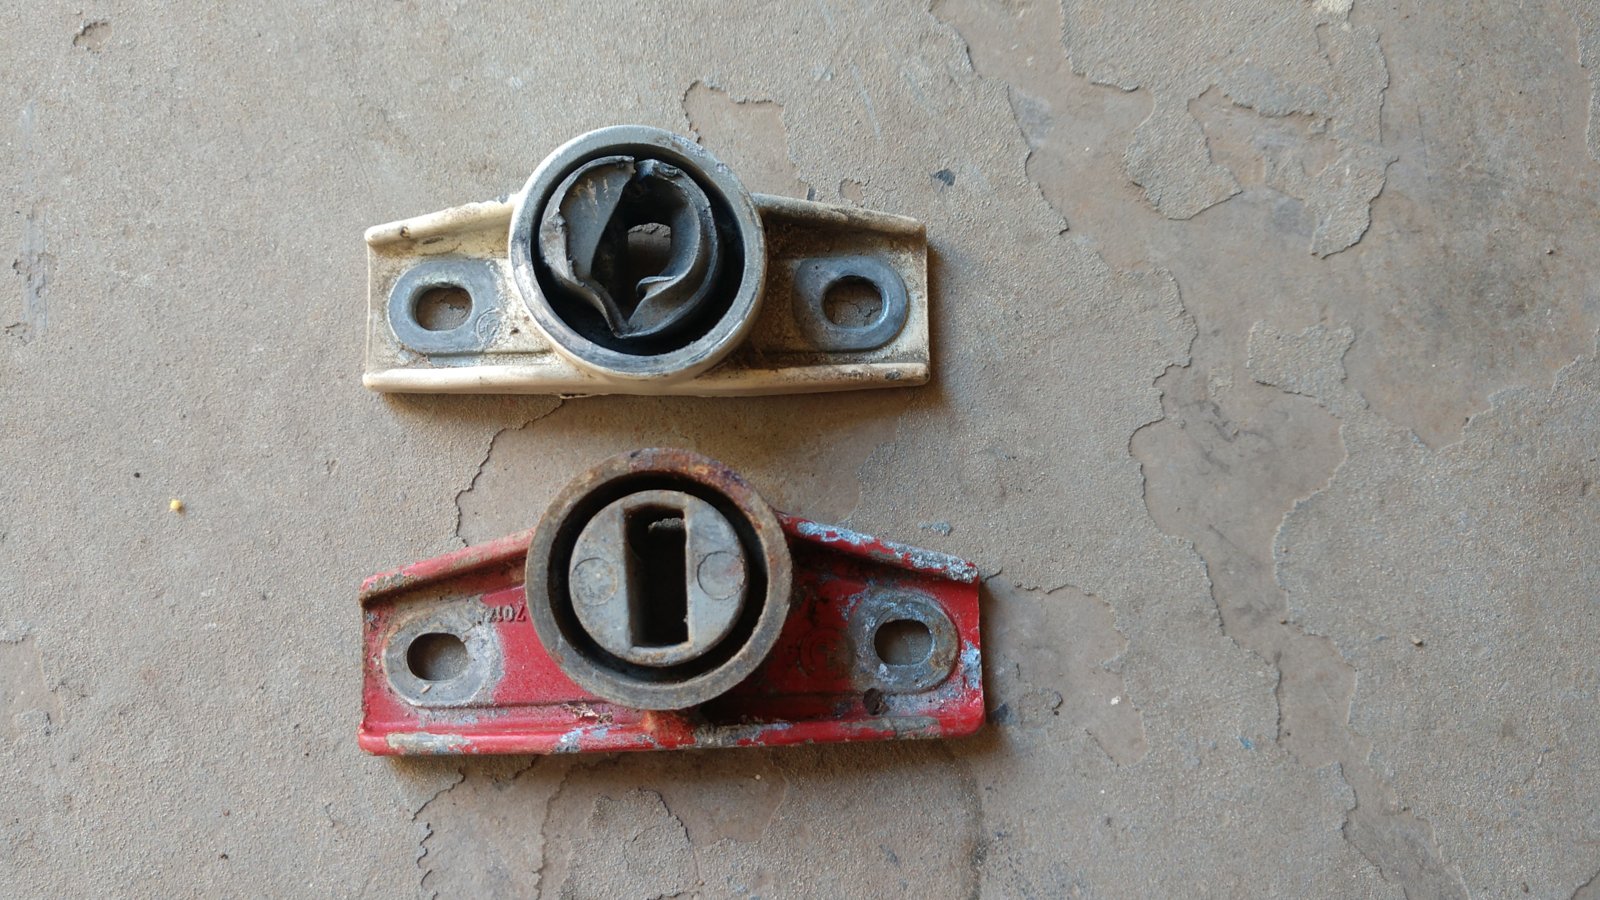
1) The "L" brackets on the original bar are not only too flimsy to hold the pre-loaded bar, the "L" portion that hooks under the bar's arm to hold this mousetrap in place, was too short. What I found was that when I placed the entire end bracket onto the torsion bar end, it sits flush but when you torque it to load it, it will twist enough that it no longer sits flush. Because of this, the "L" bracket would not extend across the bar's arm. You can see here that the horizontal portion of the "L" bracket barely extends across the arm of the bar. No way that is going to hold when you try to preload this thing.

2) Off to Home Depot to buy a piece of rebar, 1.25 inches wide, .15 inched thick, much thicker than the original "L" bracket. I used this to make two new "L" brackets that were longer along their horizontal parts as shown here . Forgive my dull drill bits that caused some "wondering" when drilling the holes to fit the M6X1.0 bolts that hold it to the rest of the end bracket. You can toss these and use OEM once the bar is installed.

2) Next, I used the same rebar ( and yes, the same drill but that wanders) to drill 2 holes to attach to the entire end bracket to the rebar using 2, M6 bolts. I have circled where I joined the rebar to the end bracket of my un-installed bar on this already installed bar.

3) Picture the torsion bar uninstalled, placed vertically like a flag pole with one of the end brackets in placed and then attached to the rebar (see below) using the locations circled in the image above. This is a variation on deQ's where he attached to the aluminum portion of the end bracket. The rebar is held by the vise so now you can rotate the torsion bar using its arm while the end bracket is fixed by the rebar. I found rotating the arm was not that hard, using just one hand. Now get the larger and heavier "L" bracket to lock onto the arm. "L" is shown on end above, just to the right of the lower blue circle. This approach is different from deQ in that he rotated the end bracket with the torsion bar fixed while I rotated the torsion bar and fixed the end bracket instead.

4) You need to use longer M6x1.0 bolts to attach the homemade "L" bracket to its end bracket since it is thicker than the original (I think deQ mentioned this). You also need to start with attaching it at only one place so it can pivot so it clears the torsion bar arm initially and then can be rotated into place to place the second M6 bolt. Tighten up both bolts and your mousetrap is set.
5) Once you do the other end, you can install and then replace the homemade "L" brackets with stock. The stock have ovoid holes so the bracket can be moved up or down to adjust when it hits the arm of the torsion bar and thus, adjust how much you want the hood to open.
Keys for me were making the longer "L" brackets, using longer M6 bolts and knowing that the brackets at each end of the bar, once fitted, have to be rotated CLOCKWISE or in my case since they were fixed by the rebar, the torsion bar rotated COUNTERCLOCKWISE.
1) The "L" brackets on the original bar are not only too flimsy to hold the pre-loaded bar, the "L" portion that hooks under the bar's arm to hold this mousetrap in place, was too short. What I found was that when I placed the entire end bracket onto the torsion bar end, it sits flush but when you torque it to load it, it will twist enough that it no longer sits flush. Because of this, the "L" bracket would not extend across the bar's arm. You can see here that the horizontal portion of the "L" bracket barely extends across the arm of the bar. No way that is going to hold when you try to preload this thing.
2) Off to Home Depot to buy a piece of rebar, 1.25 inches wide, .15 inched thick, much thicker than the original "L" bracket. I used this to make two new "L" brackets that were longer along their horizontal parts as shown here . Forgive my dull drill bits that caused some "wondering" when drilling the holes to fit the M6X1.0 bolts that hold it to the rest of the end bracket. You can toss these and use OEM once the bar is installed.
2) Next, I used the same rebar ( and yes, the same drill but that wanders) to drill 2 holes to attach to the entire end bracket to the rebar using 2, M6 bolts. I have circled where I joined the rebar to the end bracket of my un-installed bar on this already installed bar.
3) Picture the torsion bar uninstalled, placed vertically like a flag pole with one of the end brackets in placed and then attached to the rebar (see below) using the locations circled in the image above. This is a variation on deQ's where he attached to the aluminum portion of the end bracket. The rebar is held by the vise so now you can rotate the torsion bar using its arm while the end bracket is fixed by the rebar. I found rotating the arm was not that hard, using just one hand. Now get the larger and heavier "L" bracket to lock onto the arm. "L" is shown on end above, just to the right of the lower blue circle. This approach is different from deQ in that he rotated the end bracket with the torsion bar fixed while I rotated the torsion bar and fixed the end bracket instead.
4) You need to use longer M6x1.0 bolts to attach the homemade "L" bracket to its end bracket since it is thicker than the original (I think deQ mentioned this). You also need to start with attaching it at only one place so it can pivot so it clears the torsion bar arm initially and then can be rotated into place to place the second M6 bolt. Tighten up both bolts and your mousetrap is set.
5) Once you do the other end, you can install and then replace the homemade "L" brackets with stock. The stock have ovoid holes so the bracket can be moved up or down to adjust when it hits the arm of the torsion bar and thus, adjust how much you want the hood to open.
Keys for me were making the longer "L" brackets, using longer M6 bolts and knowing that the brackets at each end of the bar, once fitted, have to be rotated CLOCKWISE or in my case since they were fixed by the rebar, the torsion bar rotated COUNTERCLOCKWISE.
Hi guys,
I too am planning on moving to this for my hood in the next week or two. I was looking here first to see if anyone has any model numbers that work well, but It seems that there isn't a bunch of information yet. I too prefer the top photo method as the engine bay mount is further forward out of the way. Of course you can see from my avatar that I don't have a lot to tinker with up there, but I still think it is the cleanest approach. It looks to me that that unit is only 12" long when closed.
Would be great to keep a resource here for those of us wanting to go this direction.