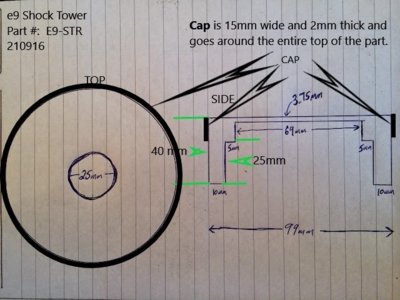
I have been collaborating with @Stevehose to create a 3D model that can be used to CNC the shock tower reinforcement cap. I've had the model created and added a 15mm lip around the top to make it easier to fit and weld. I've done some research into having them made out of mild steel rod and it cost about $50 each plus shipping. That price is for 26 pieces or enough for 13 vehicles. So the total would probably be around $125 for a set shipped.
If anyone knows a machinist that can do this for less and is stateside, that would be much better as far as quality control and shipping goes.
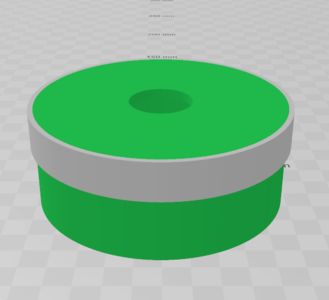
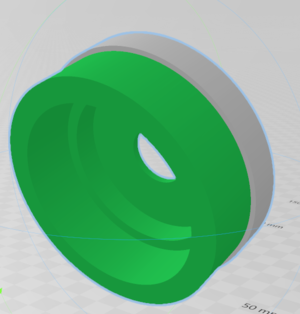
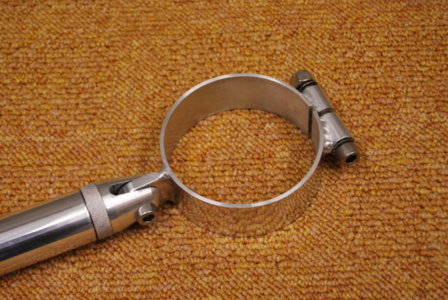
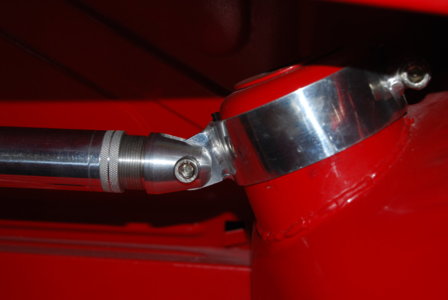
Here are some pics of the reinforcement cap.
If anyone knows a machinist that can do this for less and is stateside, that would be much better as far as quality control and shipping goes.
Here are some pics of the reinforcement cap.