Bwana
Well-Known Member
Don't think this has been fully documented. deQuincey set the bar pretty high with his rear window overhaul so I'll try to match it. Unfortunately my photoshop skills are lacking so you'll just have to study the pictures.
The instructions in the blue service manuals are next to useless unless you've already done the job a coule of times.") Then they make sense.
Then they make sense.
Step one: remove the door panel. This is no more than popping out the plastic pins from the door frame. If this is the first time around, you'll probably have some pull out of the cardboard panel instead of pulling out from the door. Watch out for any small screws used to hold the panel in. I had one located in the rear upper part of the panel on the drivers side, nothing on the passenger side. You don't have to take off the wood trim or wing window knob, the panel fits in underneath it. I also removed the ashtray for good measure.

You can see the gap under the wood trim here


Before I started, I measured the voltage at the drive motor while it was in action. Turns out to be about 7 VDC. No wonder these motors go so slow!
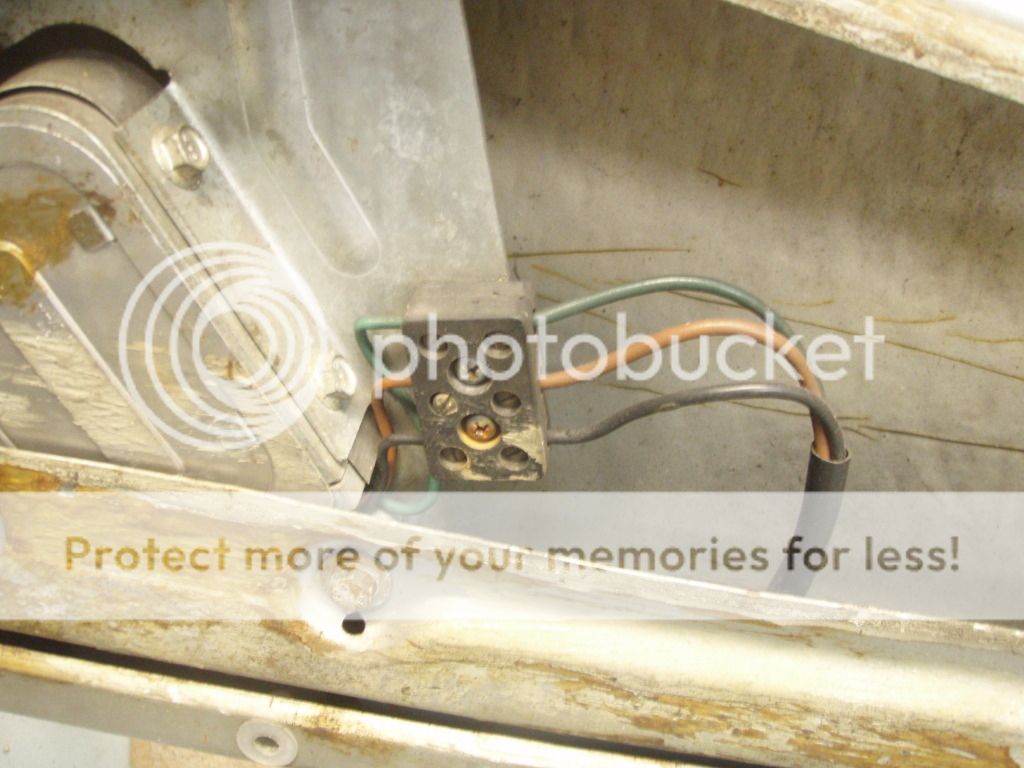
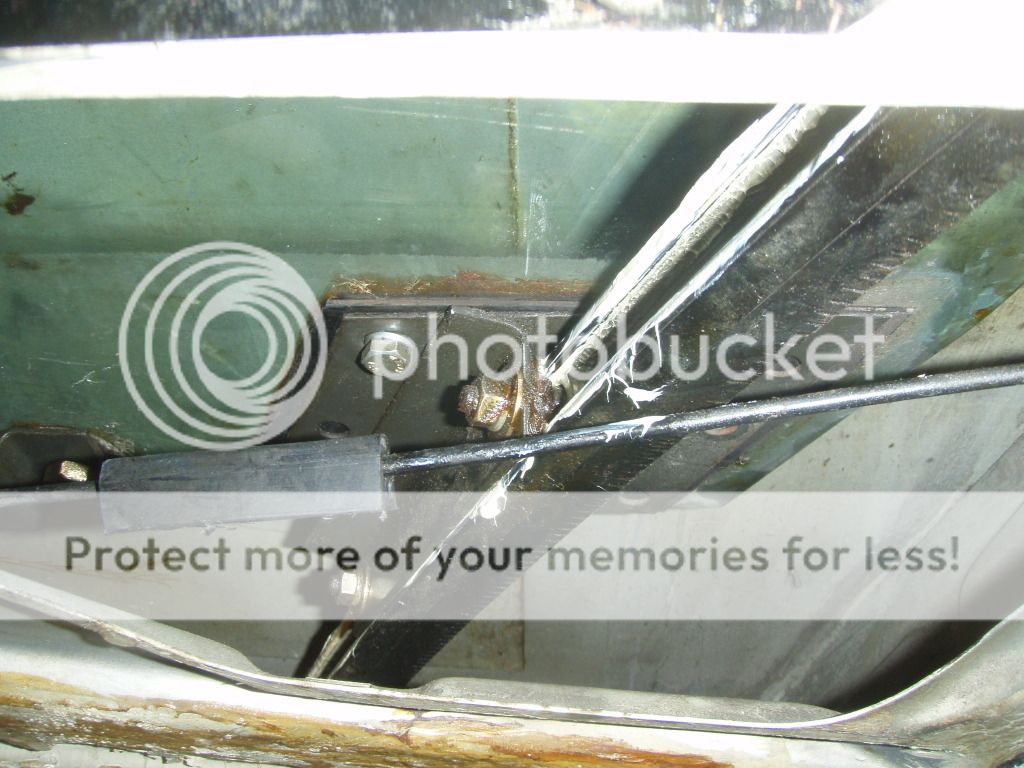
Next, I'll make a long story short. I partly disassembled pretty much the whole window assembly in one way or another. There are two sets of bolts in the window, one that holds the lift mechinism to the window, the other that hold the guide shoes to the window. Don't mess with either. The short answer is to remove the four bolts that hold the motor drive to the door. You can see them here at the upper and lower corners.
The ty-wrap holds the wiring harness up against the door so it soesn't get into the drive. Once the assembly is loose, you wiggle the lift arm around until the flange at the end can come thru the enlarged slot at the end of the lift plate. Easy peasy removal although you might get a helper to hold up the window until the drive assembly is removed.

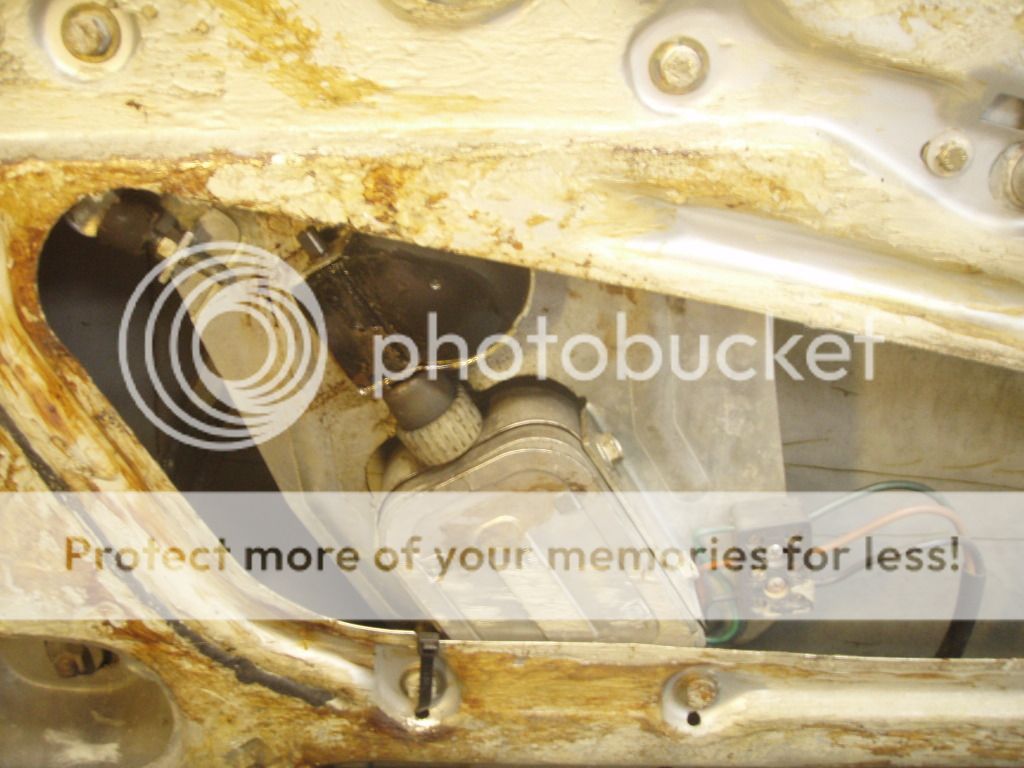
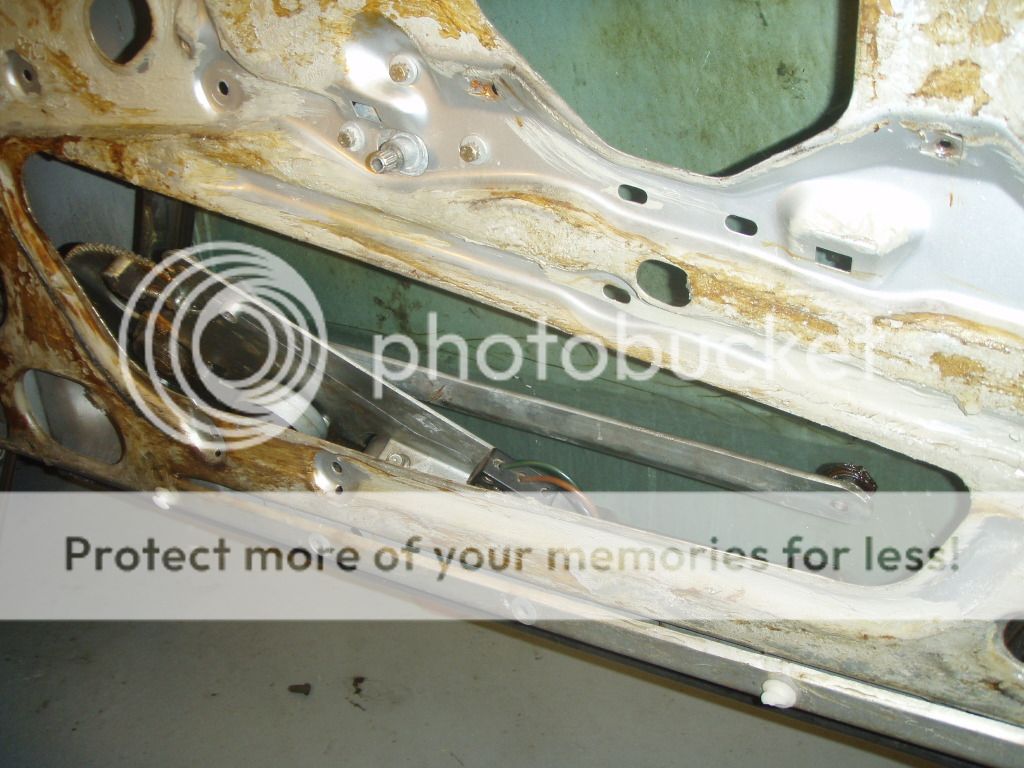
Next, drop the lift arm via the switch to get it parallel with the door so you can take the whole assembly out of the door. I started with the window in the "up" position so I could reach everything but then the lift arm is in the wrong position. Here you can also see where the four bolts were.
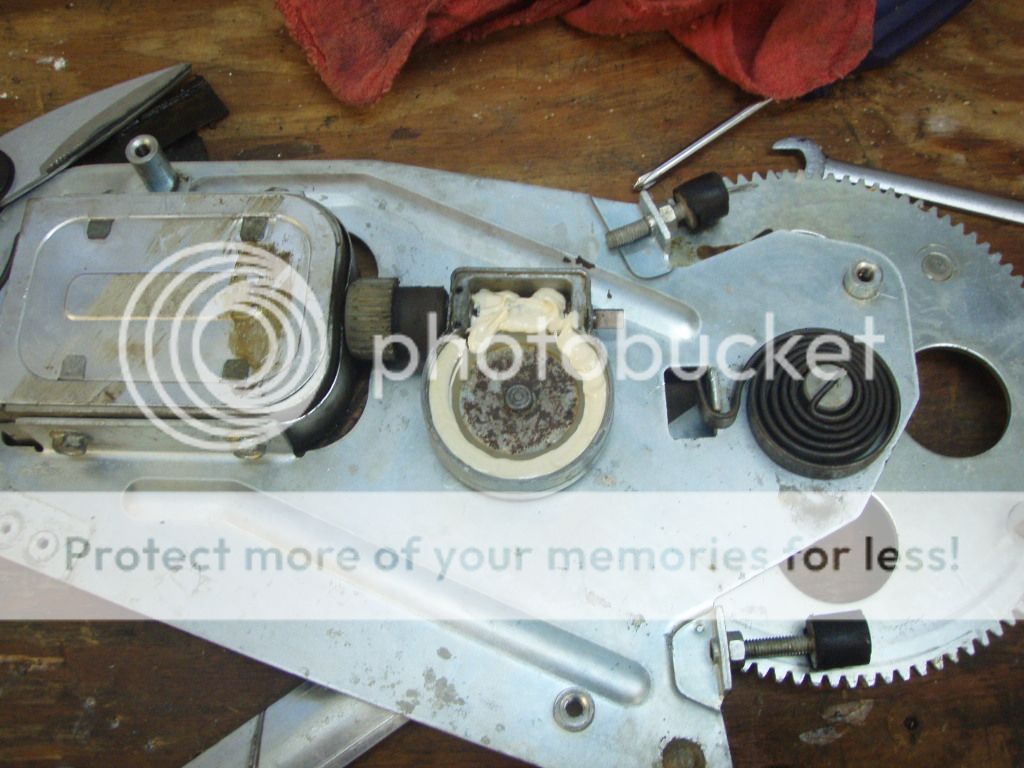
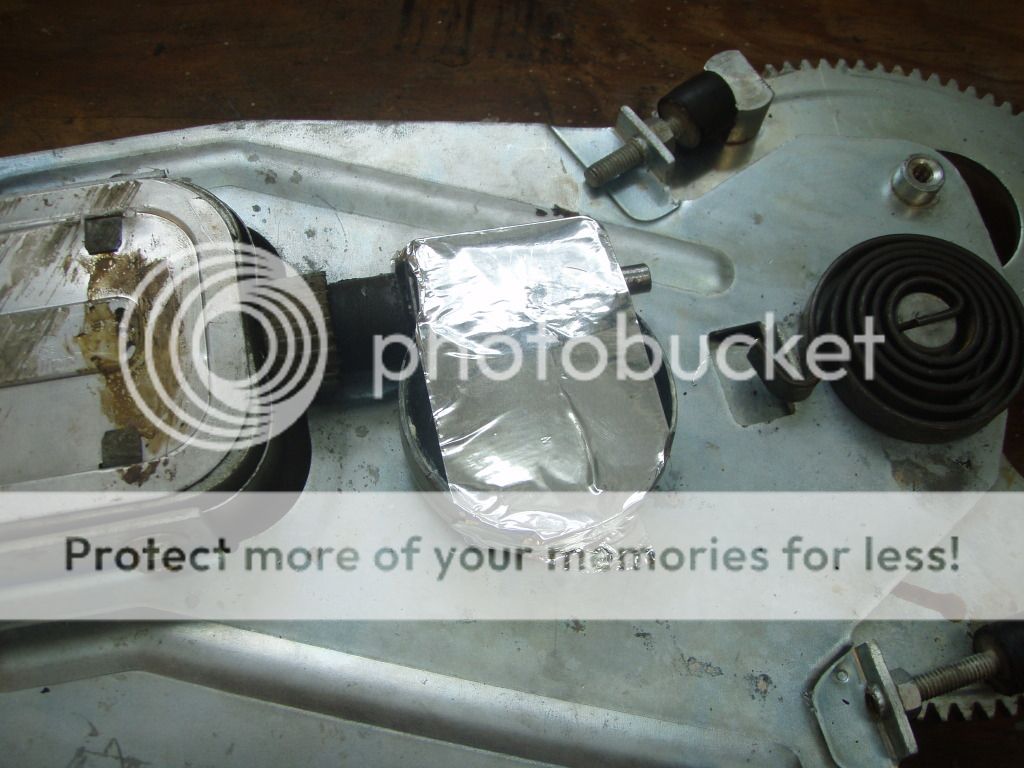
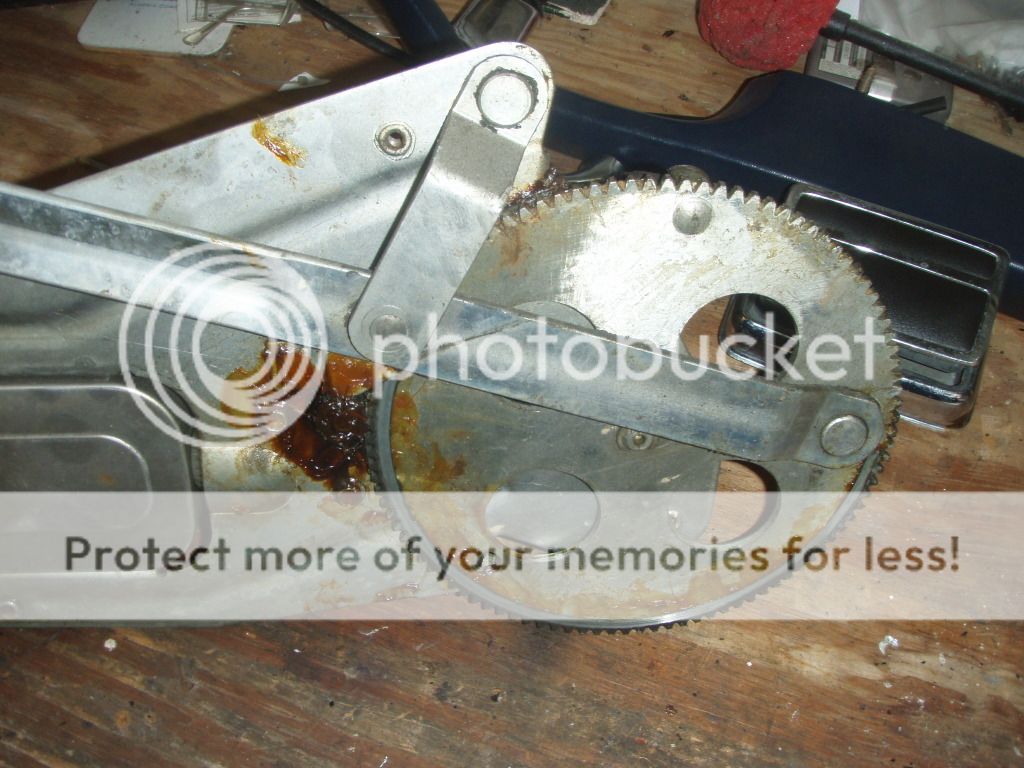
Here's the assembly on the bench. I've unbolted the motor and pulled it away from the gears.
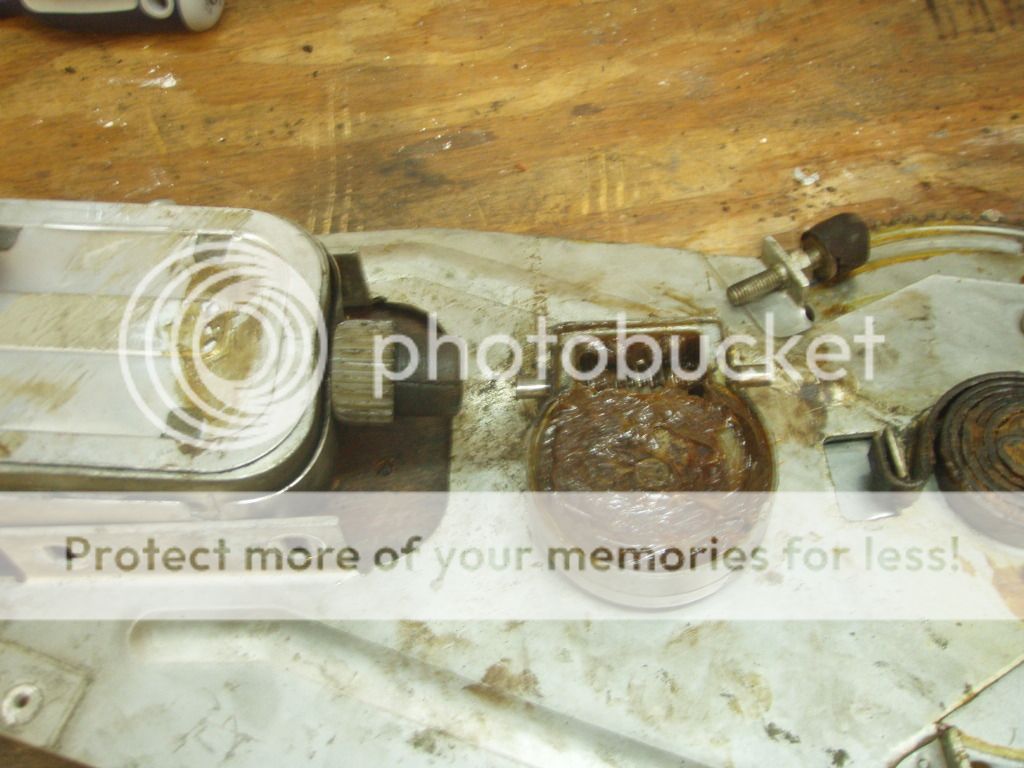
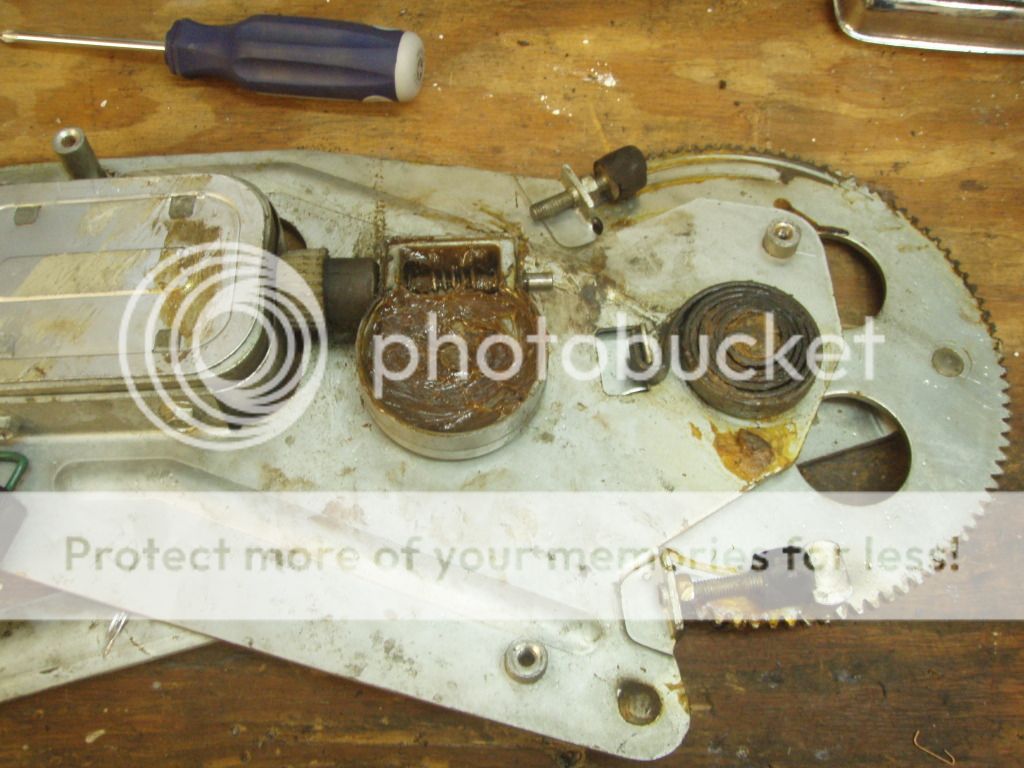
The back side
So, here's the questions:
Are there any "user serviceable" parts in the motor? If I take it apart can I do anything like clean bearings and replace brushes, much like with the windshield wiper motor? Or should I buy a new one? Any tests to see if it's good? I've got a good auto electric shop nearby, can they rebuild it?
I can't get the worm drive assembly apart because one of the mounting bolts is hidden behind the big gear. I can take that all apart by removing the big spring but the arms are all riveted so I'm not sure I'd be making any headway. Maybe just wash the whole thing clean in the parts washer?
Suggestions on the next steps?
I'm definitely going to install the relay mod to try and get the power up to the full 12 volts at the window motor.
http://www.e9coupe.com/forum/showthread.php?t=3907
The instructions in the blue service manuals are next to useless unless you've already done the job a coule of times.
Then they make sense.Step one: remove the door panel. This is no more than popping out the plastic pins from the door frame. If this is the first time around, you'll probably have some pull out of the cardboard panel instead of pulling out from the door. Watch out for any small screws used to hold the panel in. I had one located in the rear upper part of the panel on the drivers side, nothing on the passenger side. You don't have to take off the wood trim or wing window knob, the panel fits in underneath it. I also removed the ashtray for good measure.
You can see the gap under the wood trim here
Before I started, I measured the voltage at the drive motor while it was in action. Turns out to be about 7 VDC. No wonder these motors go so slow!
Next, I'll make a long story short. I partly disassembled pretty much the whole window assembly in one way or another. There are two sets of bolts in the window, one that holds the lift mechinism to the window, the other that hold the guide shoes to the window. Don't mess with either. The short answer is to remove the four bolts that hold the motor drive to the door. You can see them here at the upper and lower corners.
The ty-wrap holds the wiring harness up against the door so it soesn't get into the drive. Once the assembly is loose, you wiggle the lift arm around until the flange at the end can come thru the enlarged slot at the end of the lift plate. Easy peasy removal although you might get a helper to hold up the window until the drive assembly is removed.
Next, drop the lift arm via the switch to get it parallel with the door so you can take the whole assembly out of the door. I started with the window in the "up" position so I could reach everything but then the lift arm is in the wrong position. Here you can also see where the four bolts were.
Here's the assembly on the bench. I've unbolted the motor and pulled it away from the gears.
The back side
So, here's the questions:
Are there any "user serviceable" parts in the motor? If I take it apart can I do anything like clean bearings and replace brushes, much like with the windshield wiper motor? Or should I buy a new one? Any tests to see if it's good? I've got a good auto electric shop nearby, can they rebuild it?
I can't get the worm drive assembly apart because one of the mounting bolts is hidden behind the big gear. I can take that all apart by removing the big spring but the arms are all riveted so I'm not sure I'd be making any headway. Maybe just wash the whole thing clean in the parts washer?
Suggestions on the next steps?
I'm definitely going to install the relay mod to try and get the power up to the full 12 volts at the window motor.
http://www.e9coupe.com/forum/showthread.php?t=3907