Aussie3.0CS
Well-Known Member
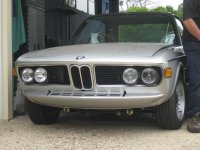
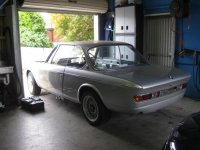
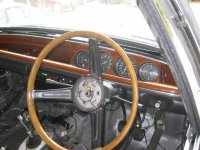
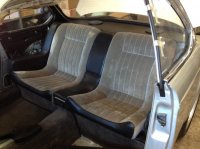
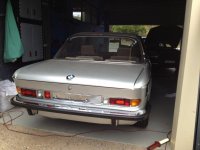
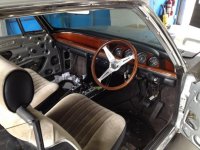
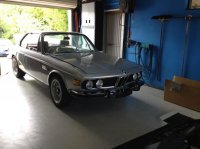
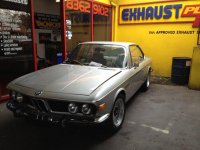
yet more photos
Dear All,
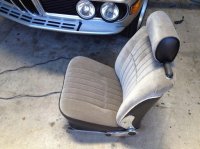
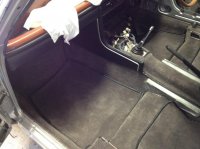
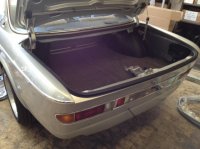
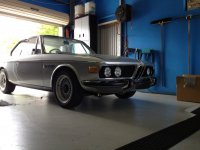
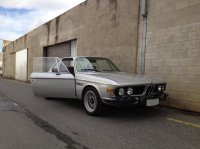
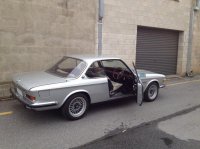
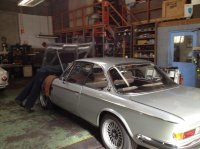
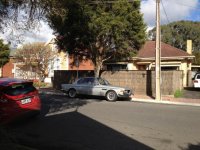
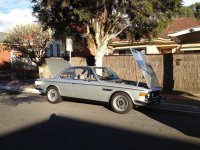
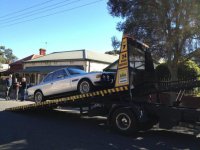
here are some more photos, it is just about ready to go to the trimmers to do the internal fitout...
deQuincey - most of the work I am sourcing out (time poor...), I have a list of references and thankyous that i will pulish later.
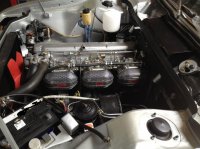
Nicad - the engine setup - it hasnt been turned over yet but I am going to start with the setup recommended on this site for 40dcoe triples -settings are: Choke 34, Main Jet 120, Air Correction 180, Emulsion Tube F11, Pump Jet 40, Idle Jet 55F8, Aux Venturi 4.5, Float Level 8mm, distributor with retarded vacuum advance.
Thats about it for now I reckon.
Cheers
Chris
Aussie3.0CS
Nearly... Nearly... Nearly....
Dear All,
here are some more photos, it is just about ready to go to the trimmers to do the internal fitout...
deQuincey - most of the work I am sourcing out (time poor...), I have a list of references and thankyous that i will pulish later.
Nicad - the engine setup - it hasnt been turned over yet but I am going to start with the setup recommended on this site for 40dcoe triples -settings are: Choke 34, Main Jet 120, Air Correction 180, Emulsion Tube F11, Pump Jet 40, Idle Jet 55F8, Aux Venturi 4.5, Float Level 8mm, distributor with retarded vacuum advance.
Thats about it for now I reckon.
Cheers
Chris
Aussie3.0CS
Nearly... Nearly... Nearly....