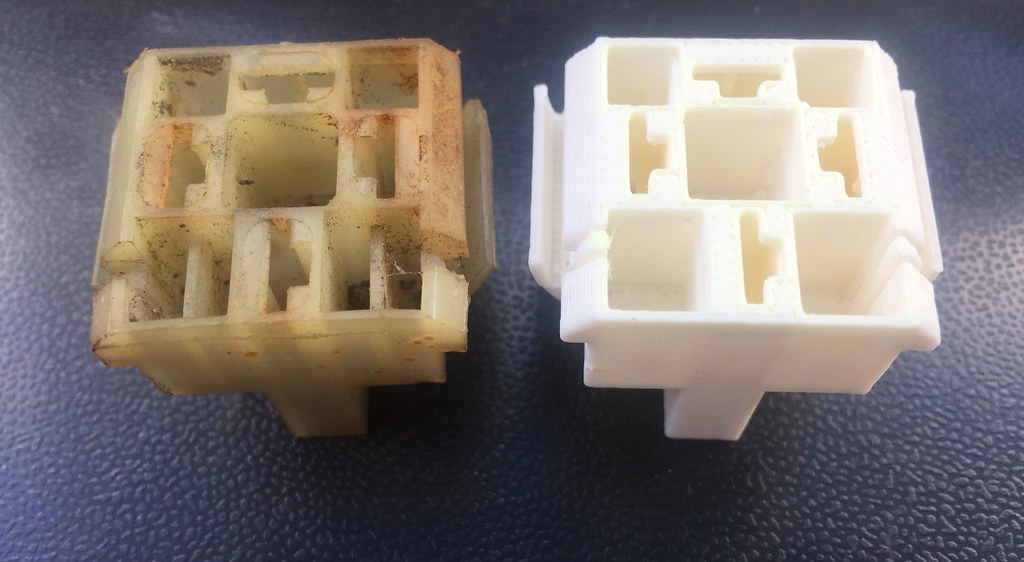
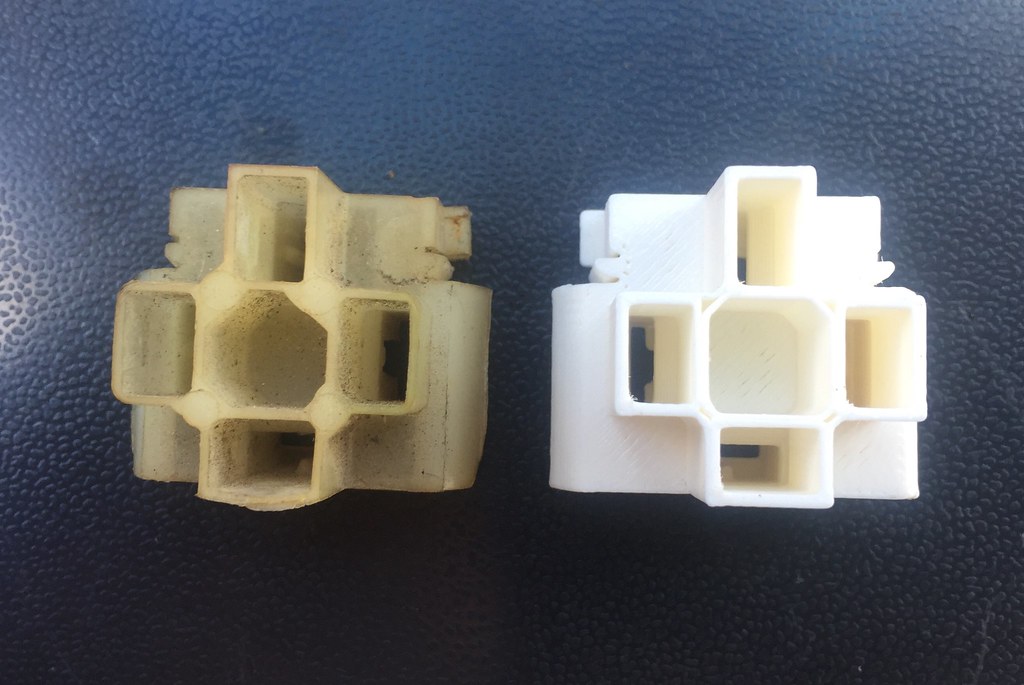
I wanted to quickly iterate on the relay base model. I took the model to UPS yesterday. The quality of the printed samples there are pretty terrible, but I'm pleased with the quality of the mockup print. It allowed me to confirm that the base holds the terminal pins without issue. One of the sockets has trouble fitting the red power pin, but I think some support material residue was left inside the relay base. Chalk that up to the quality of the UPS store printers. You can't use them for end-use products, that is for sure. It was very convenient to just grab it and not wait for shipping. Also, it is more expensive to print a lousy UPS object then a high quality Nylon product from XOmetry or Shapeways.
It looks like I will be able to sell the relay bases for about
$21 each. That's with $5 in my pocket to cover the modeling cost. Once again, it isn't cheap to print this stuff. I will need to stick with Nylon which has a melting point of around 360°. The high heat resistant Ultem would be $115 each after my $5 overhead. One has to appreciate the time-to-market with 3D printing. My part arrived at the end of the week. I had it modeled after a few days, and I'll have a production-ready part by the middle of next week.
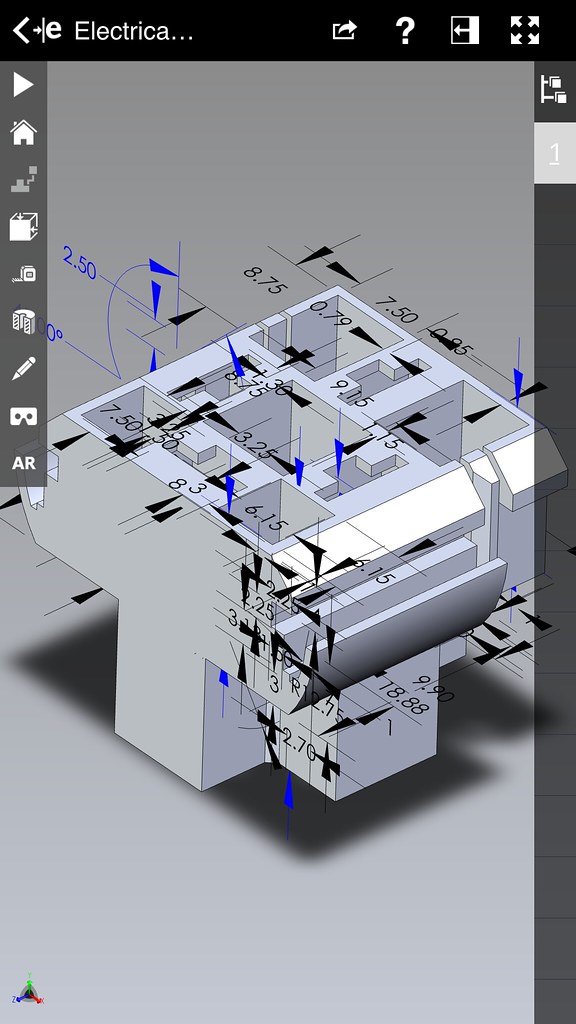
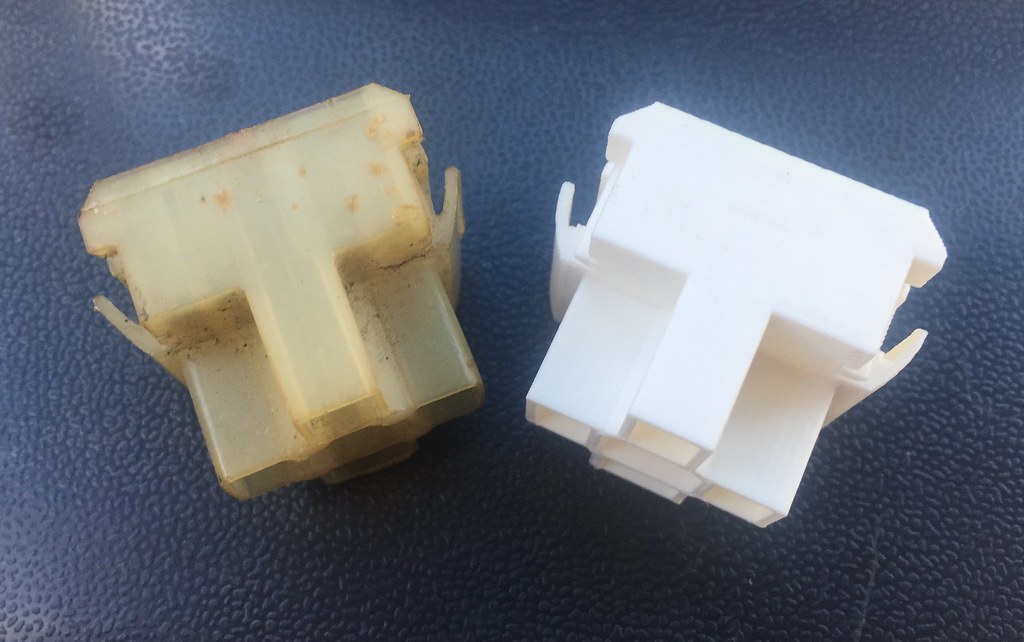
Required updates: Add a small radius to the side of the relay where it slides into the body (not visible). Add the vertical 'walls' in the square voids on the top portion of the relay (Figure A). Verify the height of the relay base as it sits in the body. It looks like the lower dimensions are too generous and the upper dimension needs to be taller (Figure C).
Gaps or stepping in the part is due to the low quality printer, and is not representative of the 3D model or finished product.
Figure A
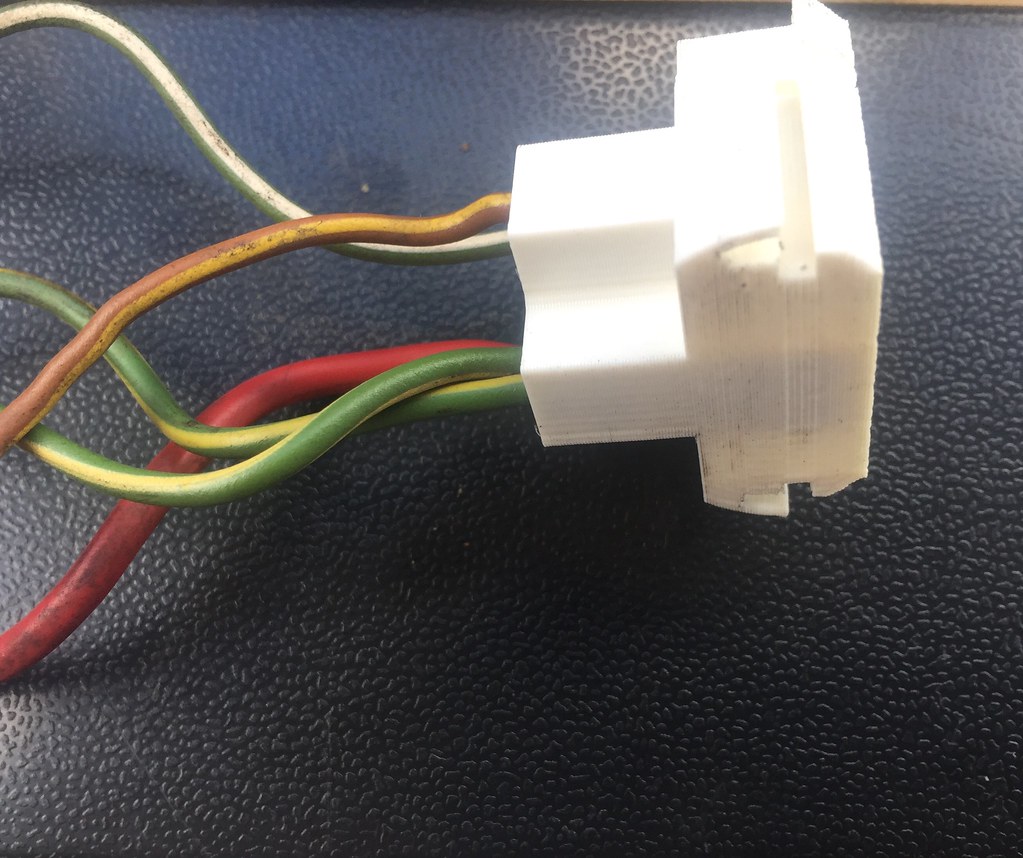
Figure B
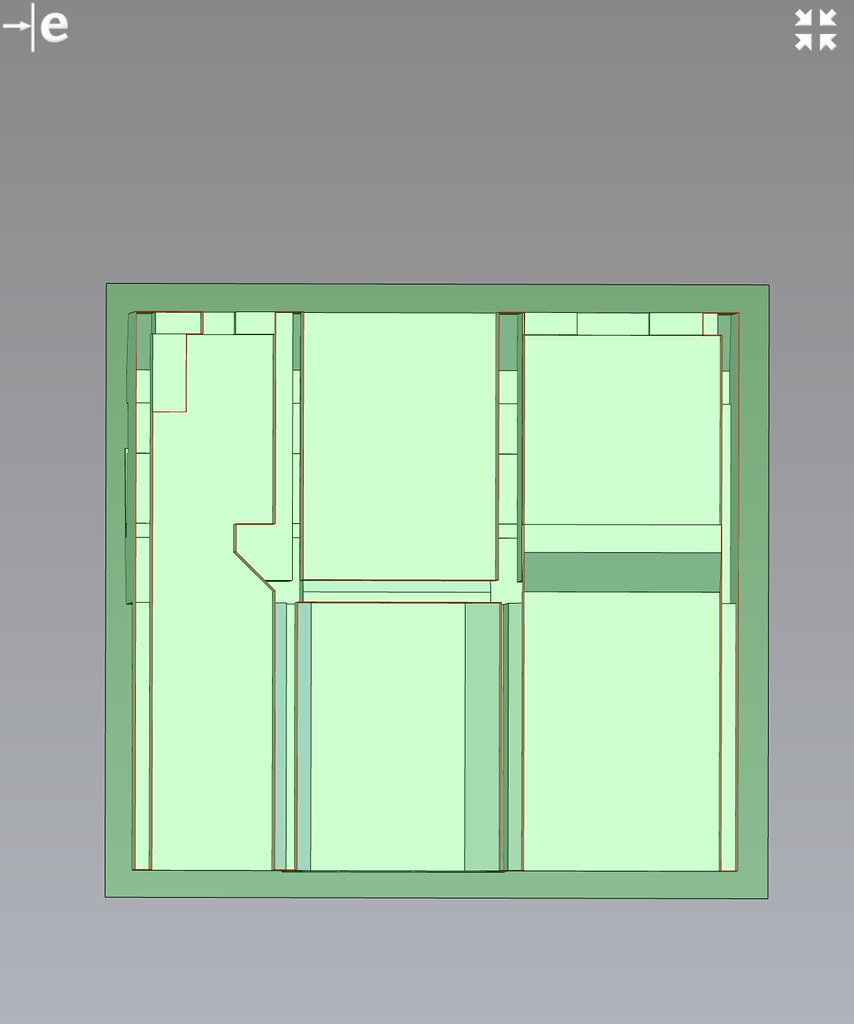
Figure C
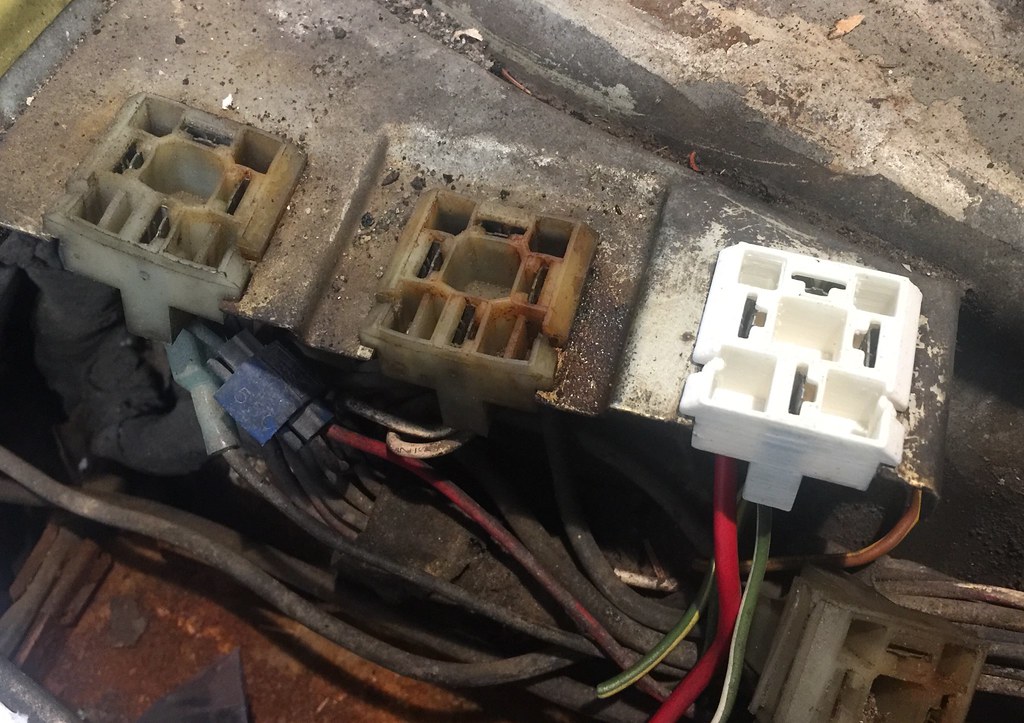
Figure D
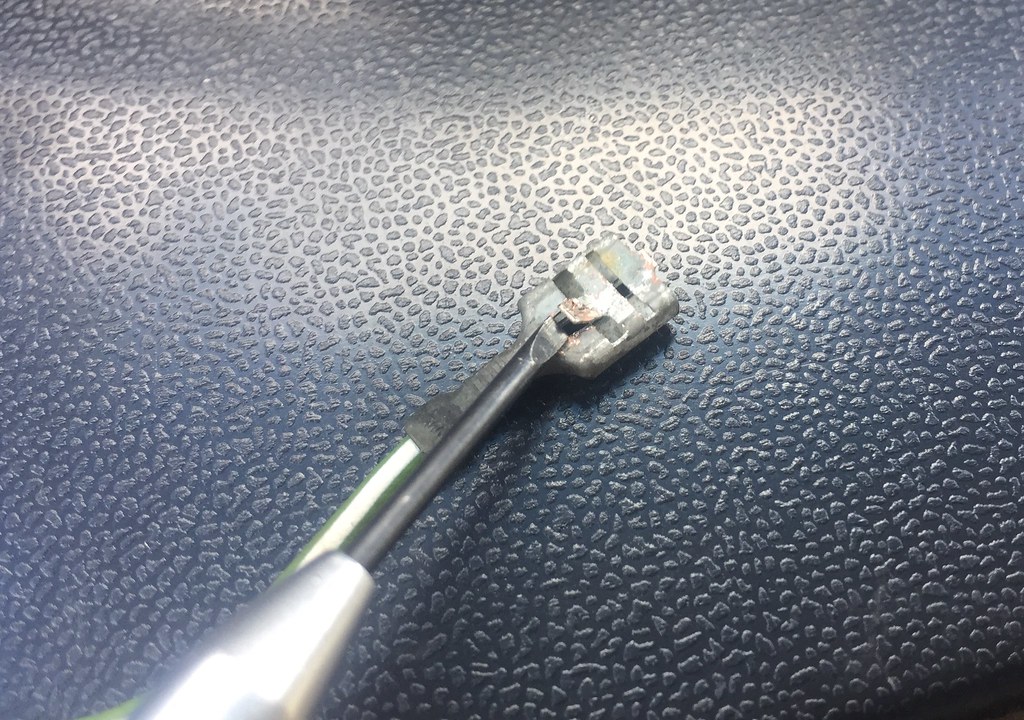
Here is how the terminals catch the 'ledge' inside the relay base