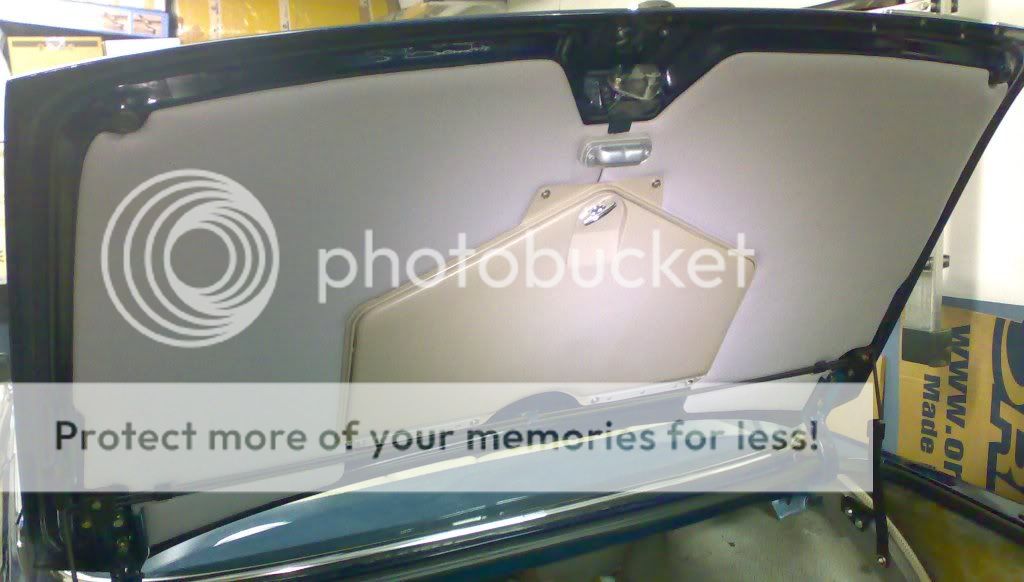
rear trunk interior trim renewal. FINISHED plus
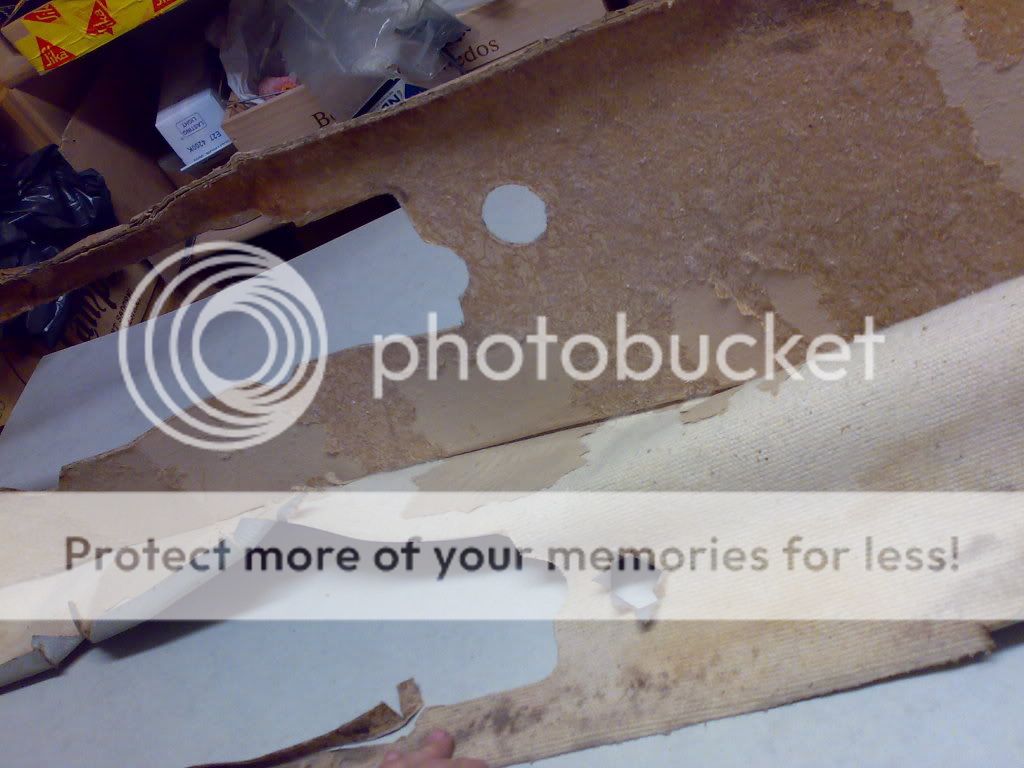
i am finding the cardboards of the trim panels quite damaged by humidity, it is a very poor material for this kind of use because it is not really prepared to avoid moisture
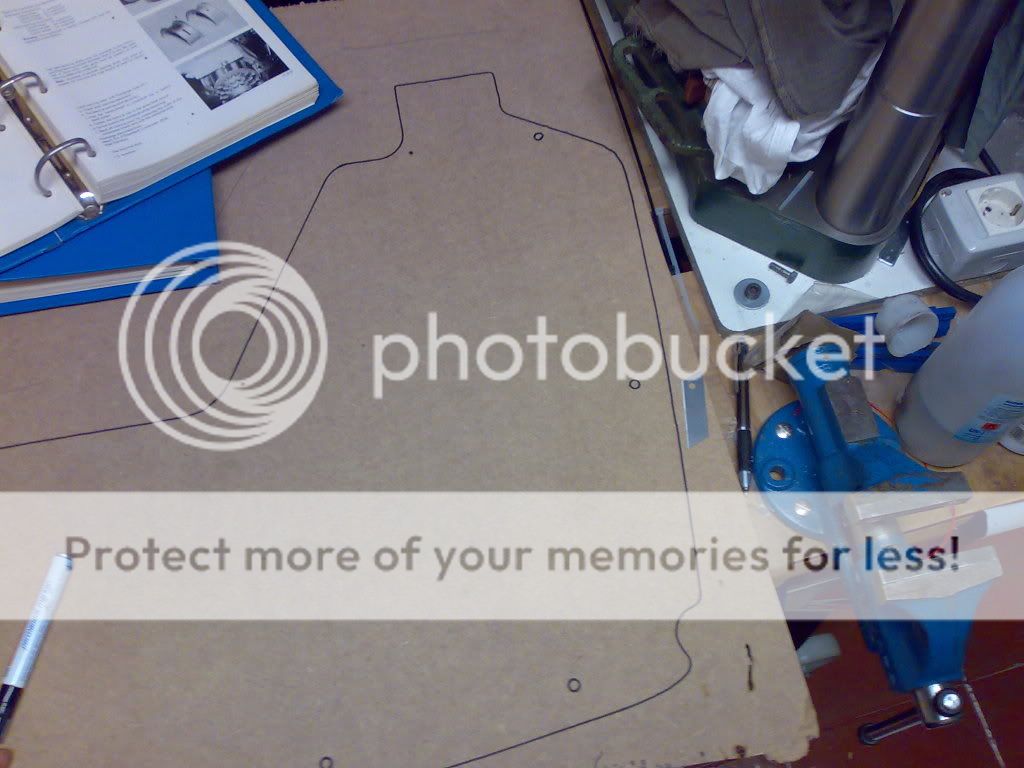
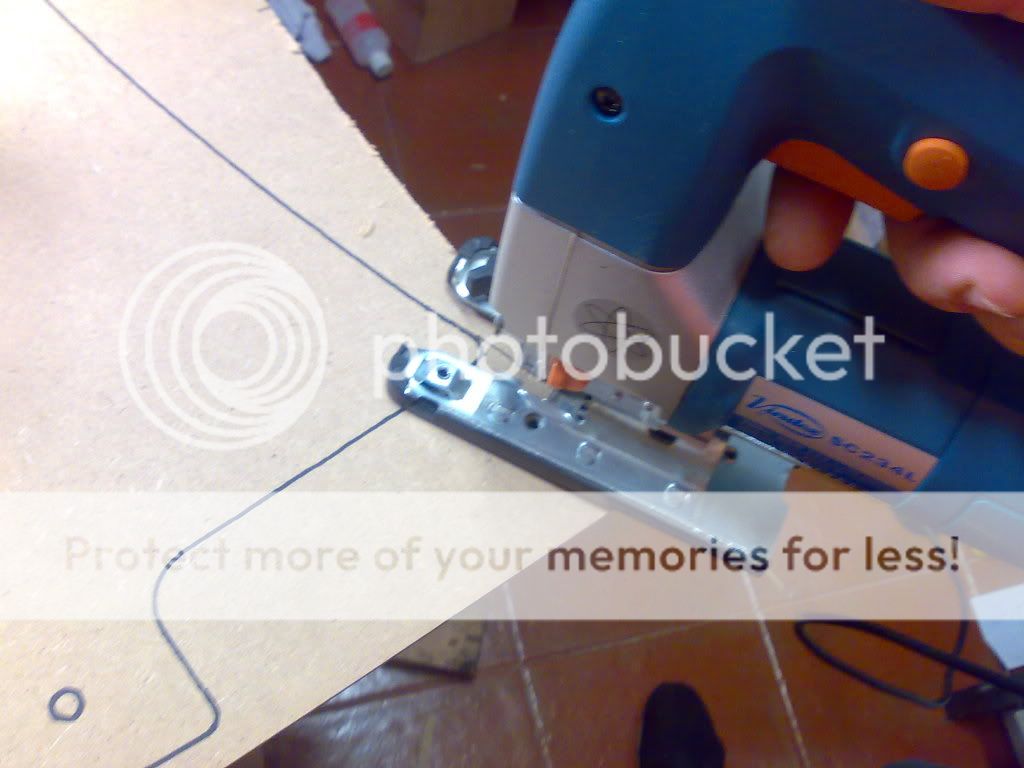
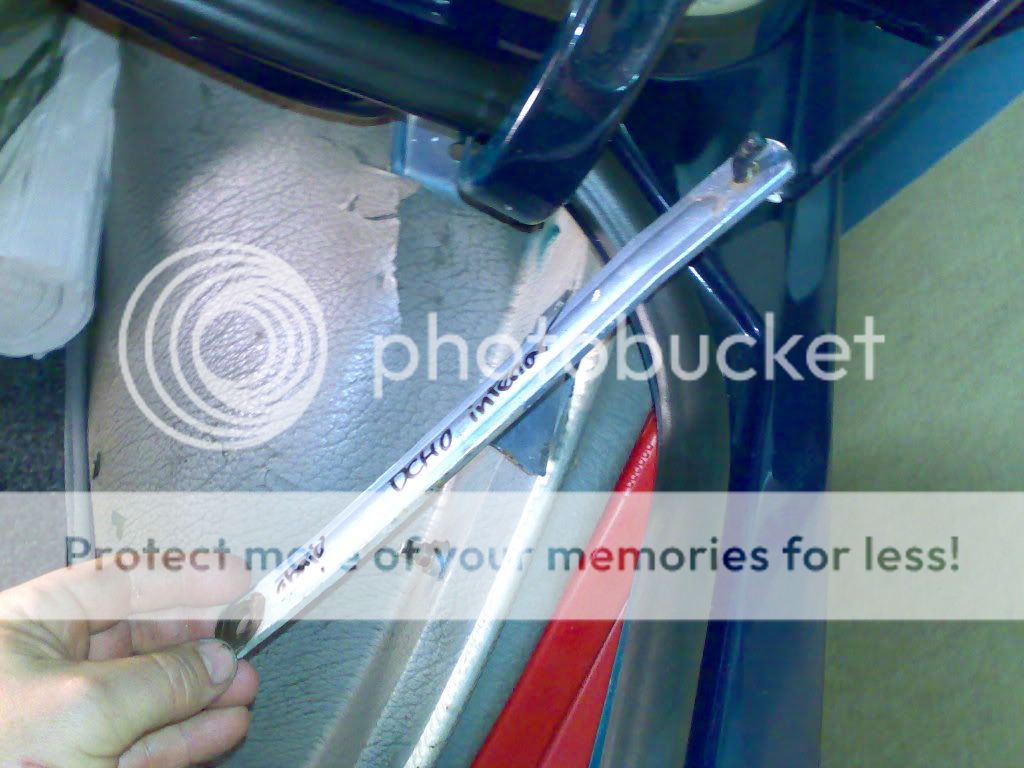
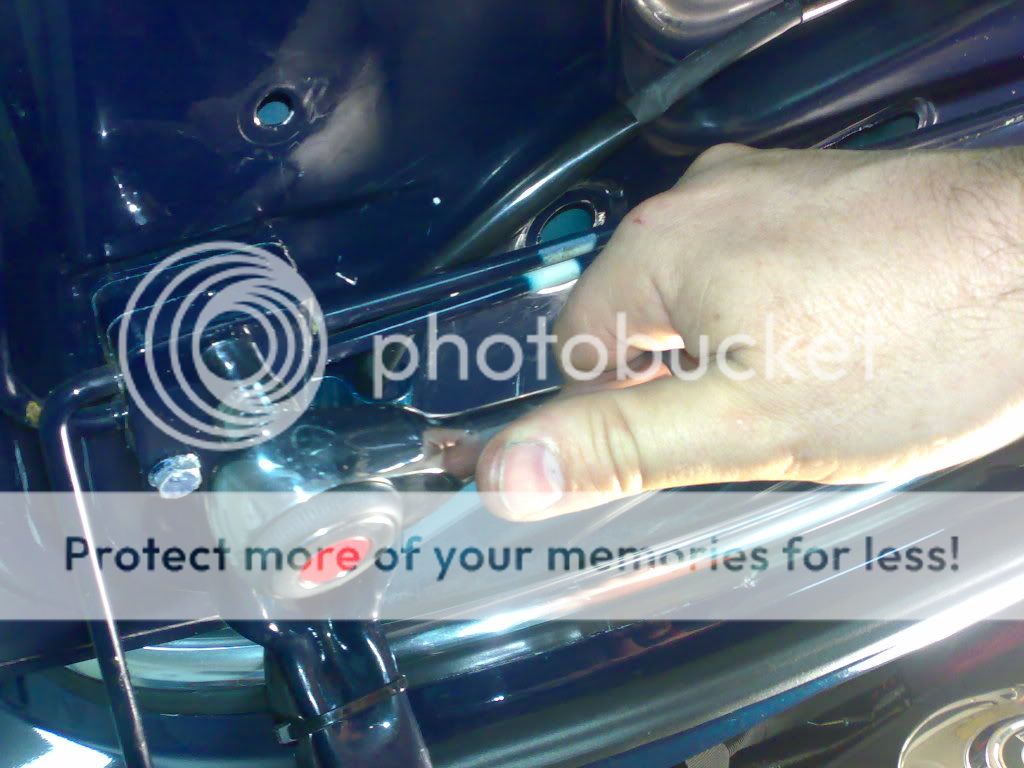
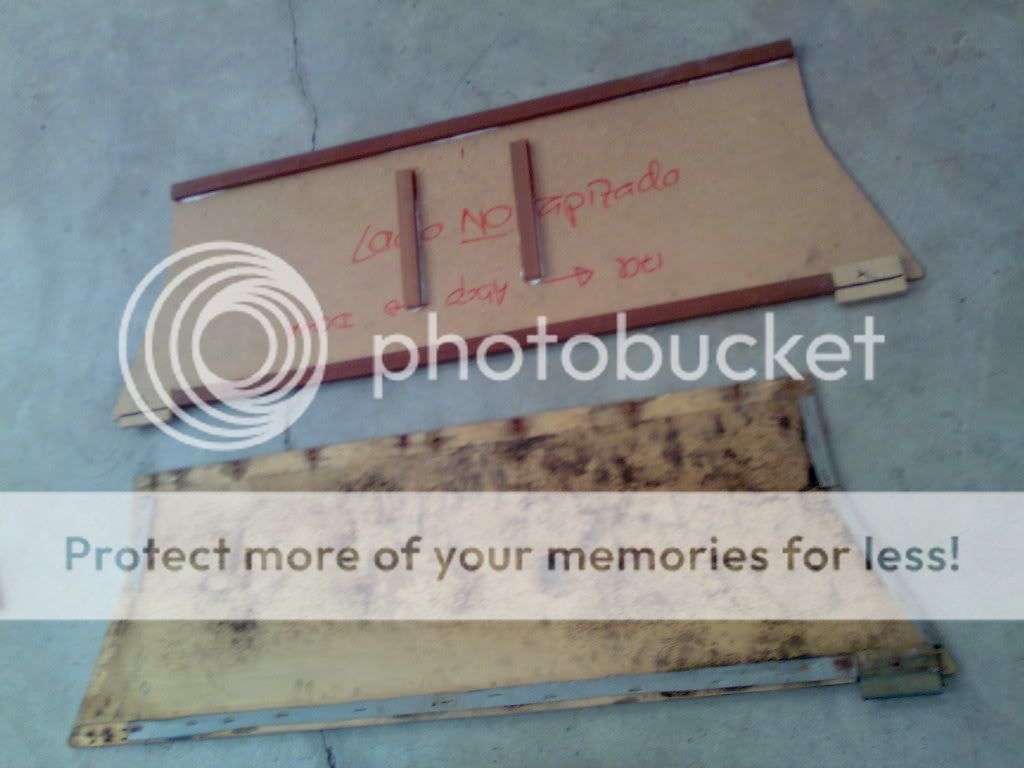
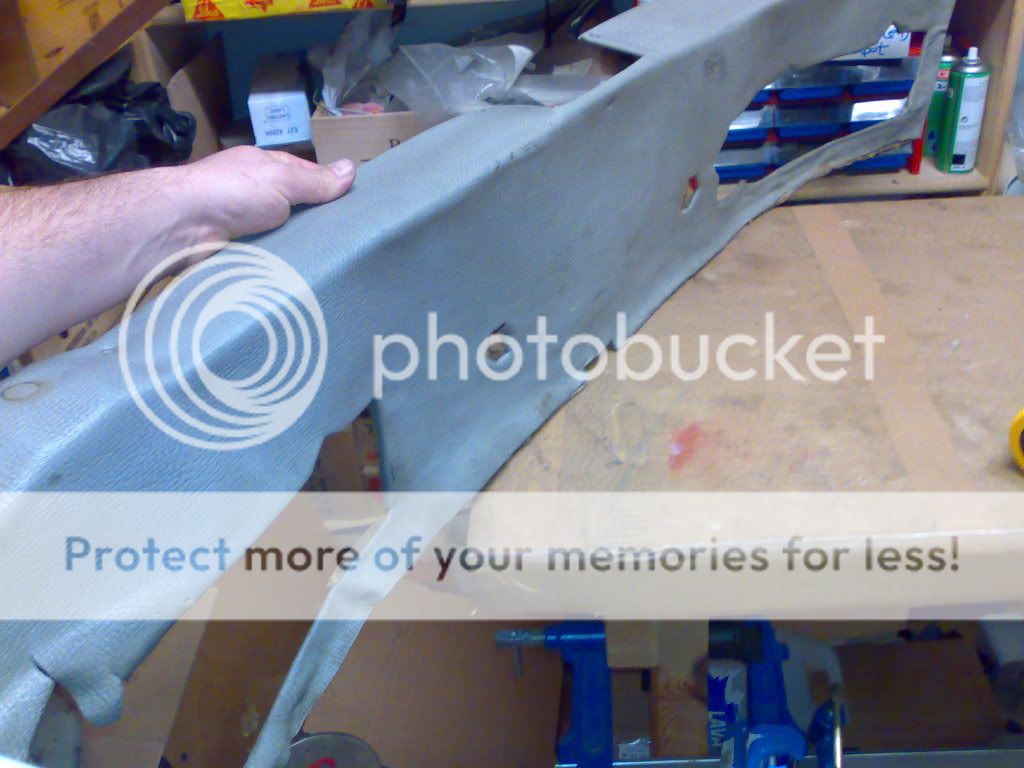
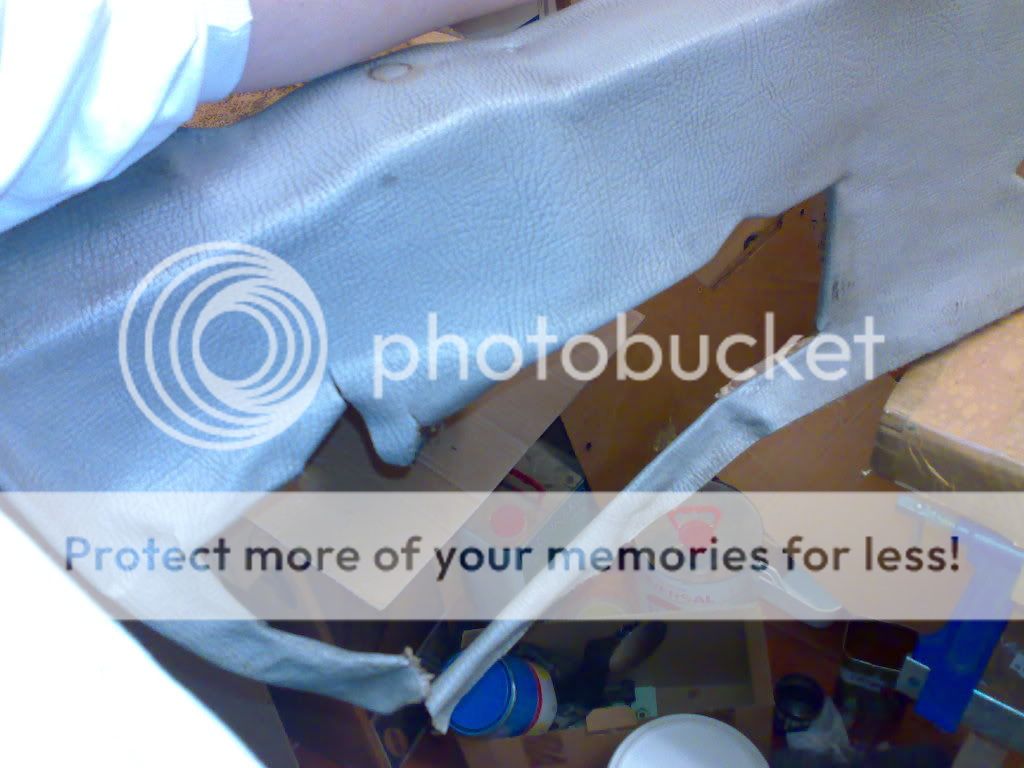
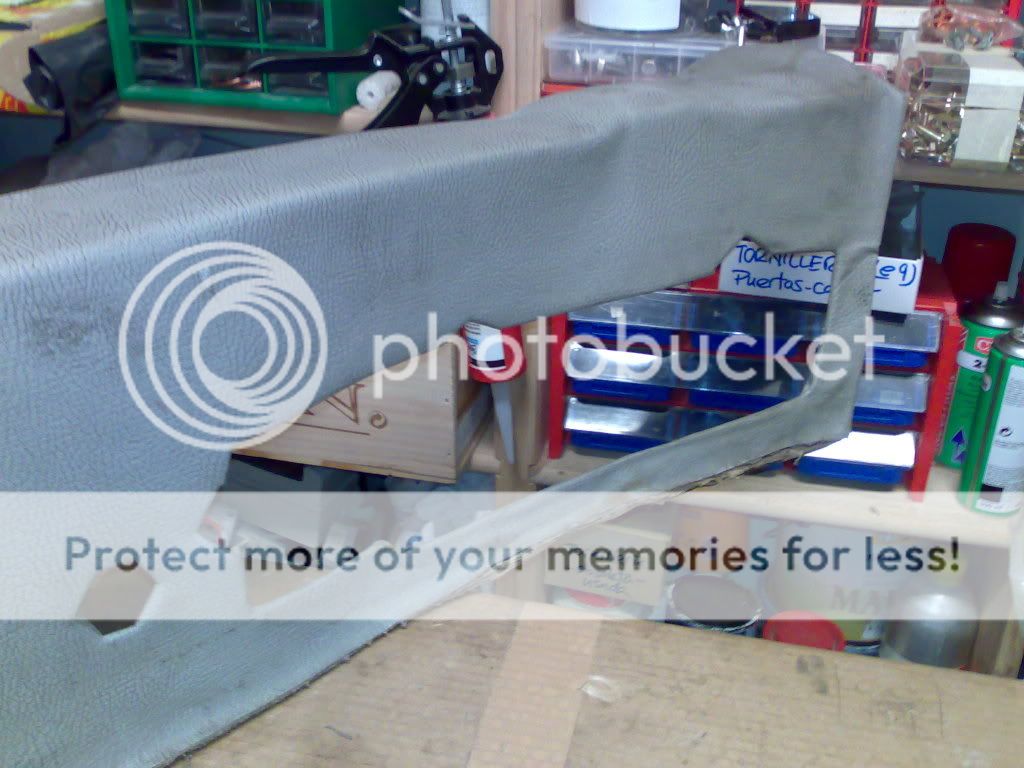
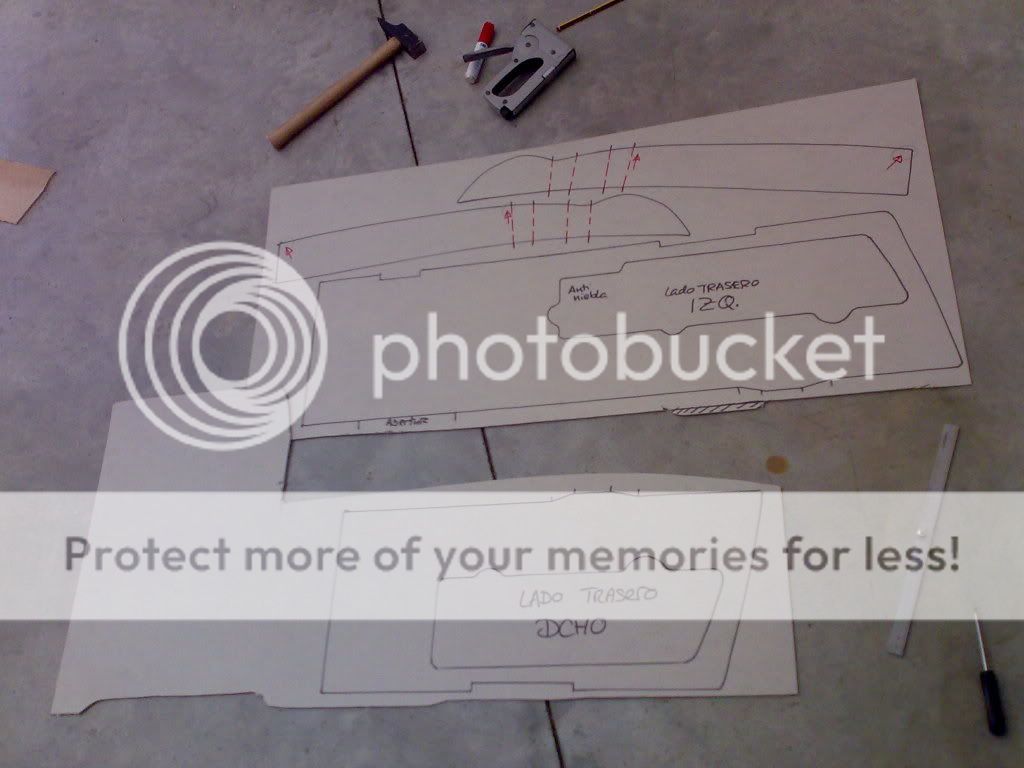
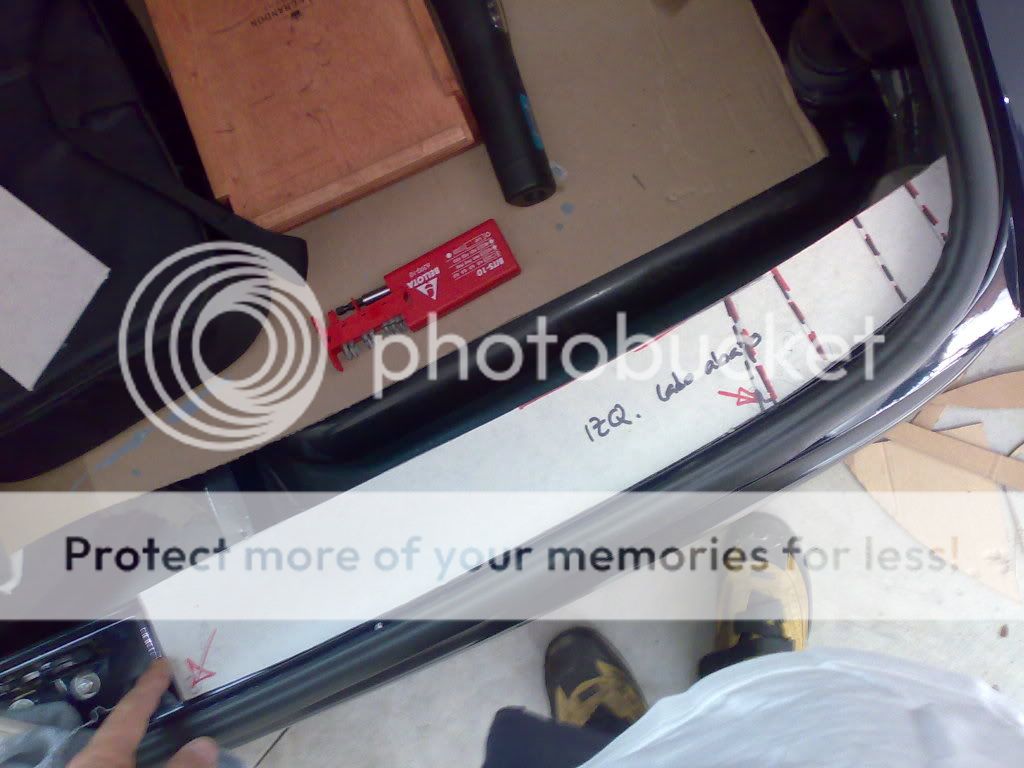
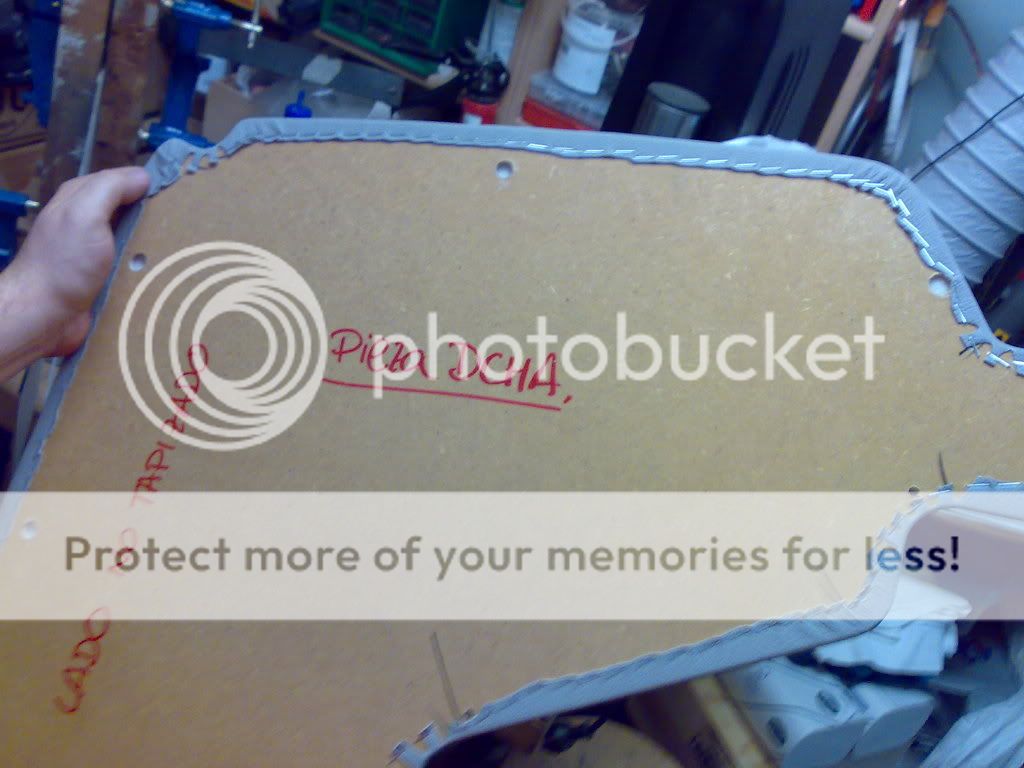
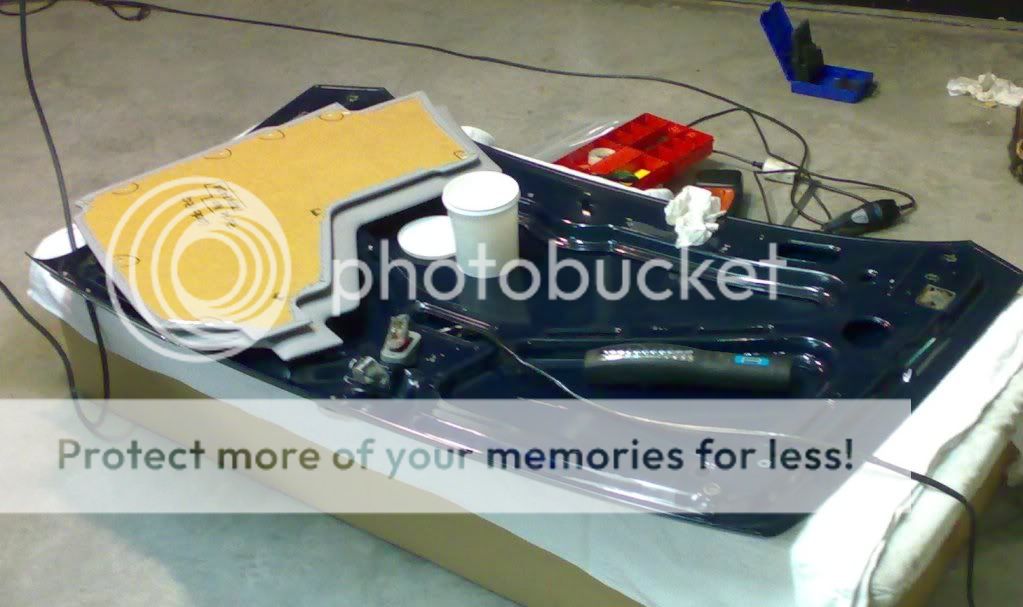
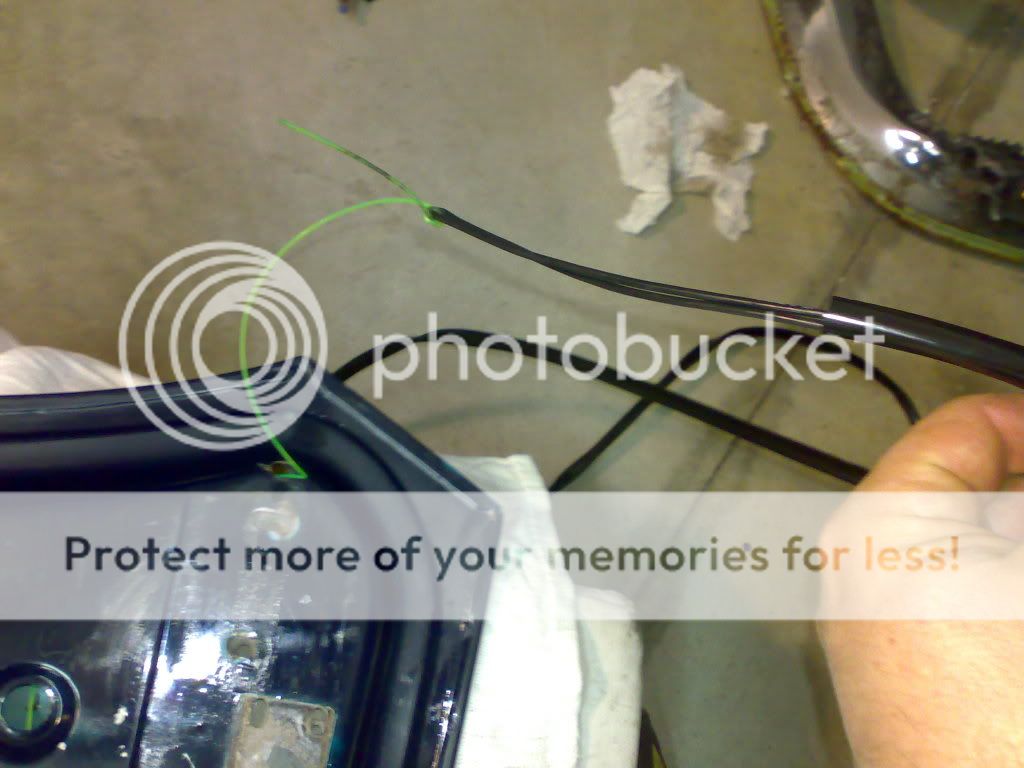
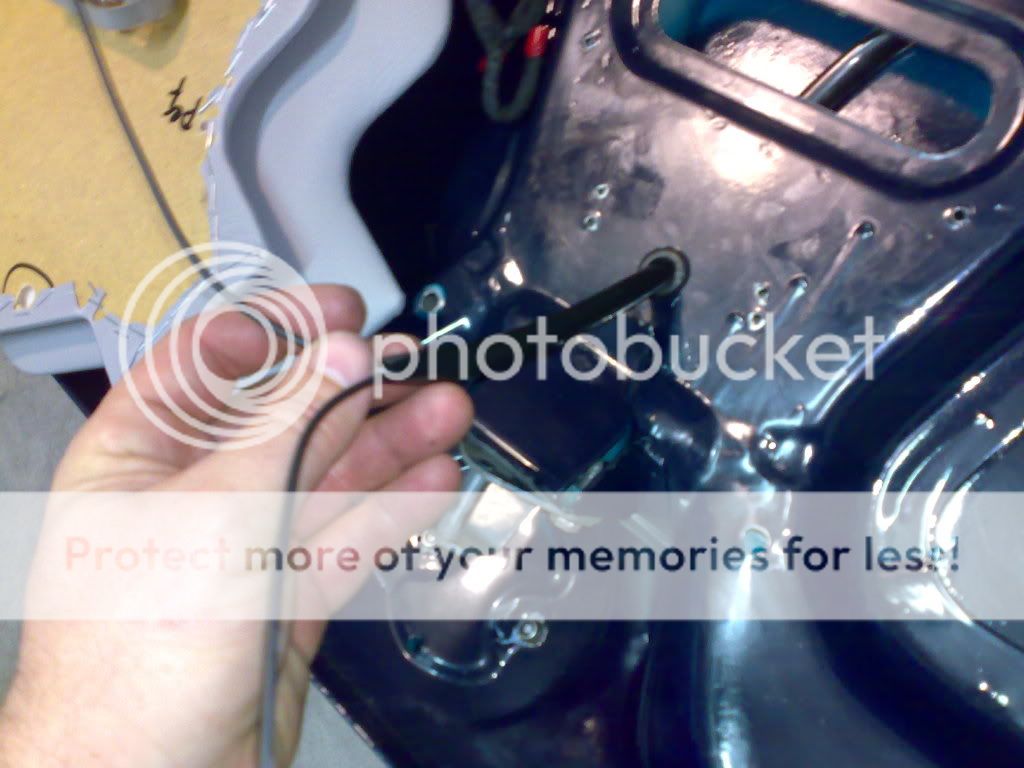
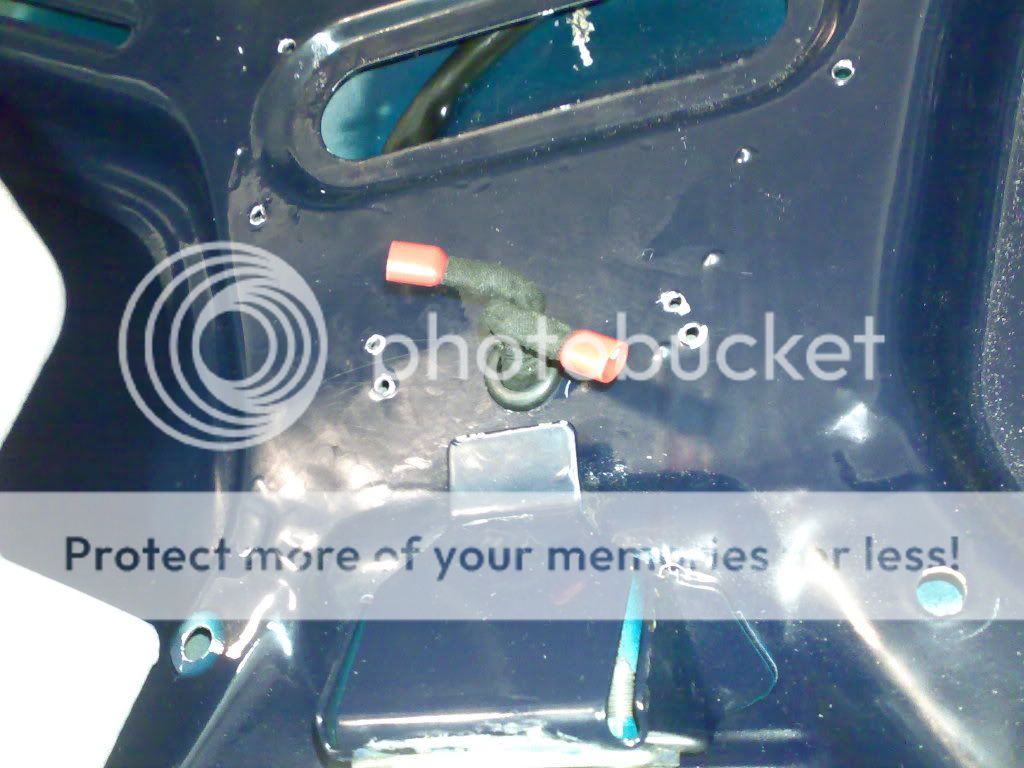
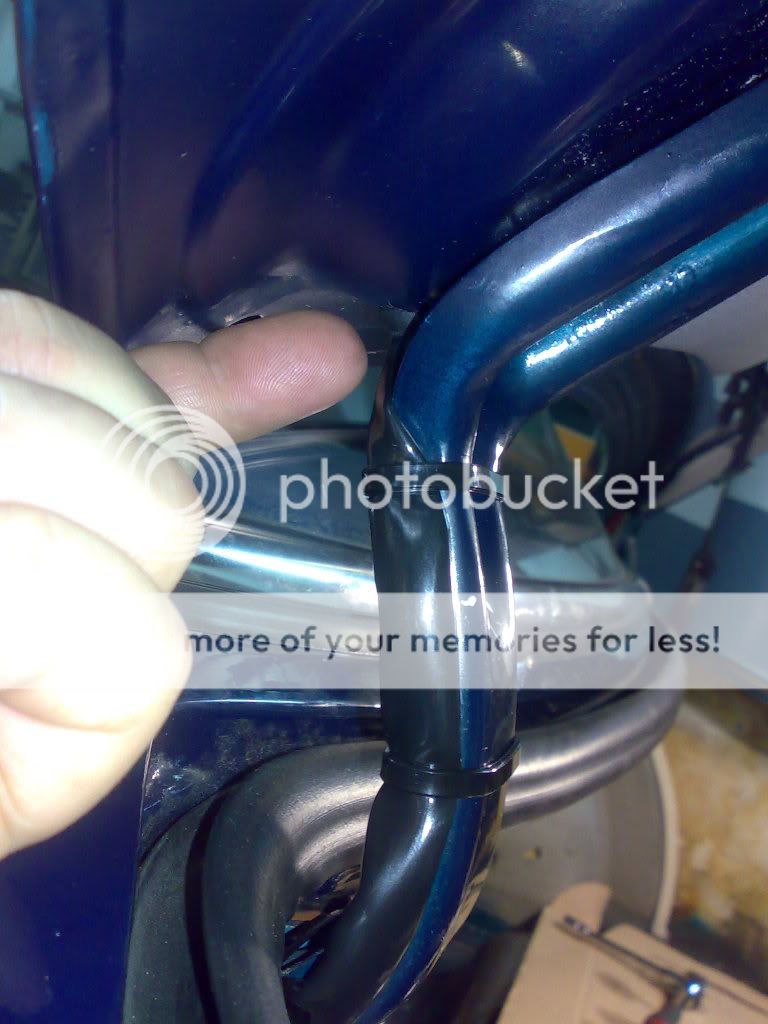
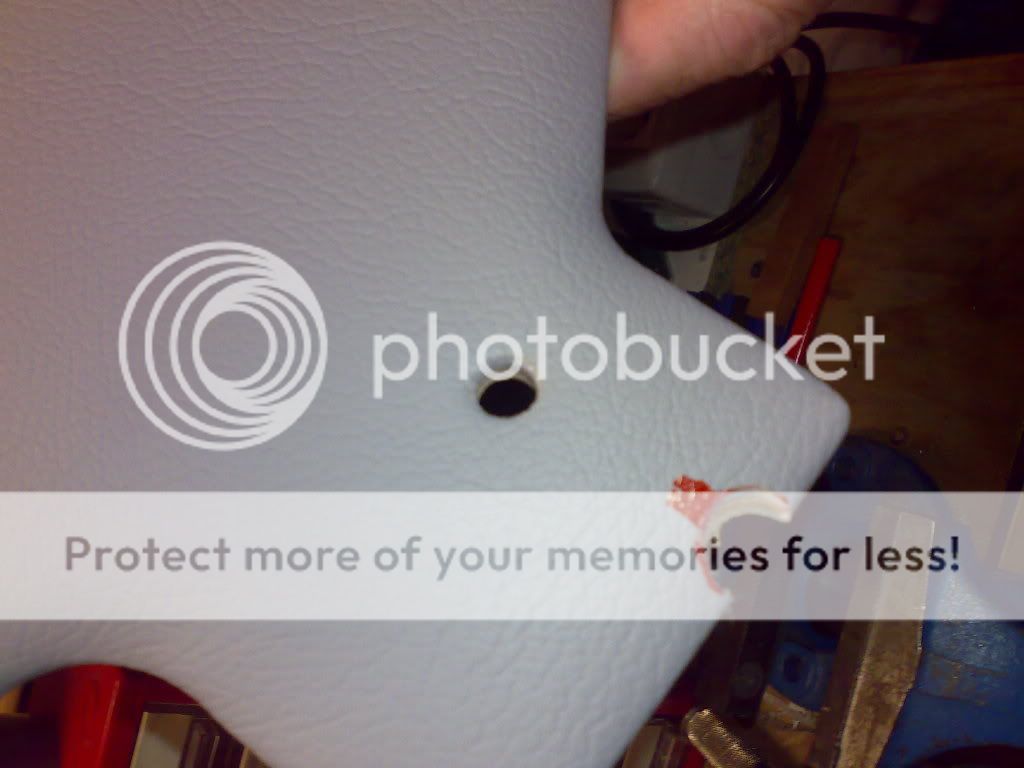
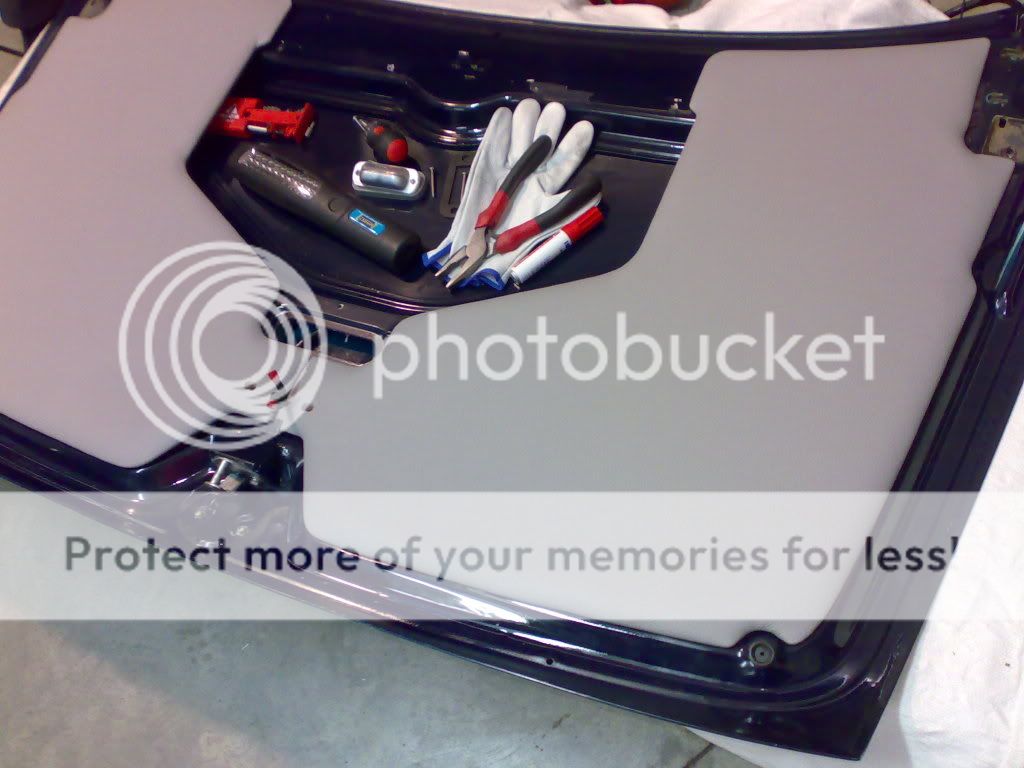
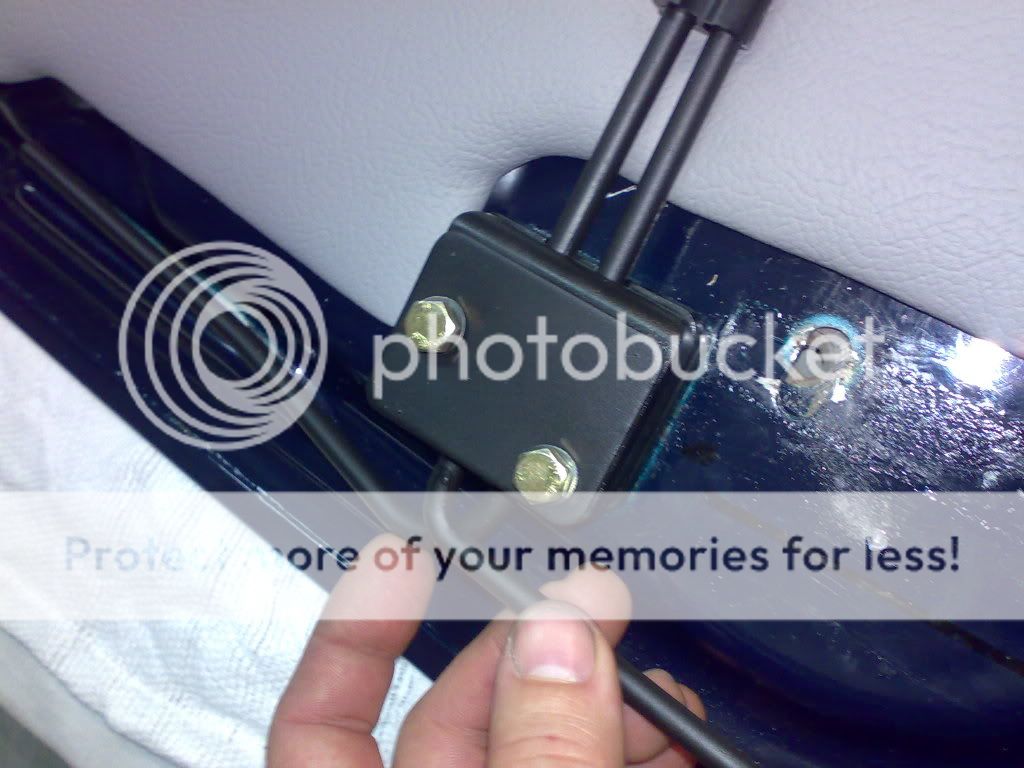
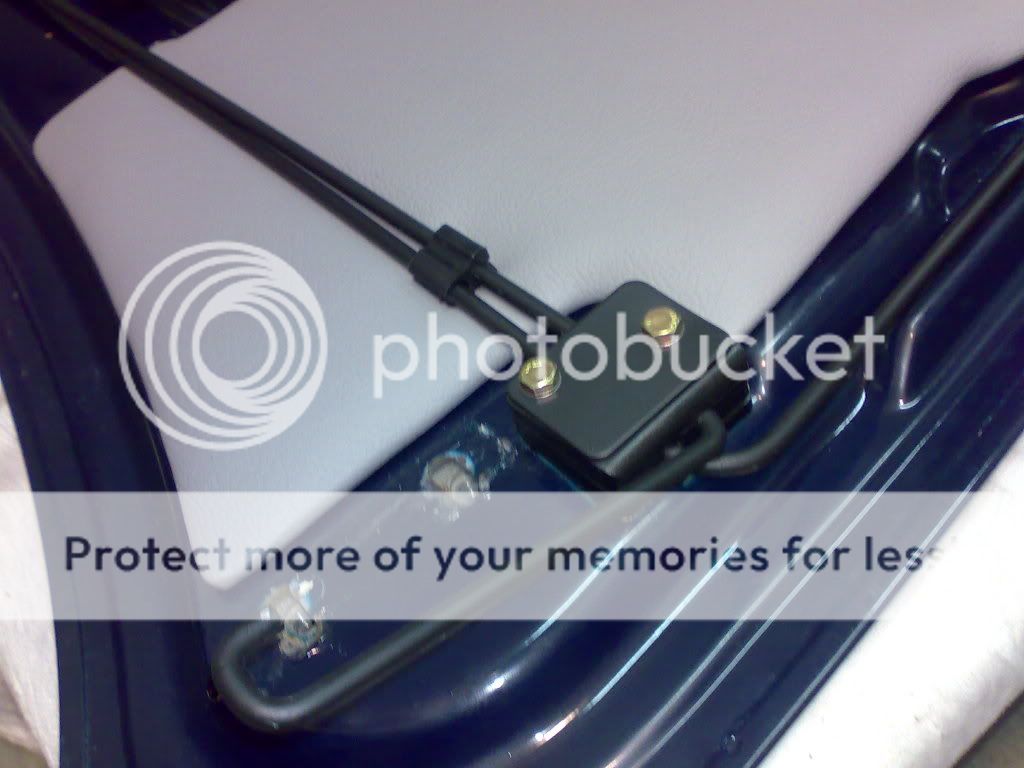
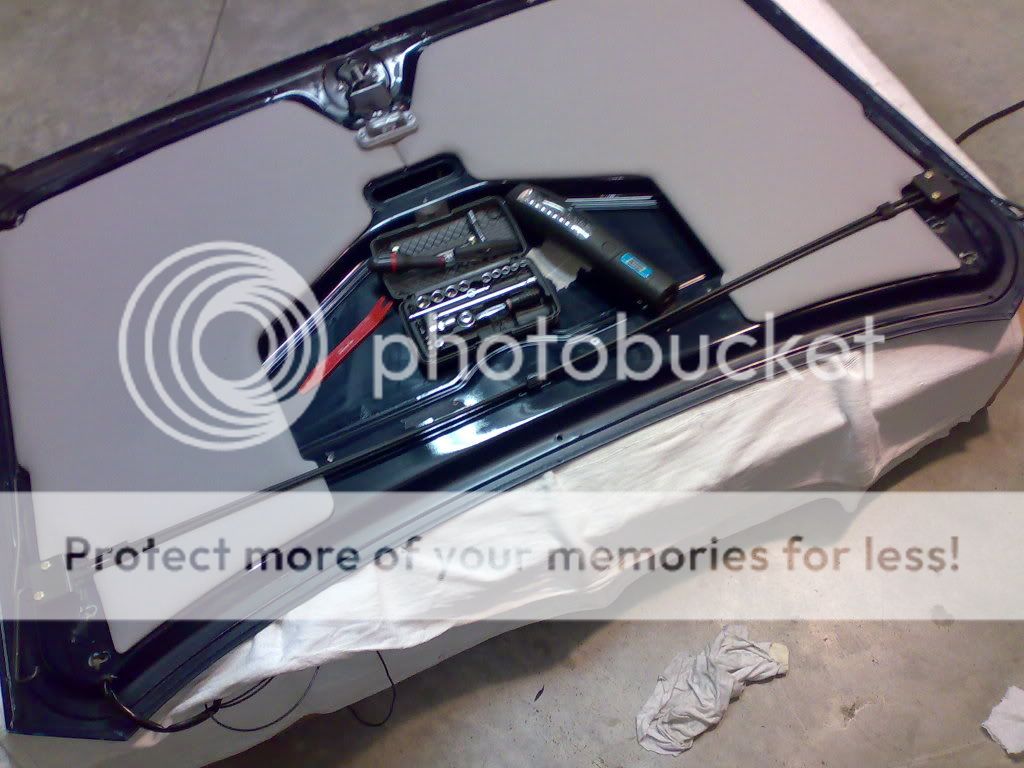
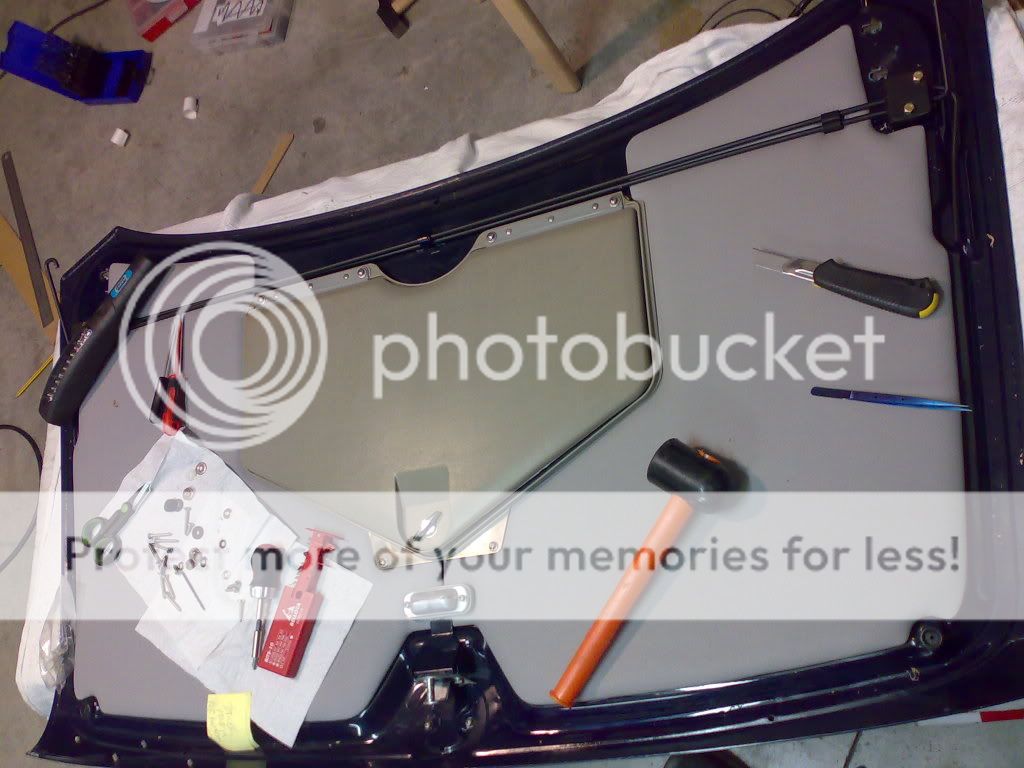
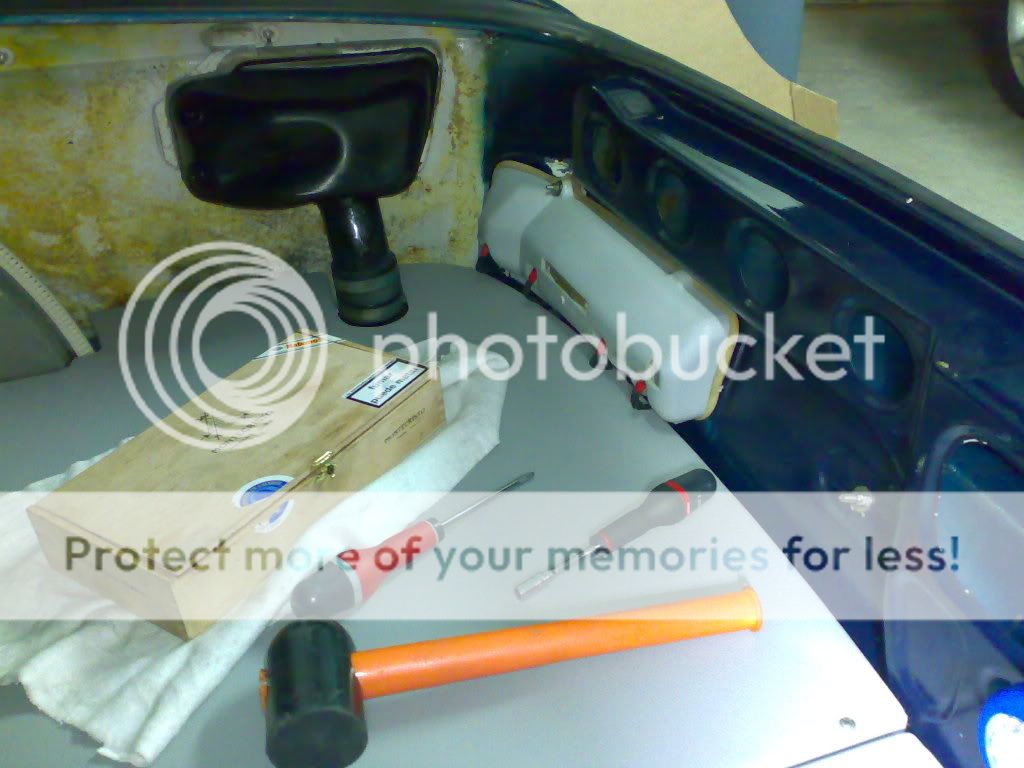
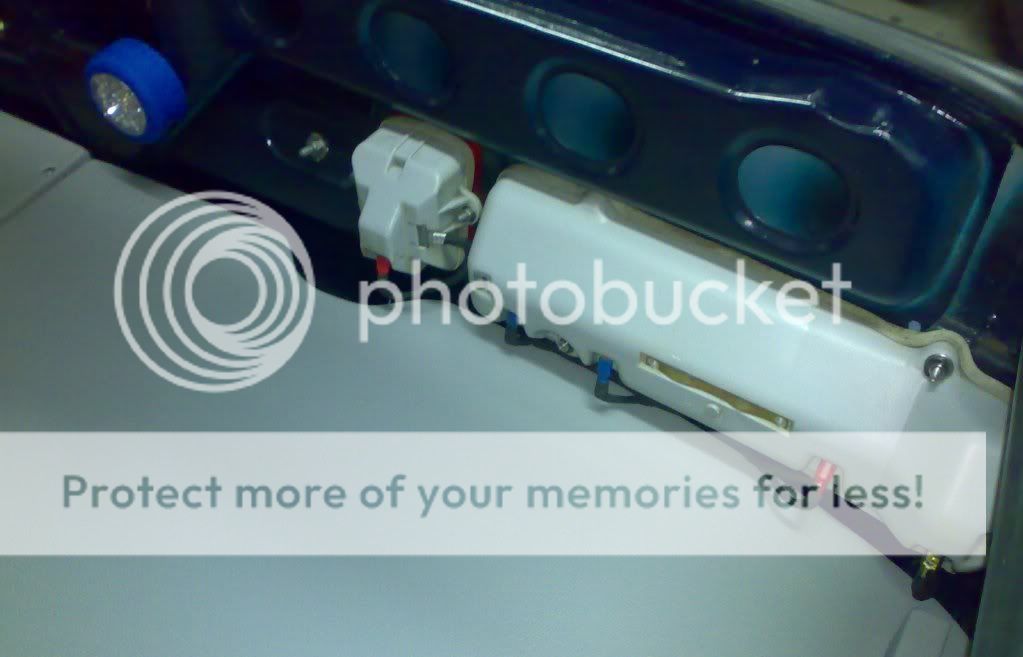
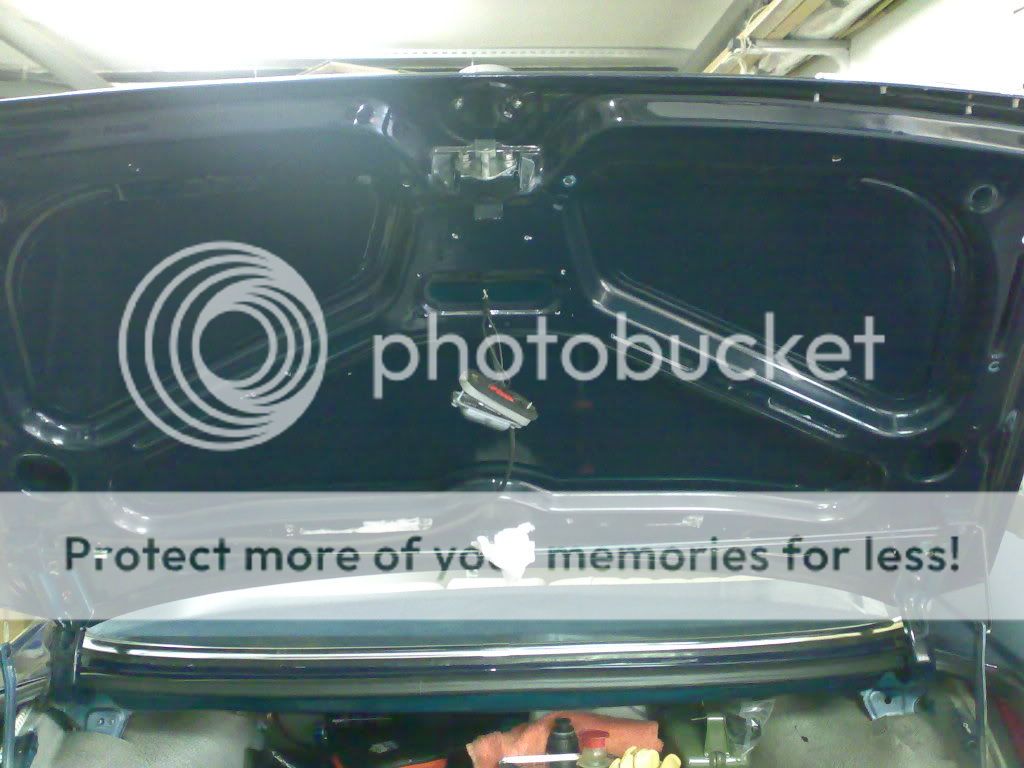
removal of the trim panels:
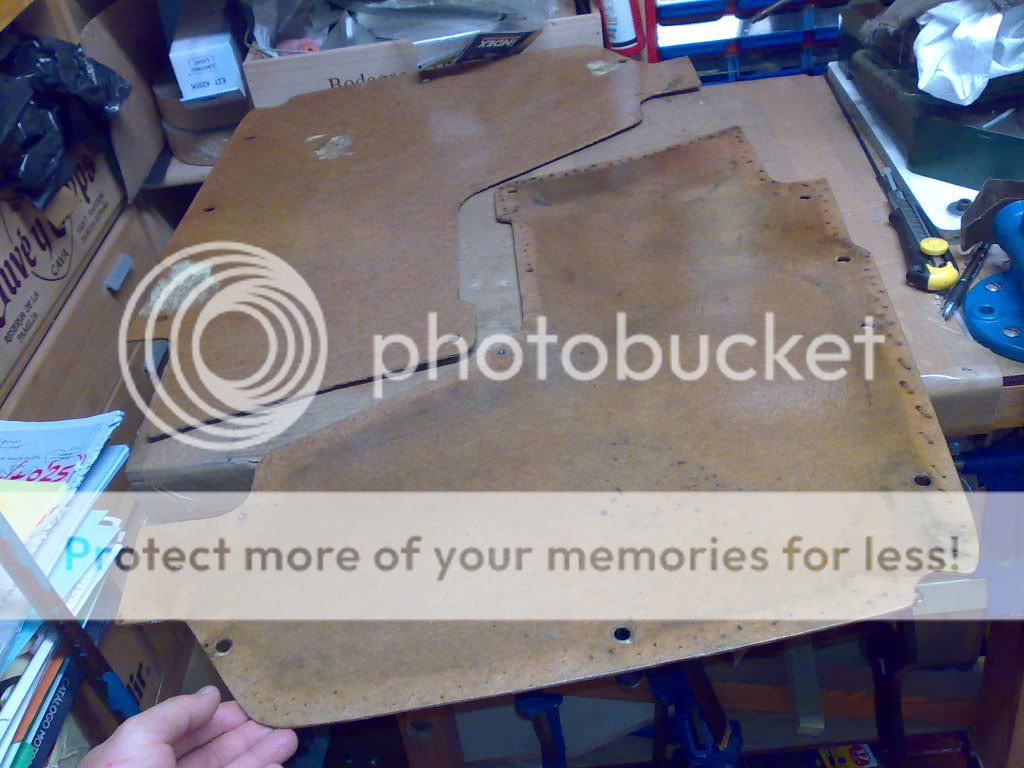
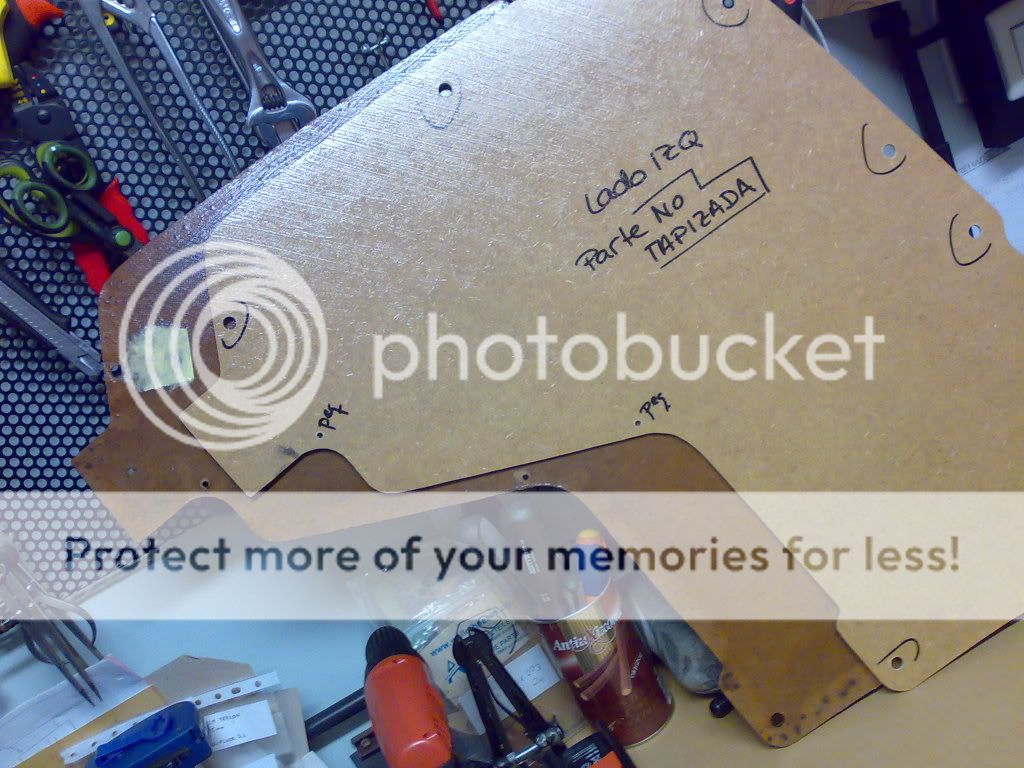
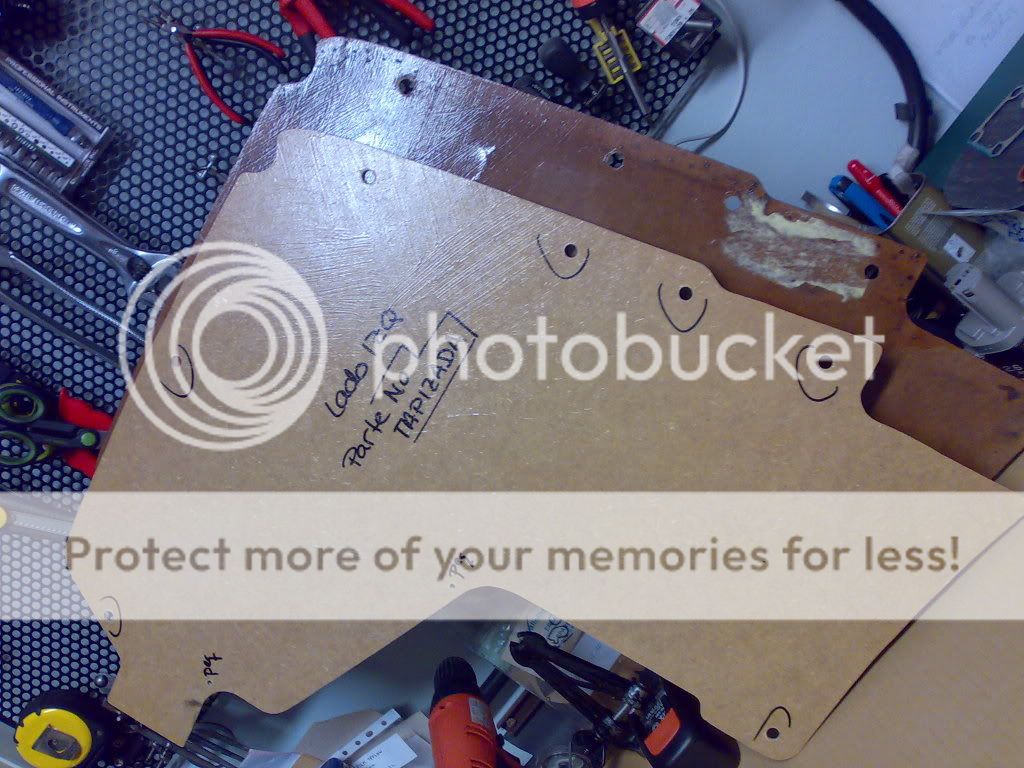
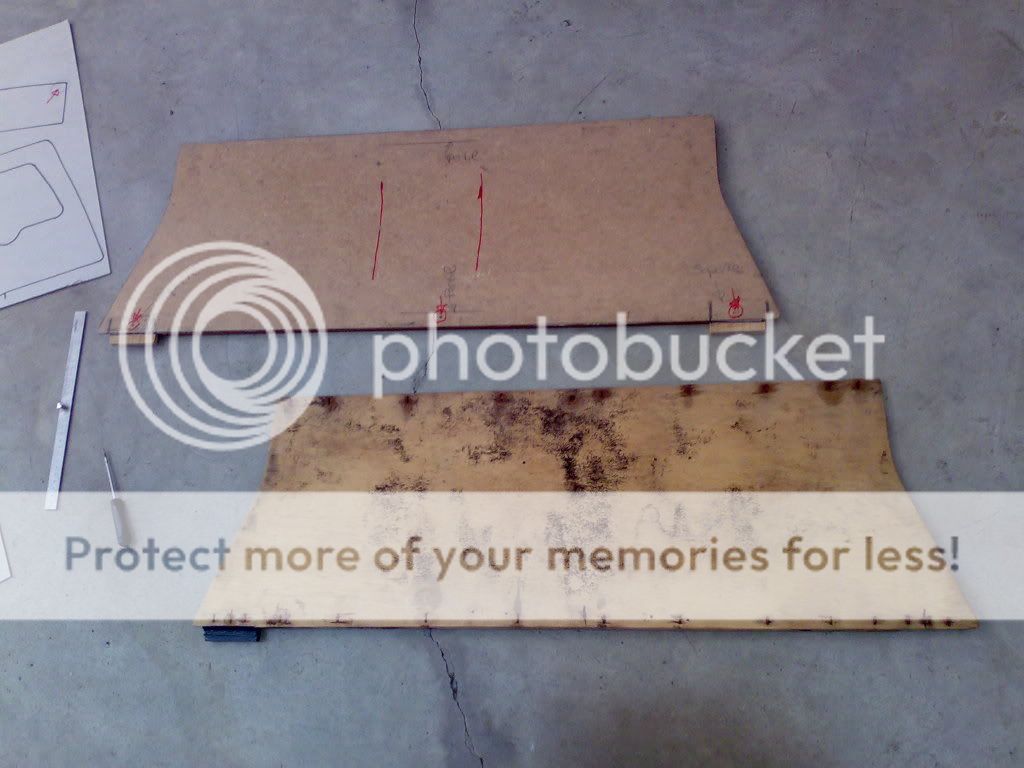
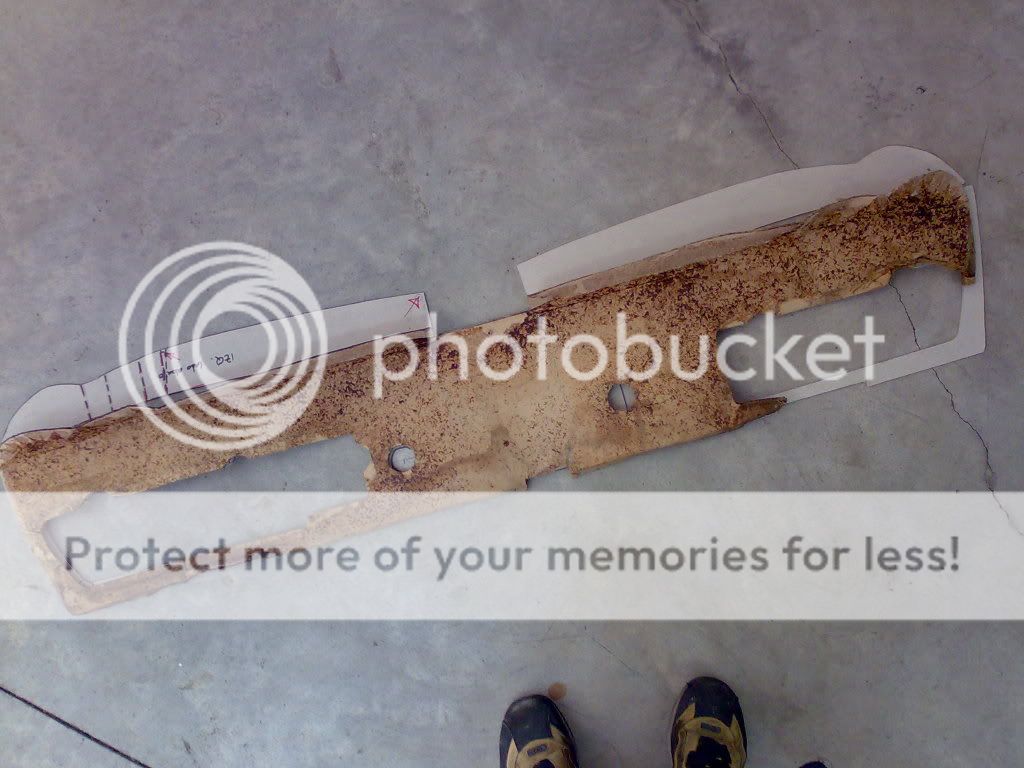
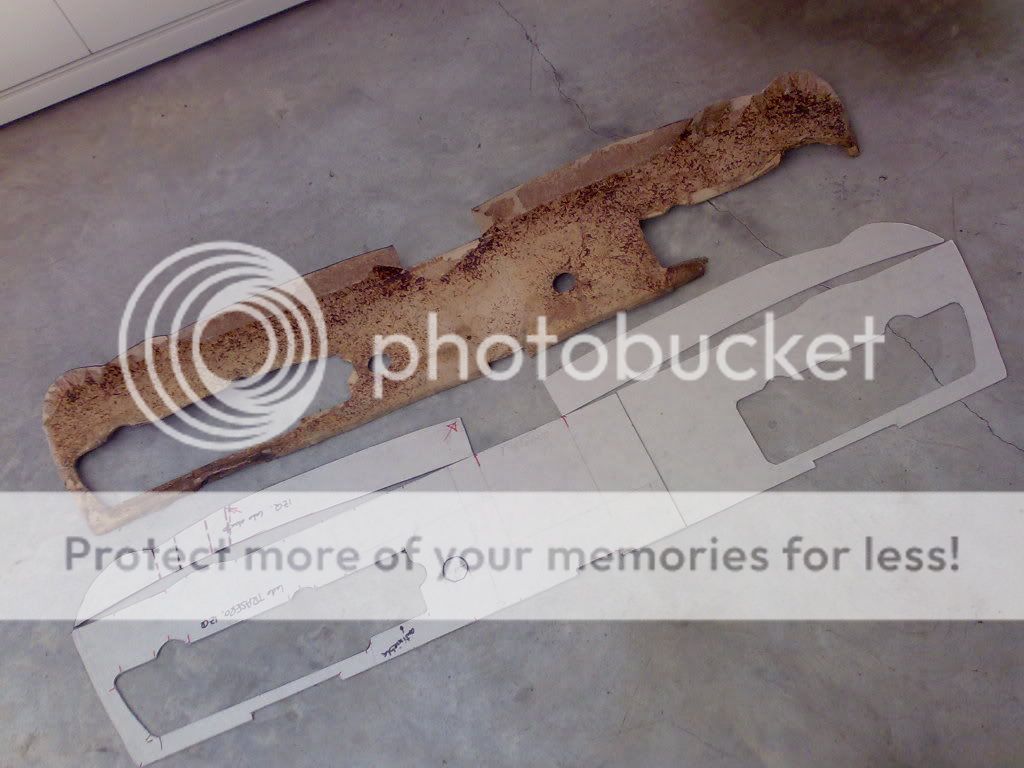
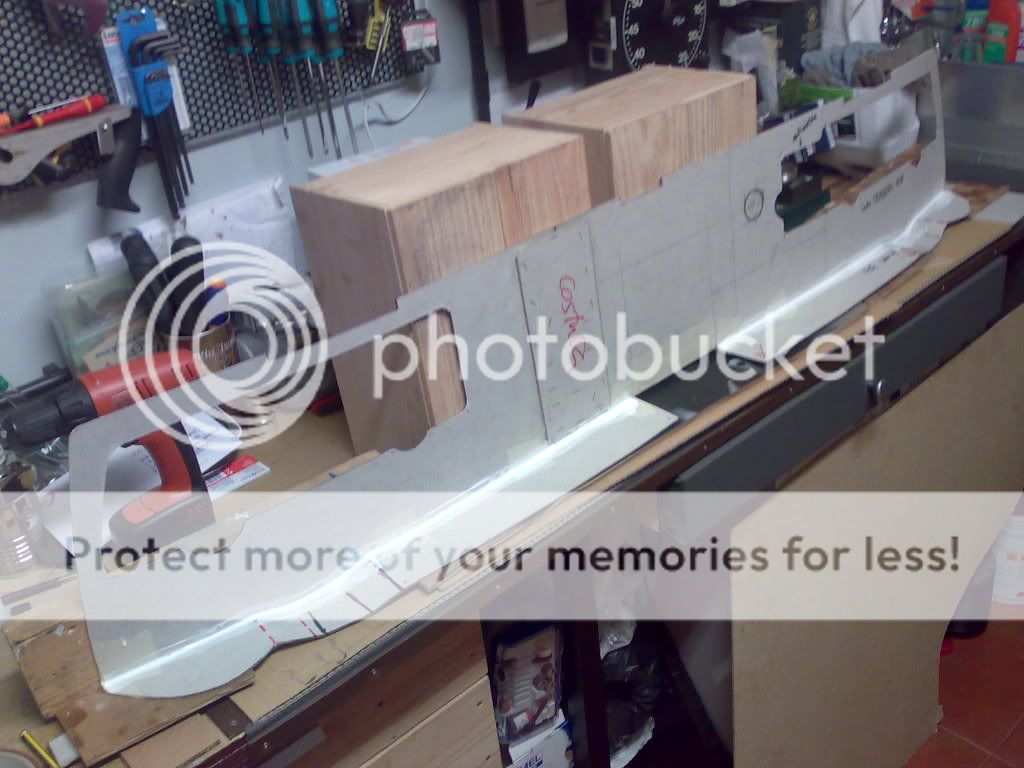
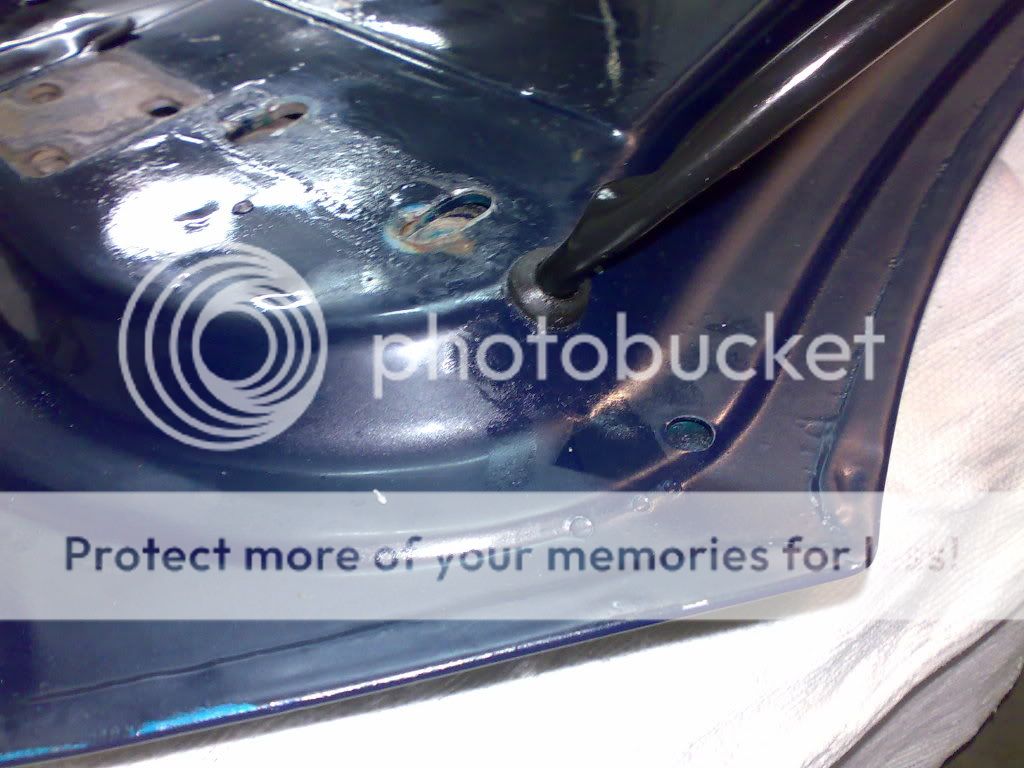
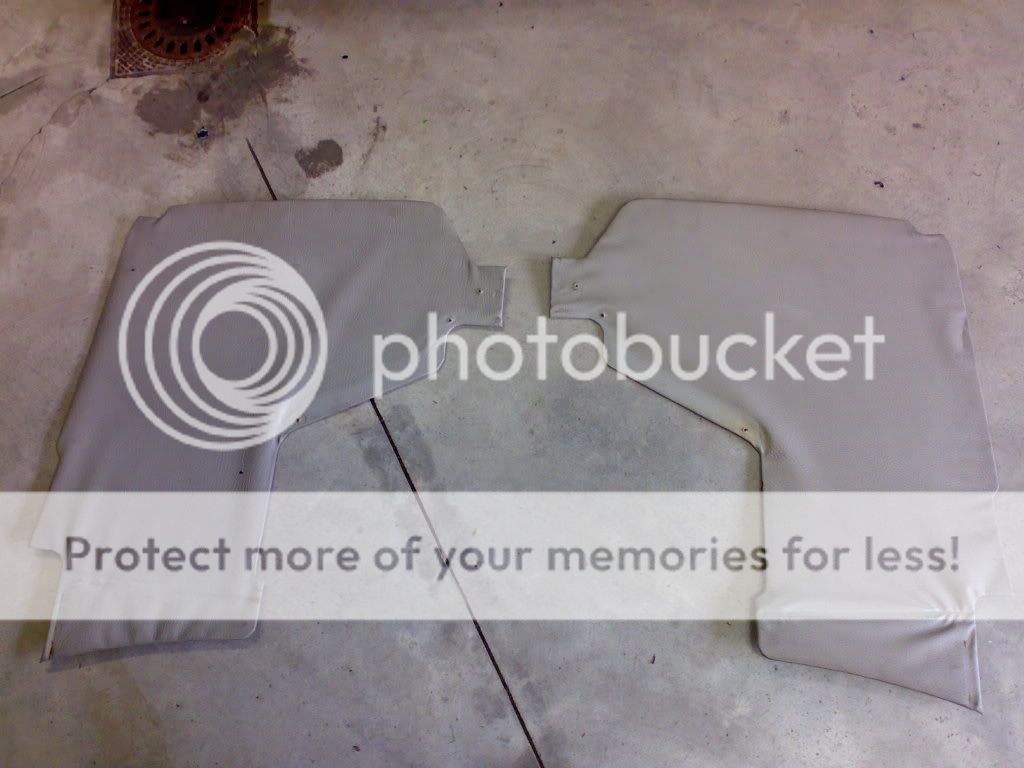
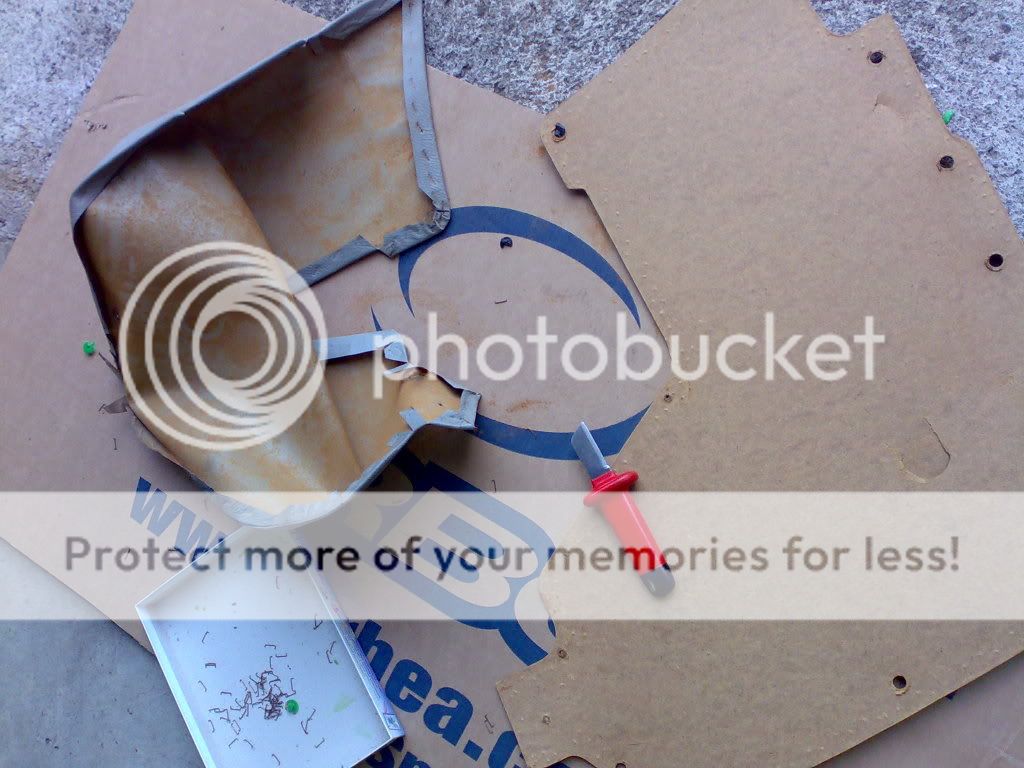
condition found of panels:
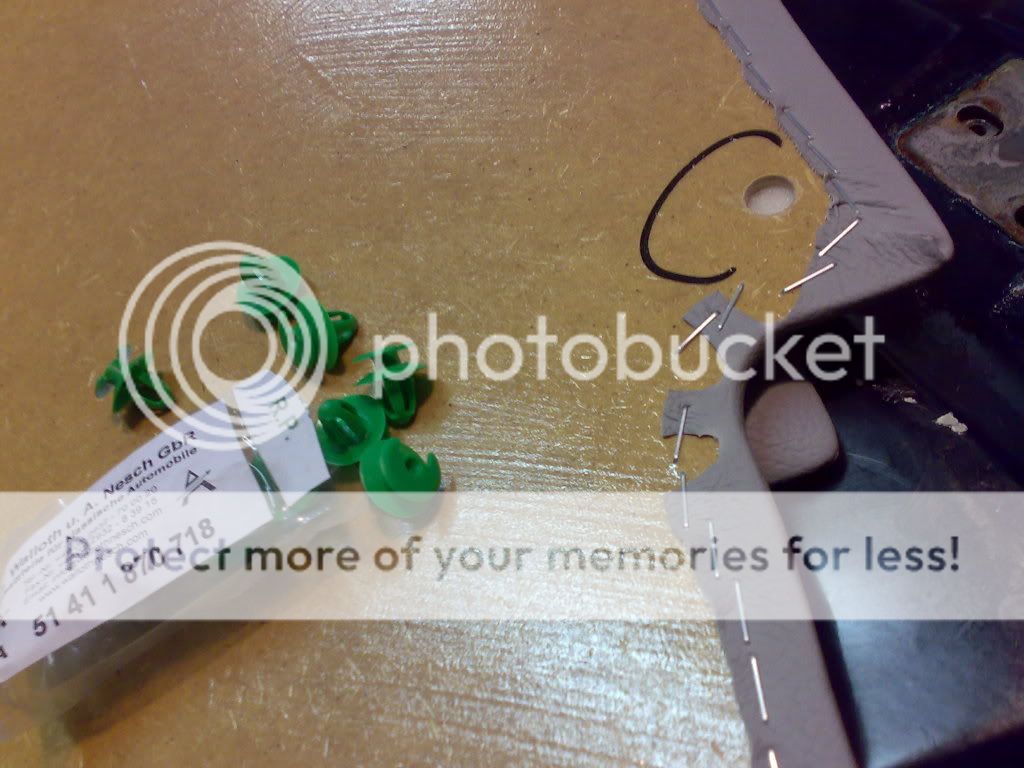
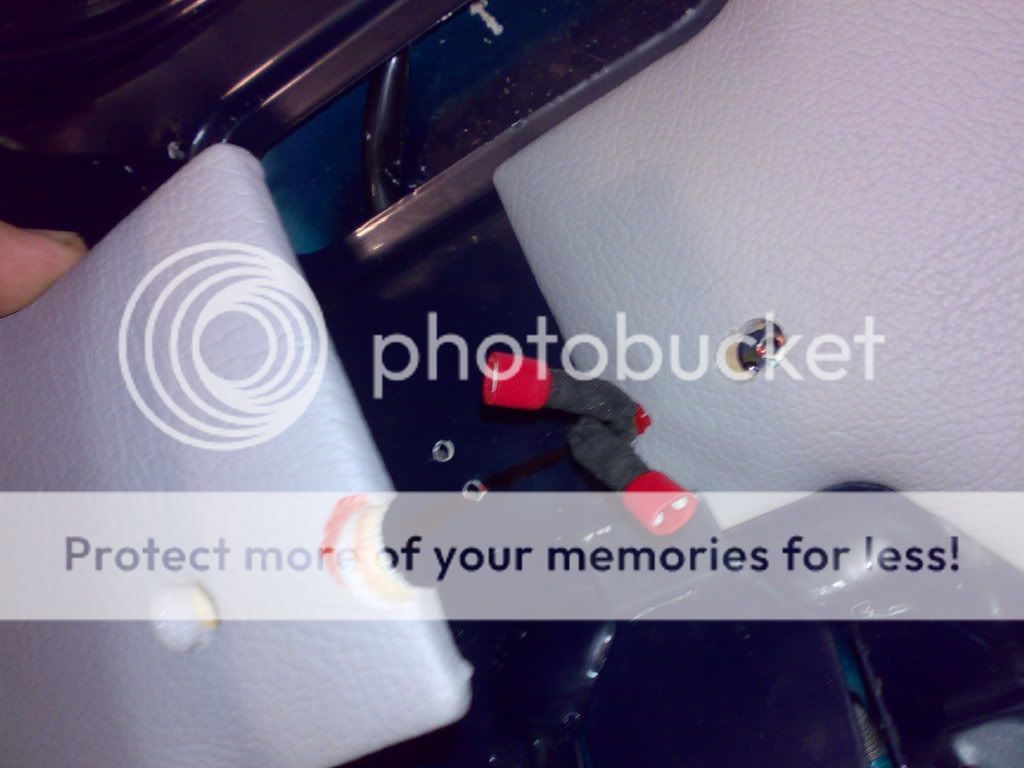
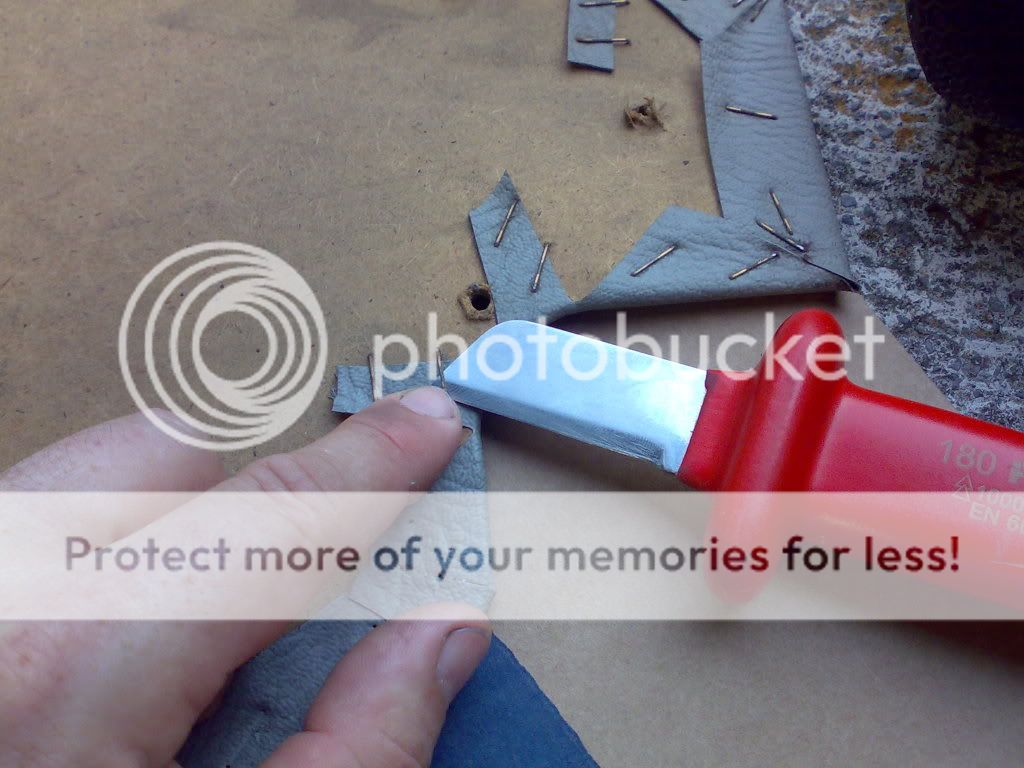
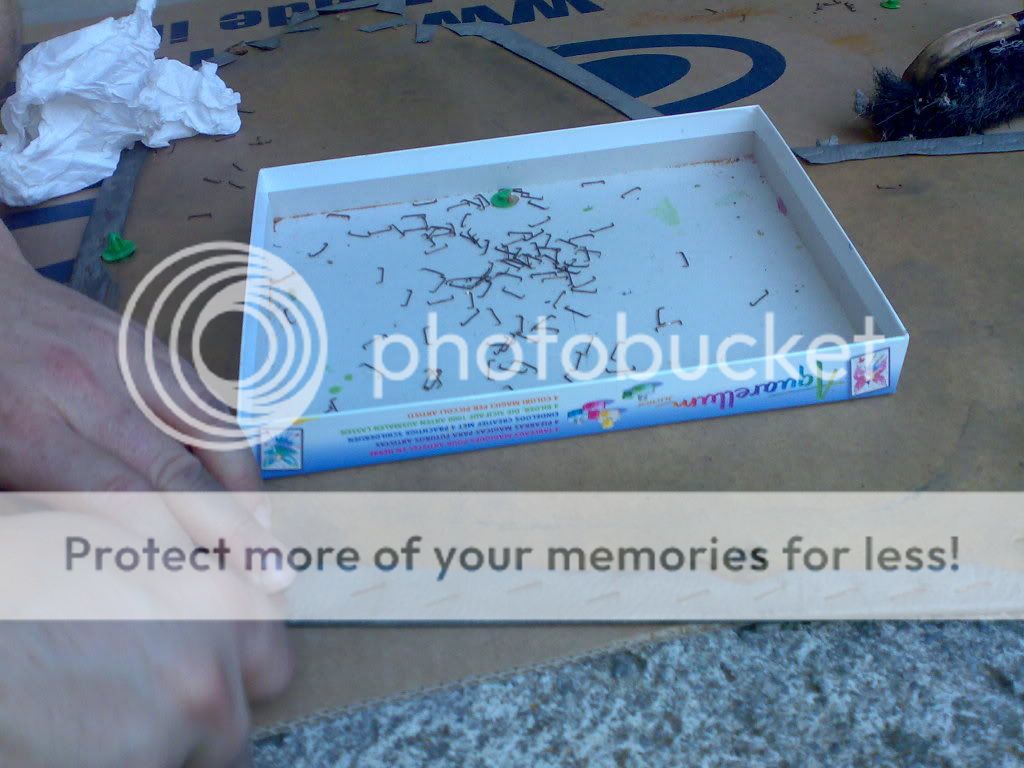
remove staples:
remove textile skin:
clean with soap and water
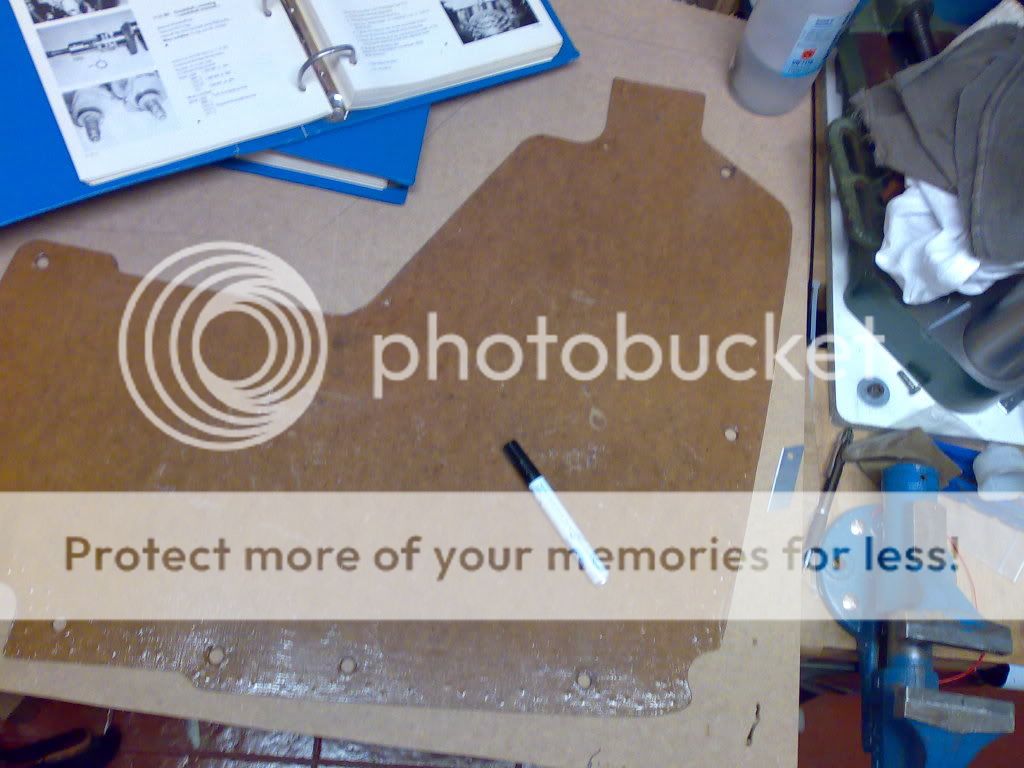
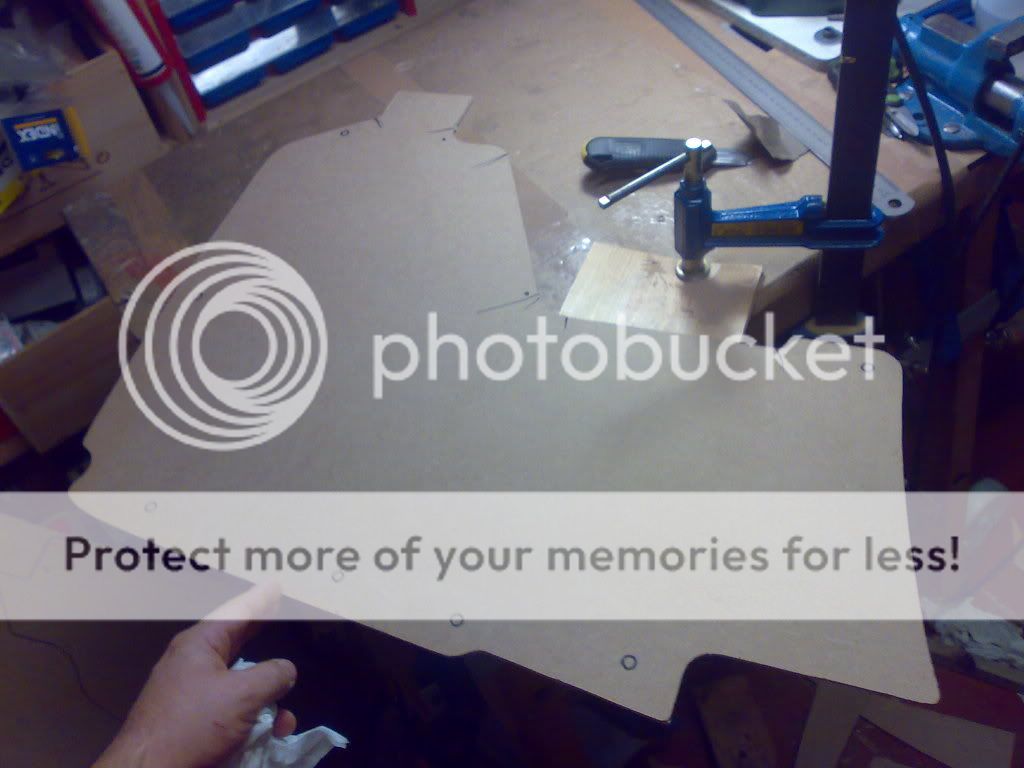
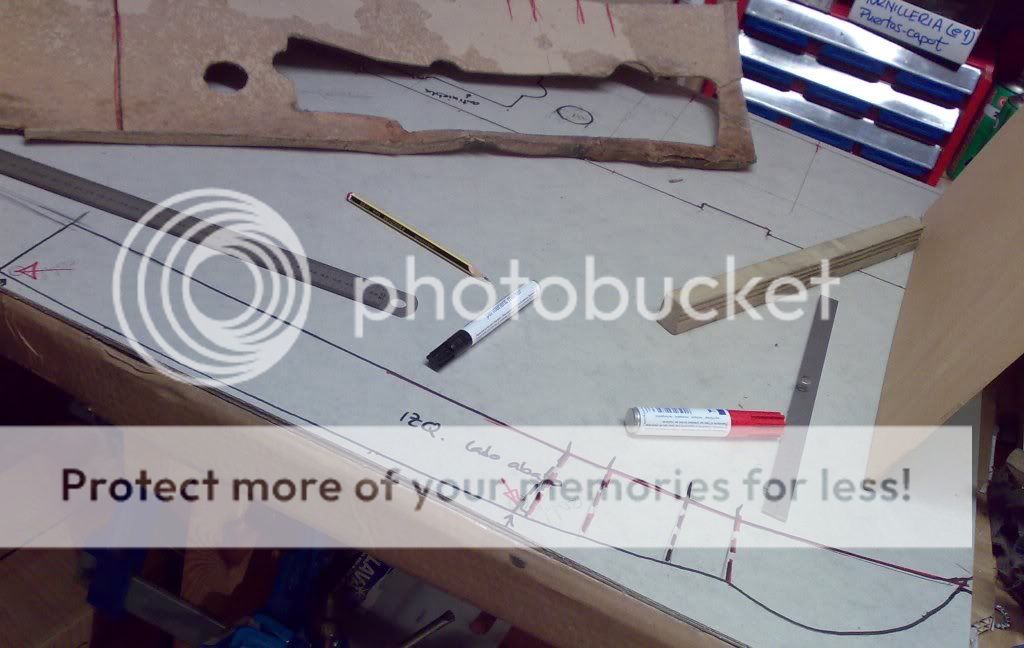
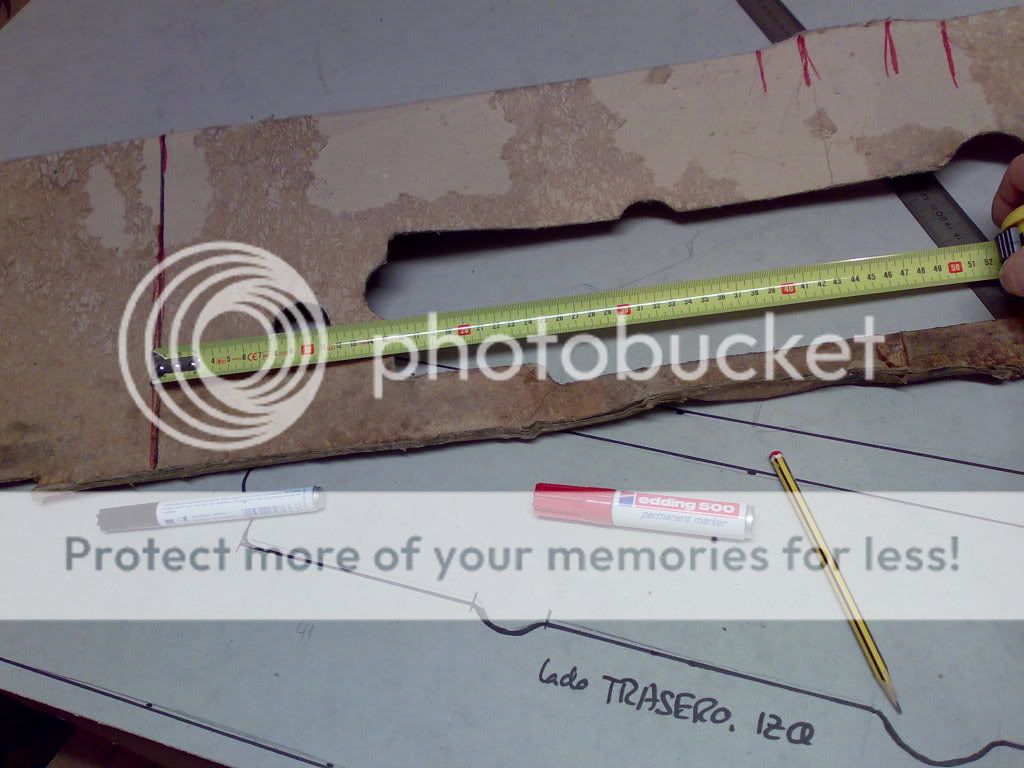
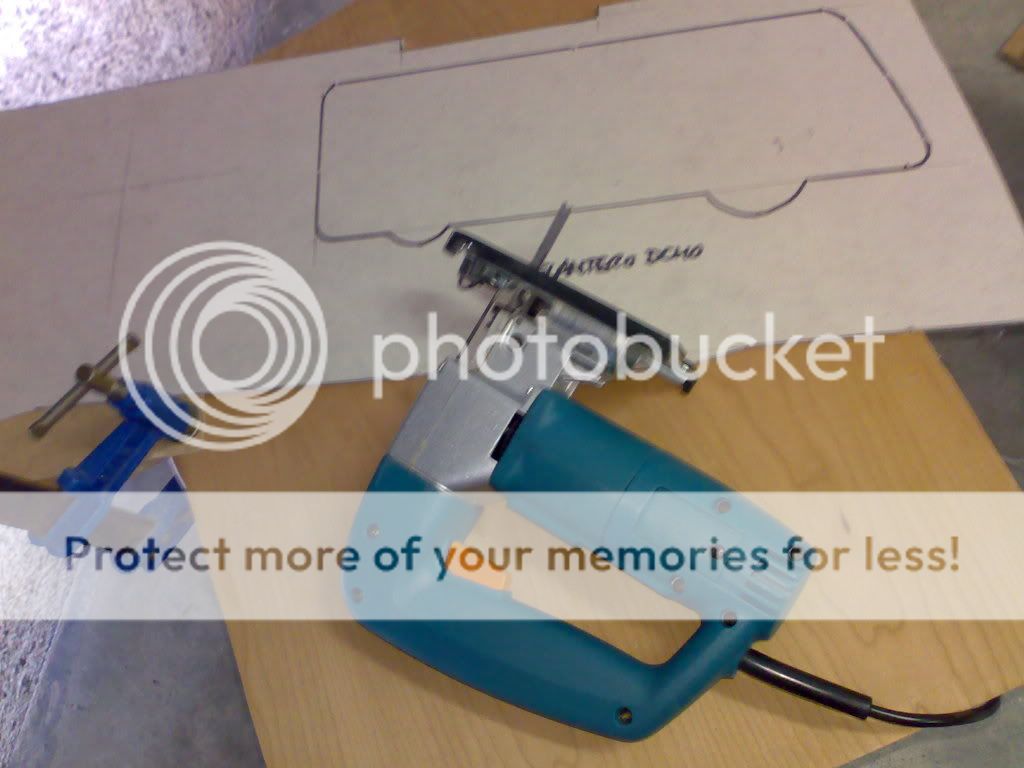
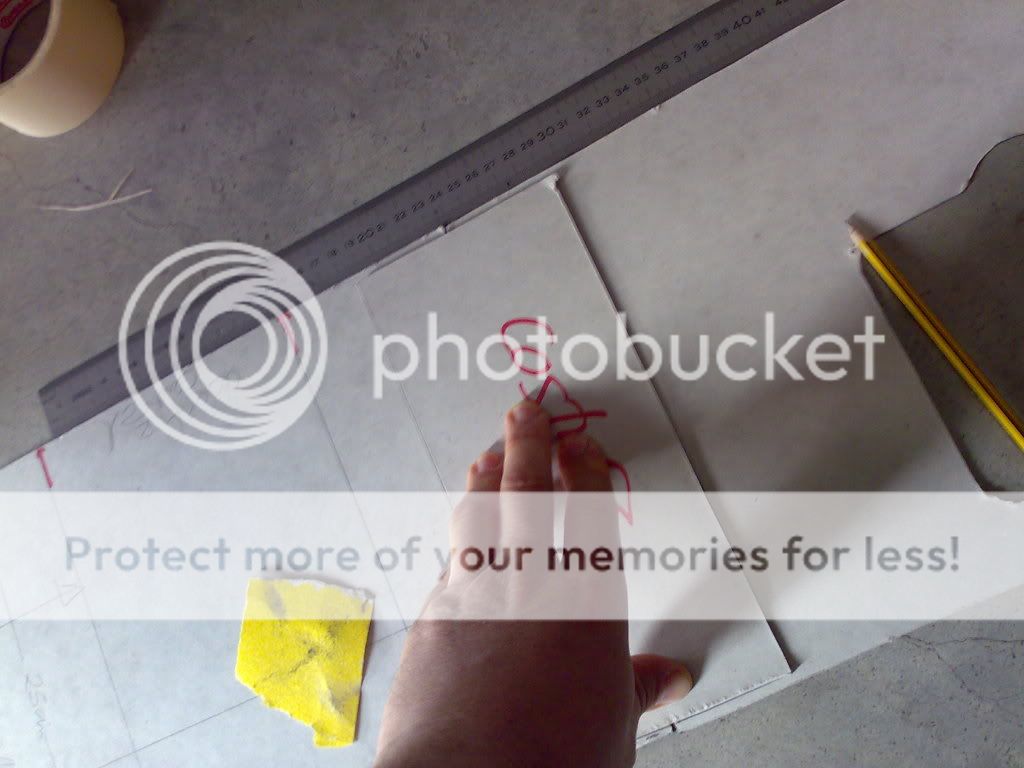
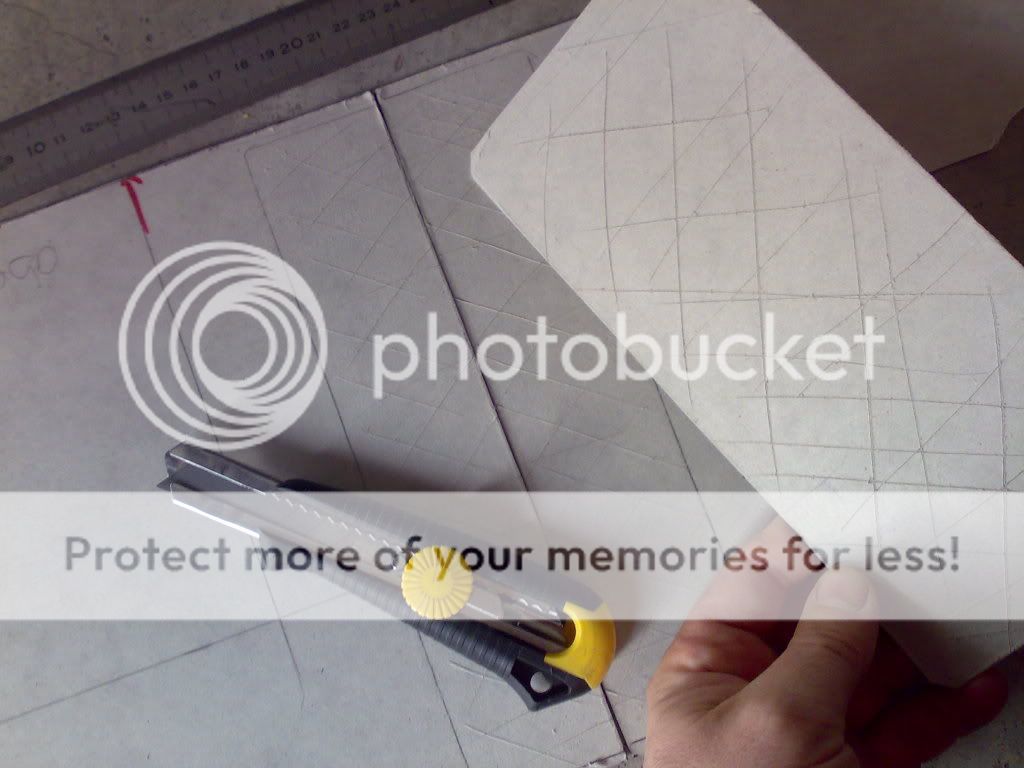
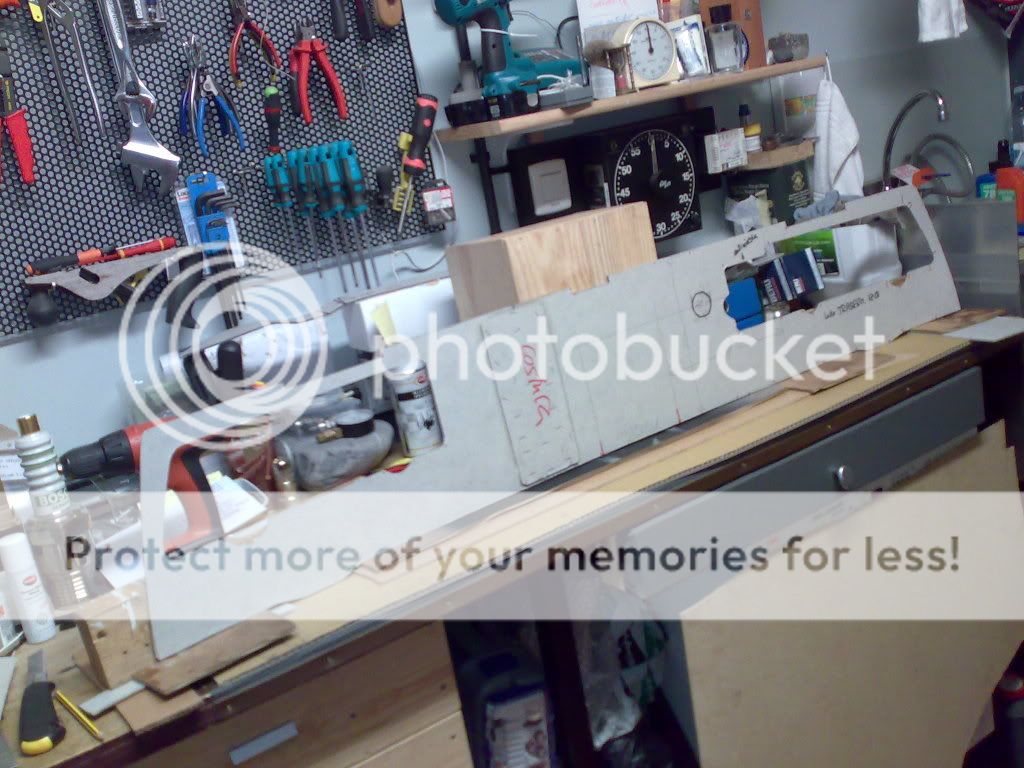
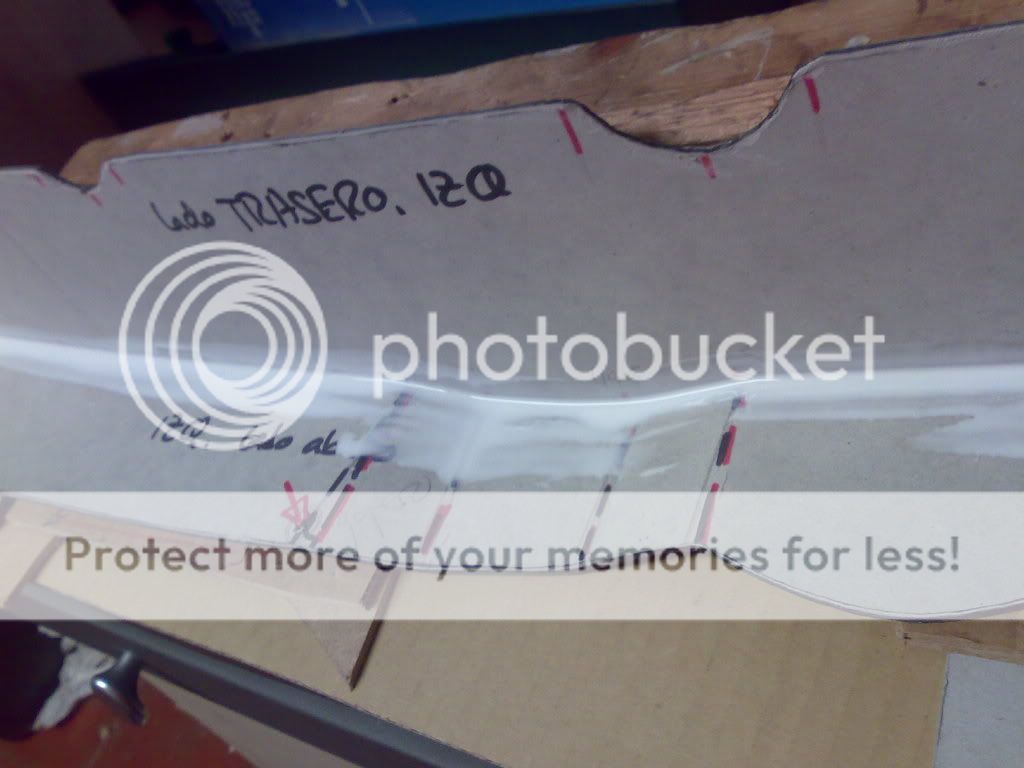
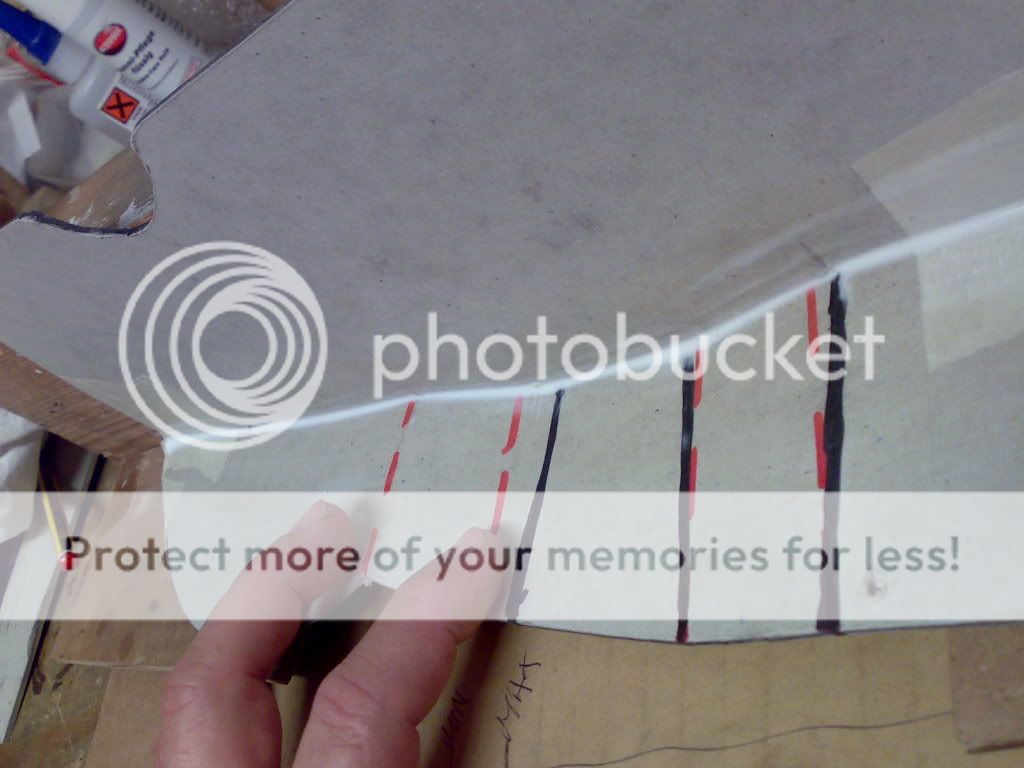
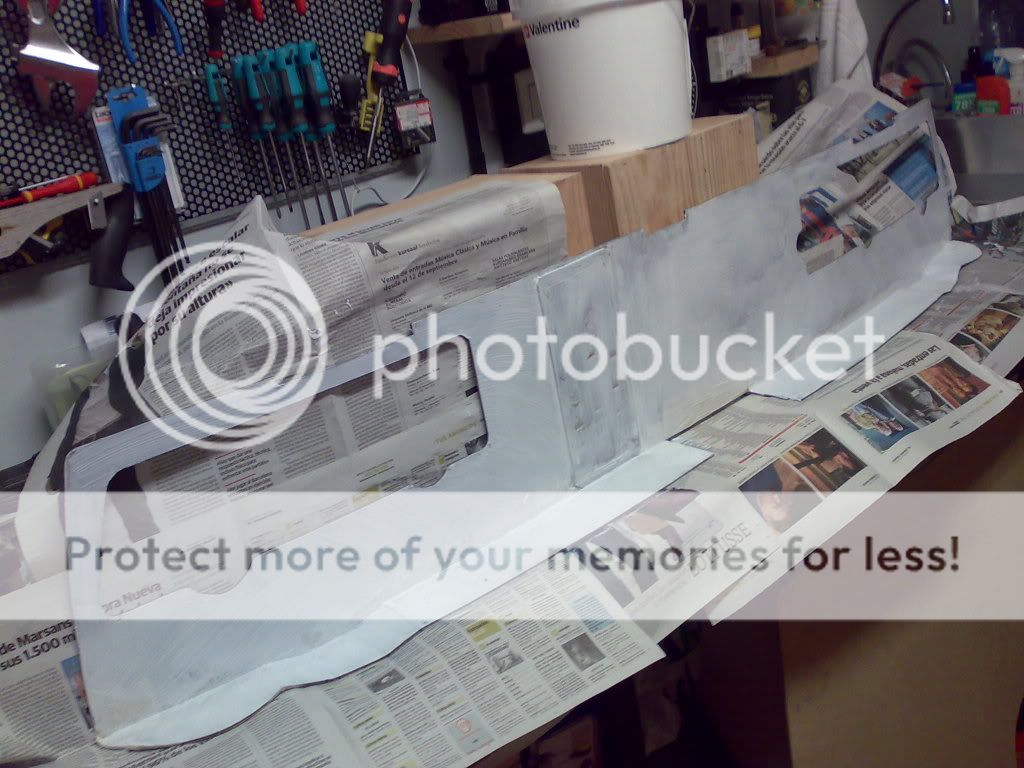
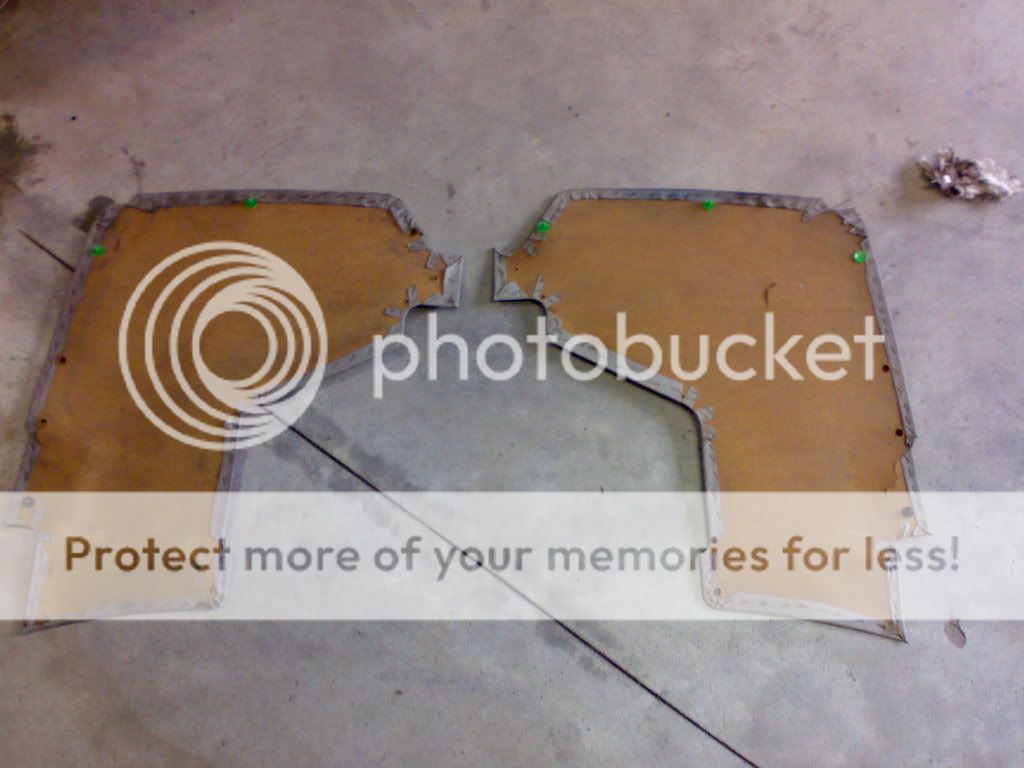
cardboard:

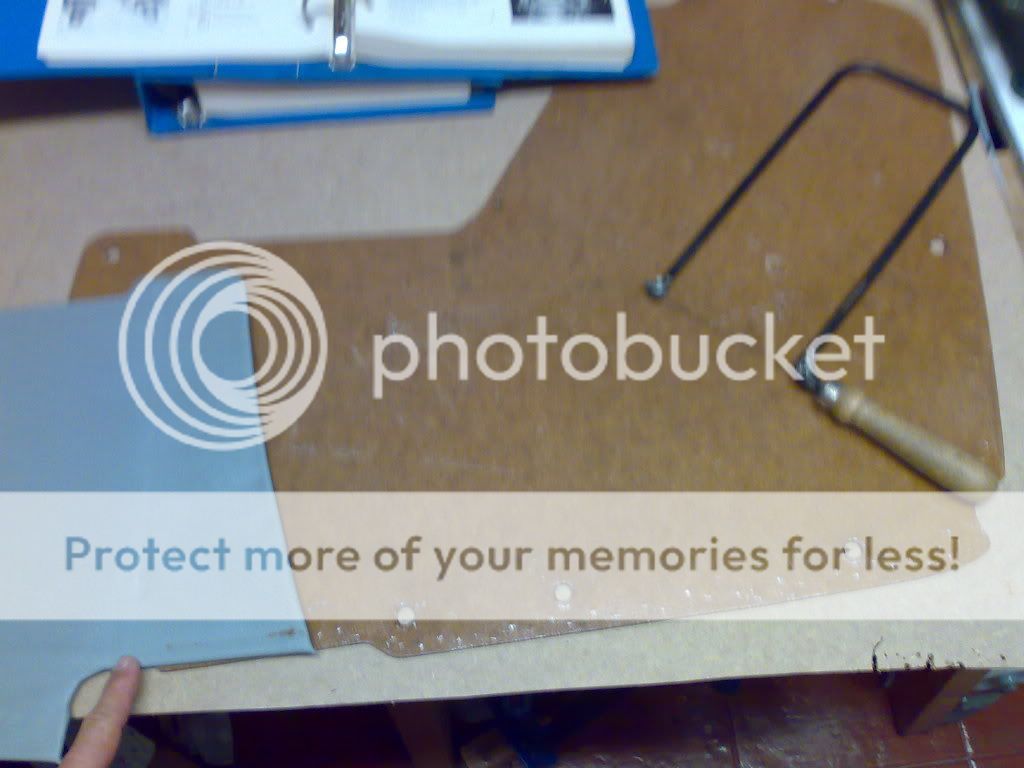
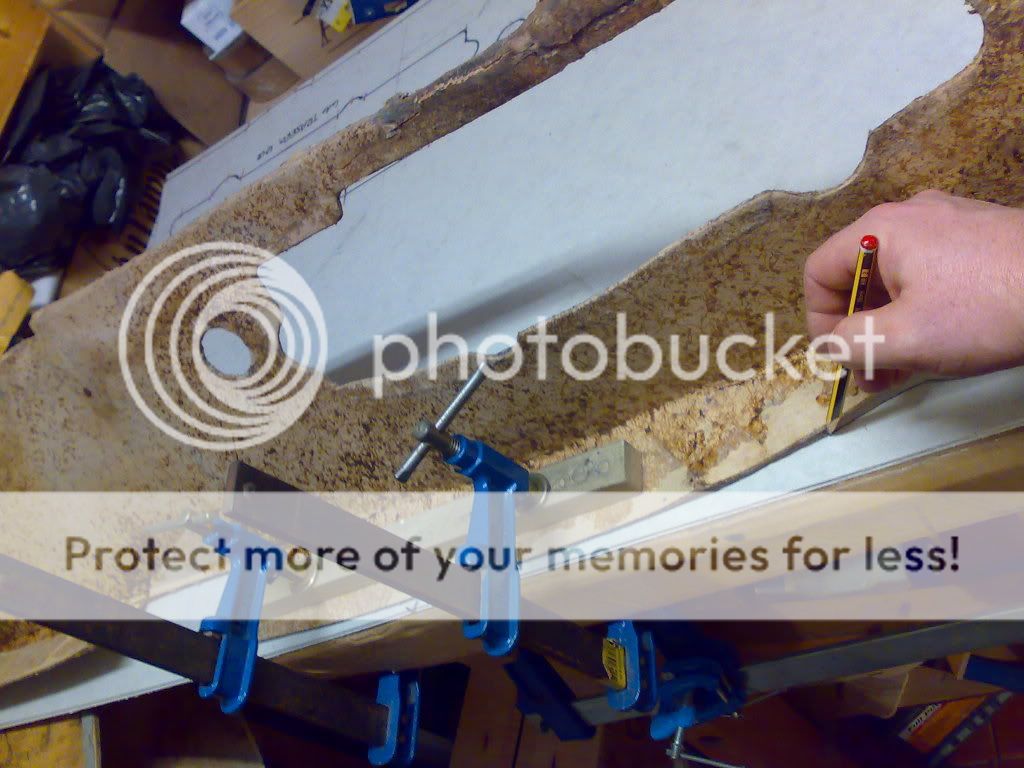
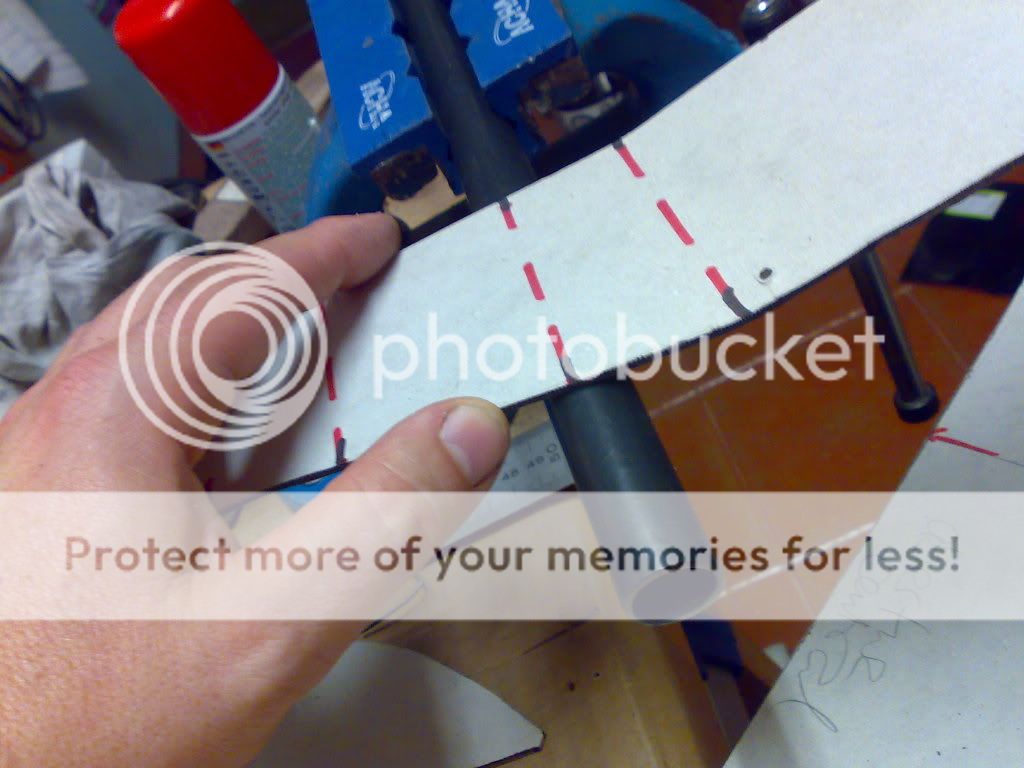
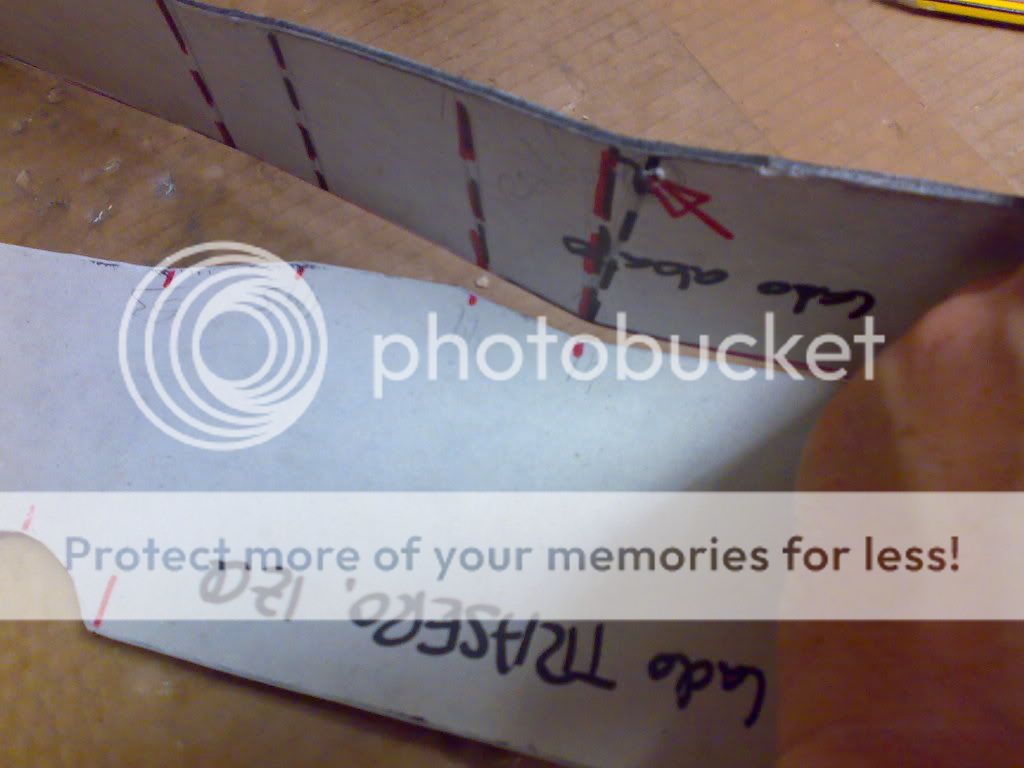
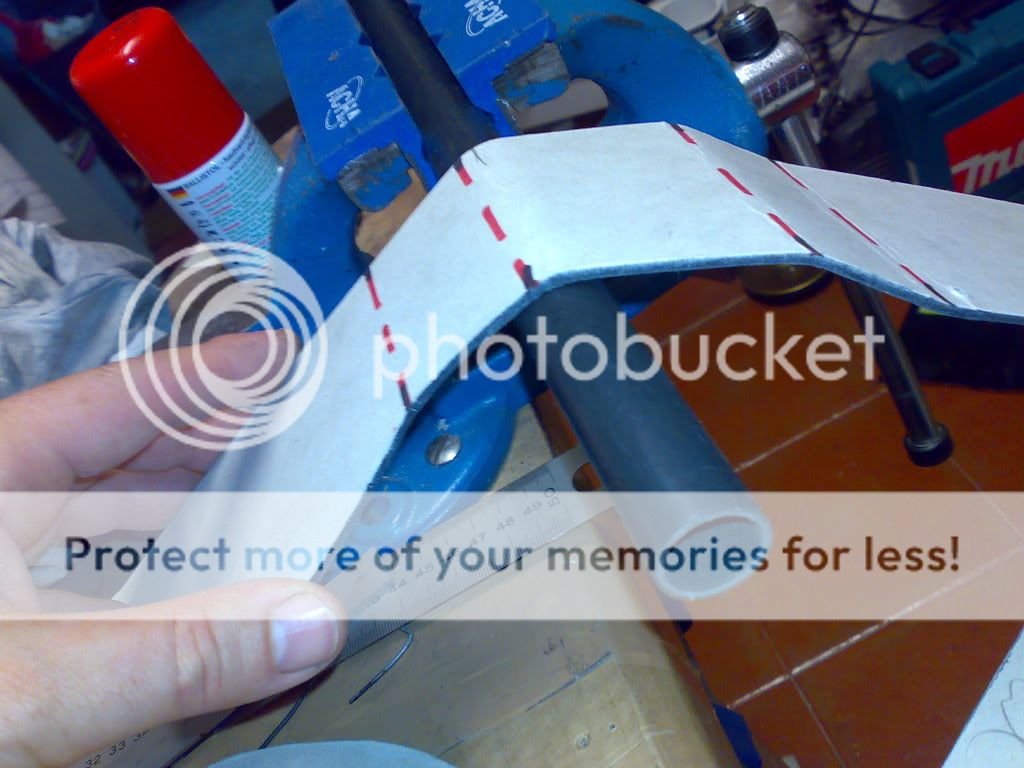
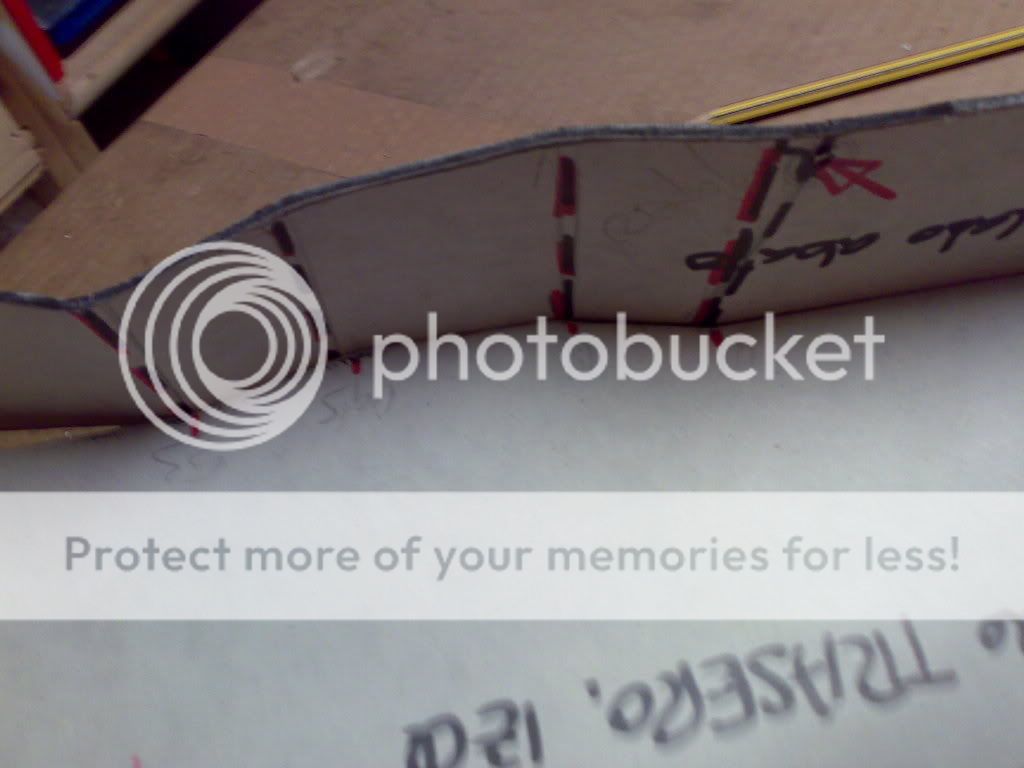
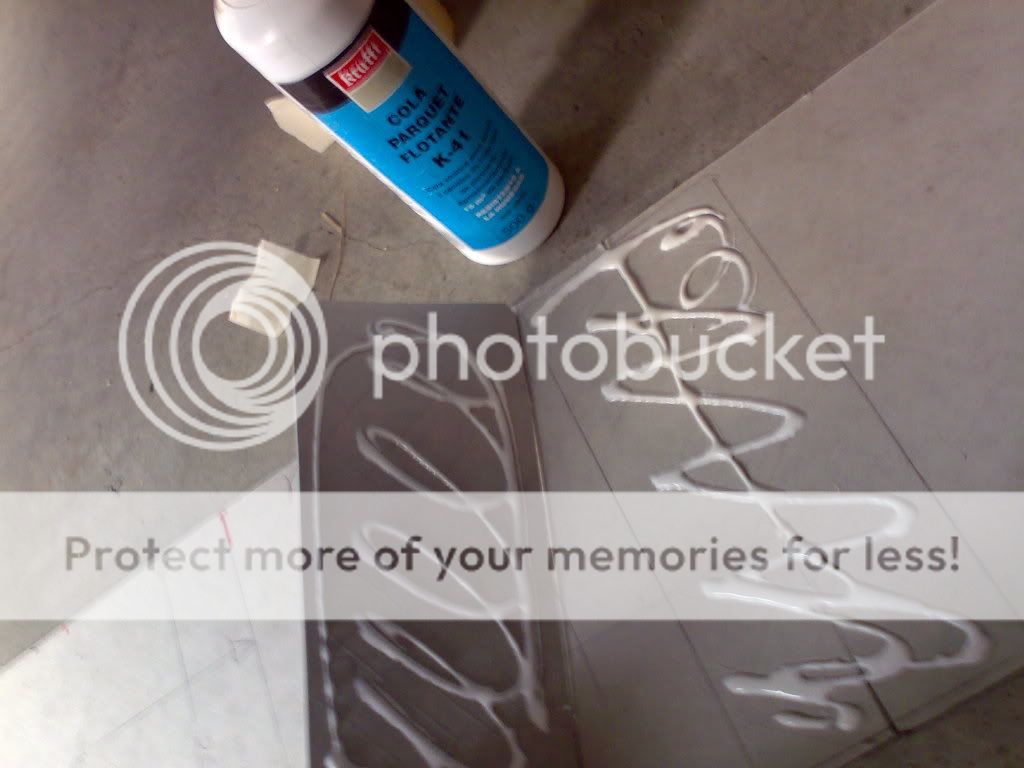
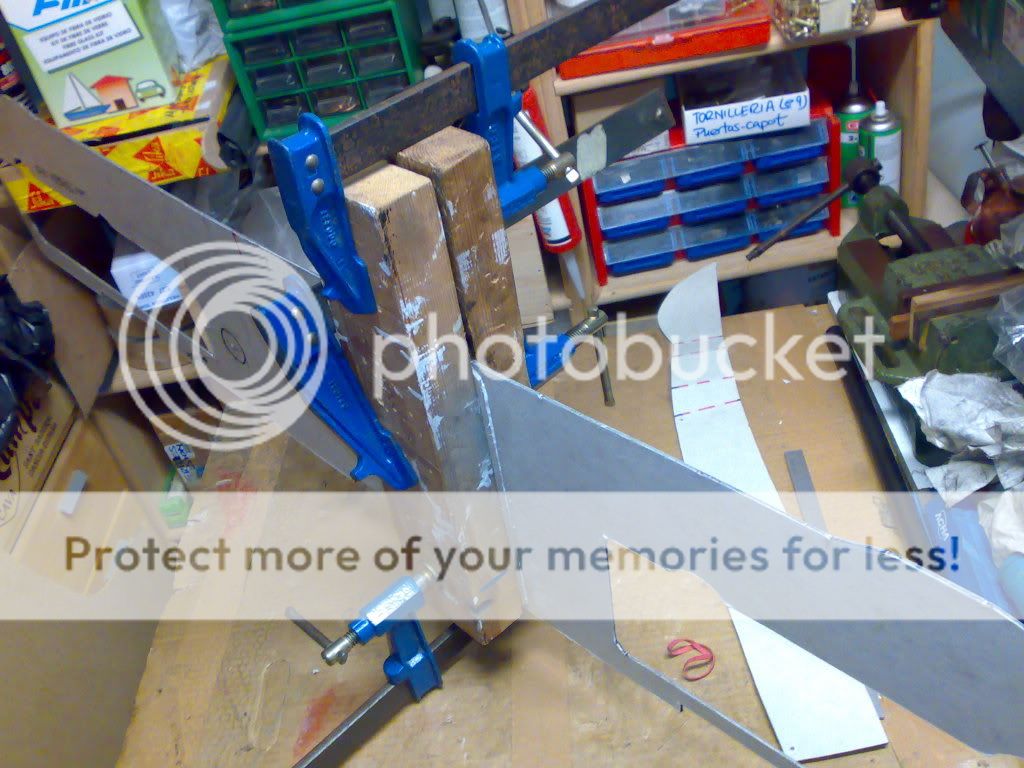
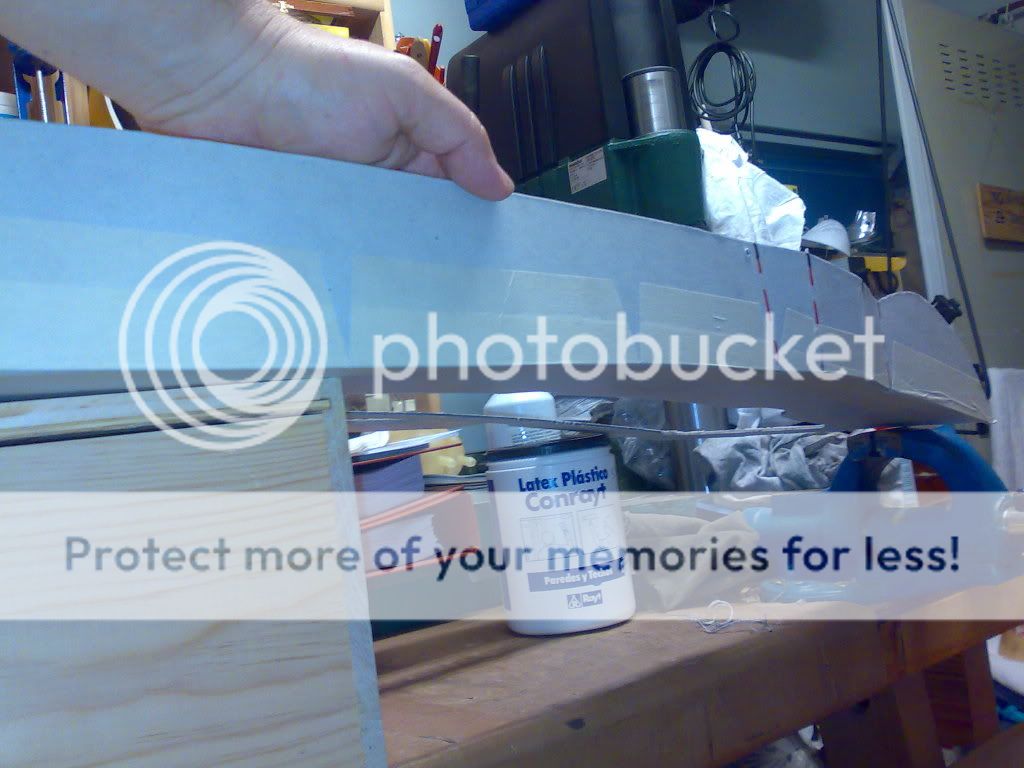
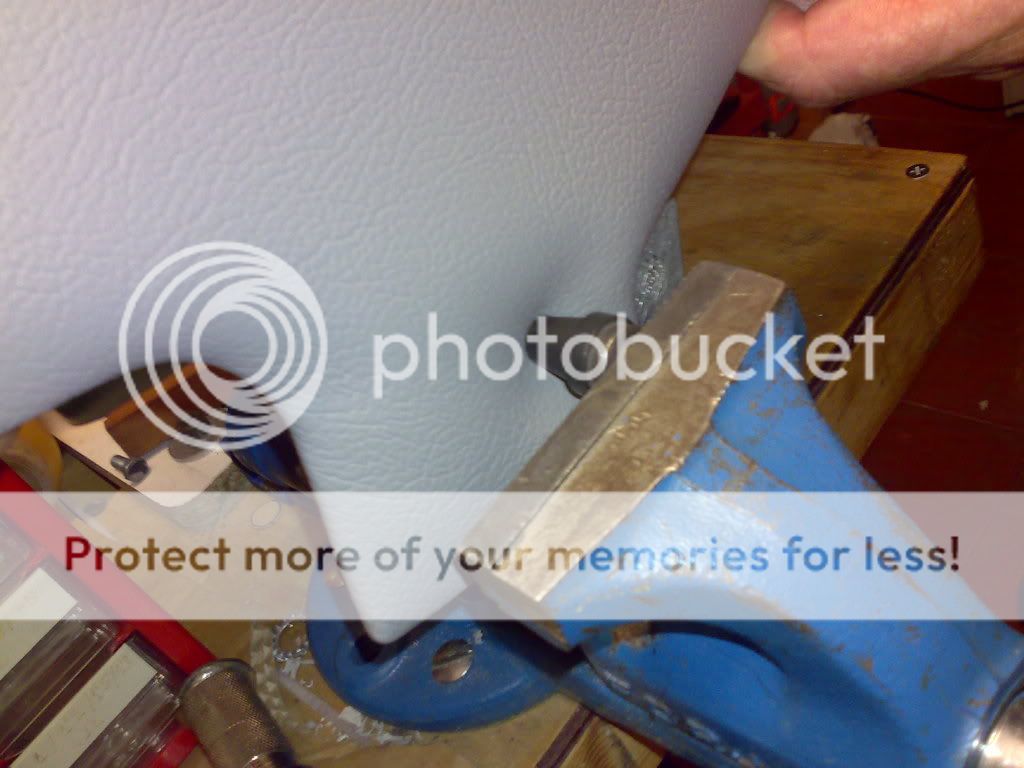
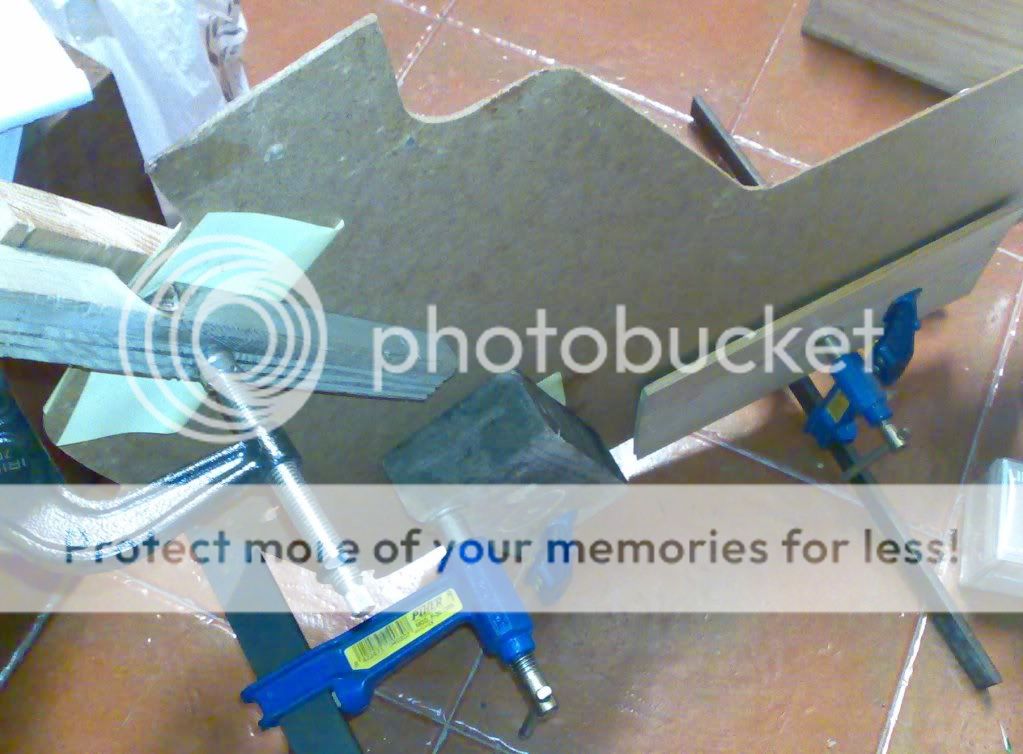
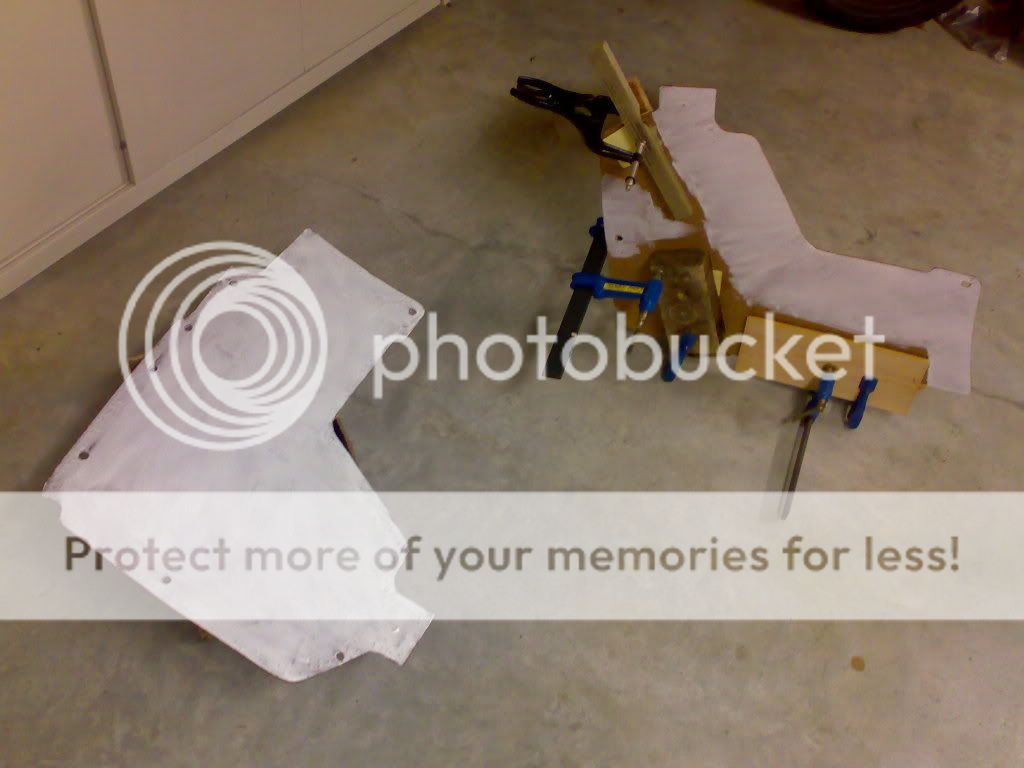
some repairs of broken areas with white glue, using wood blocks to press and reshape
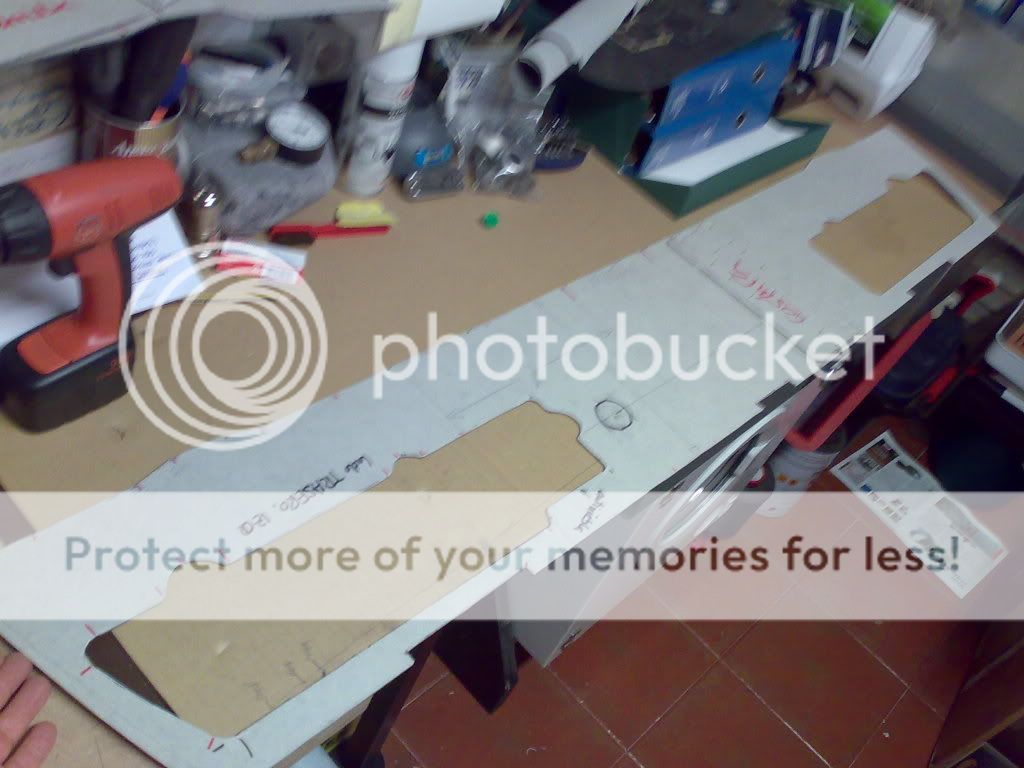
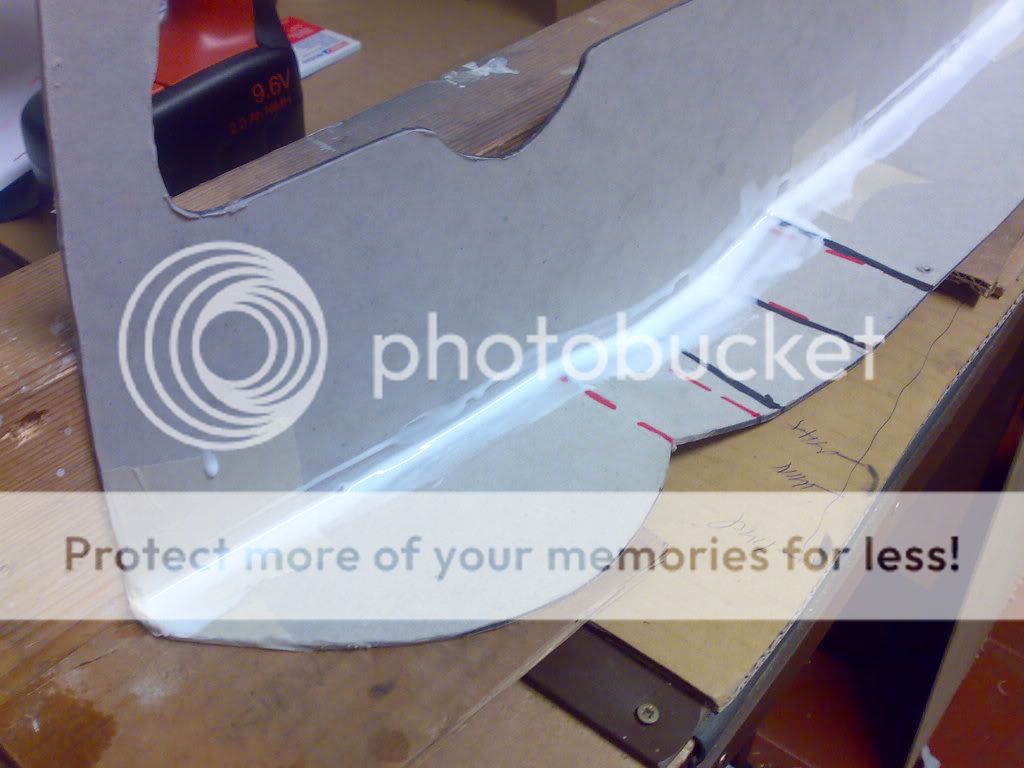
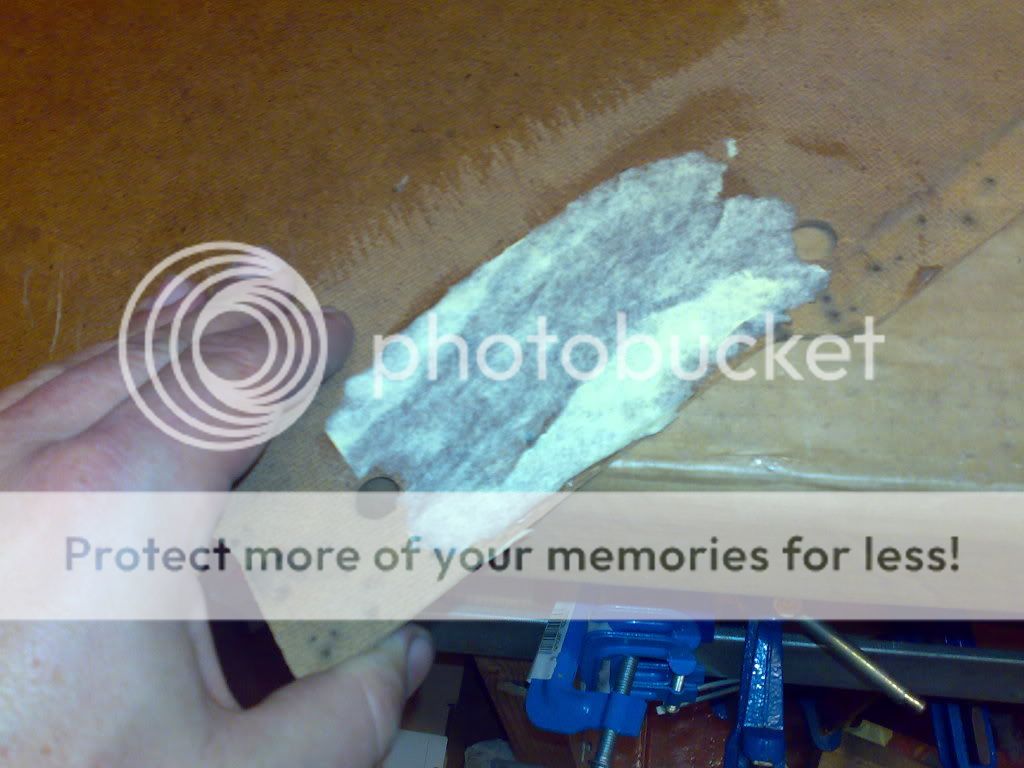
aspect of repaired cracks
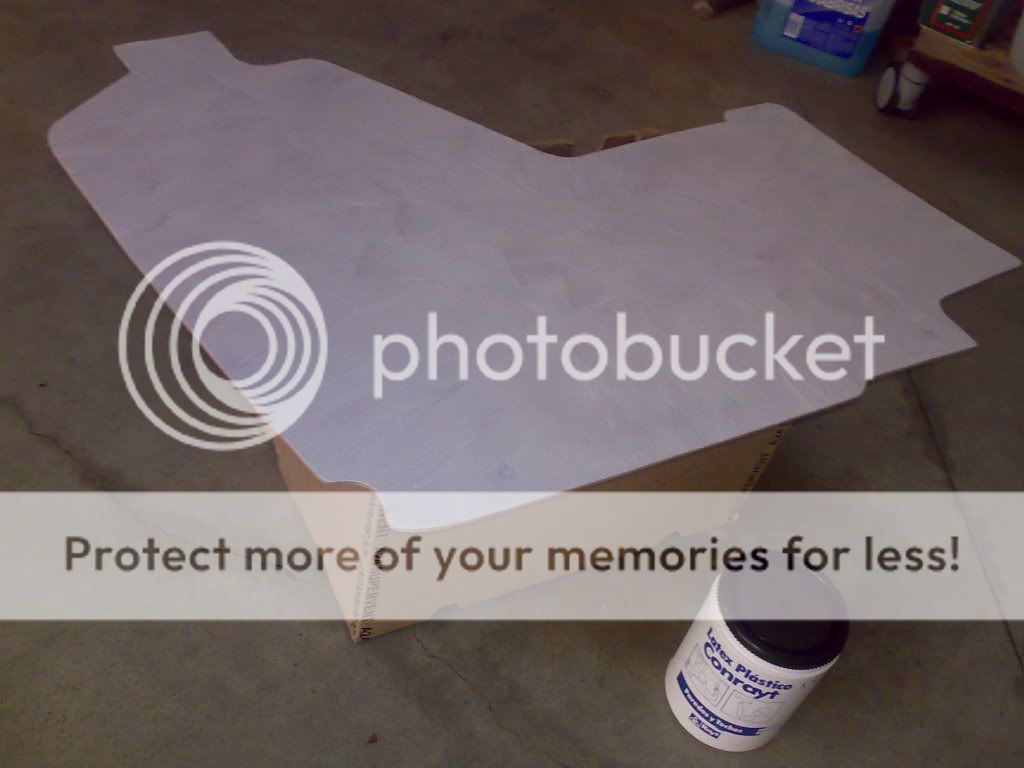
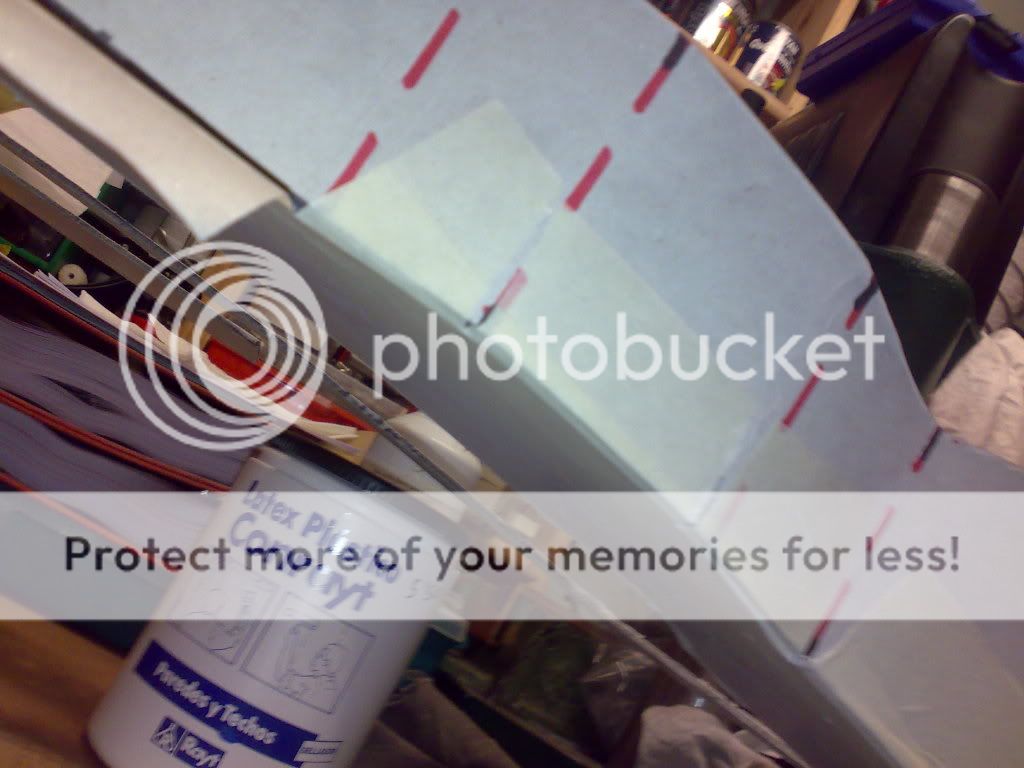
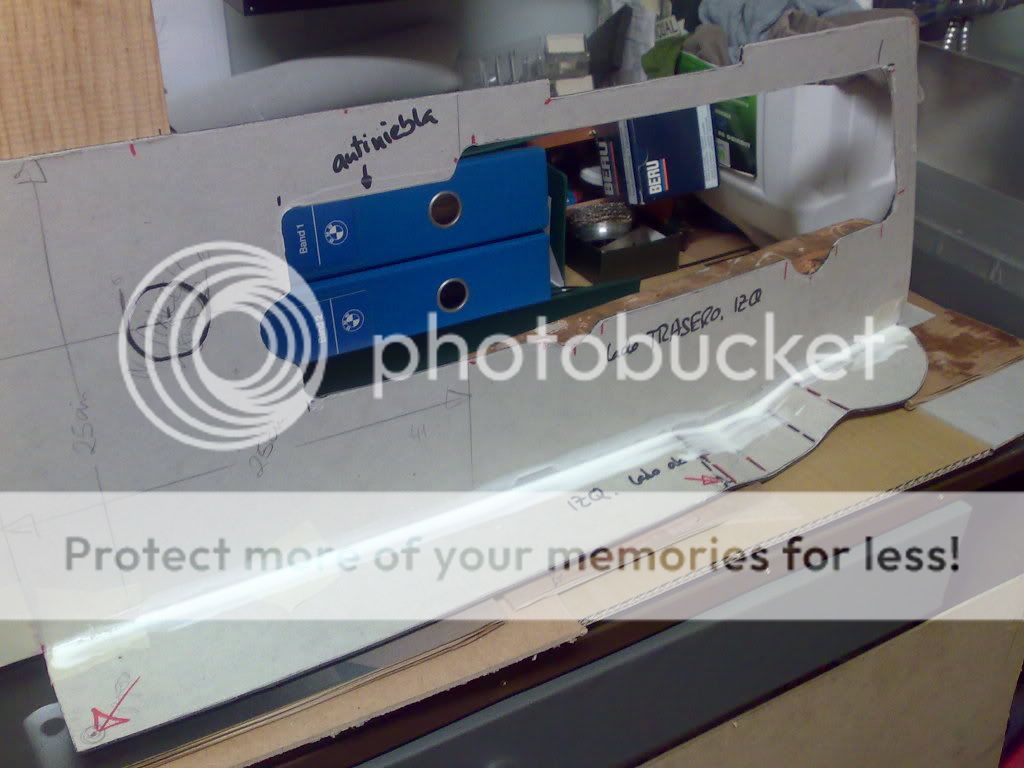
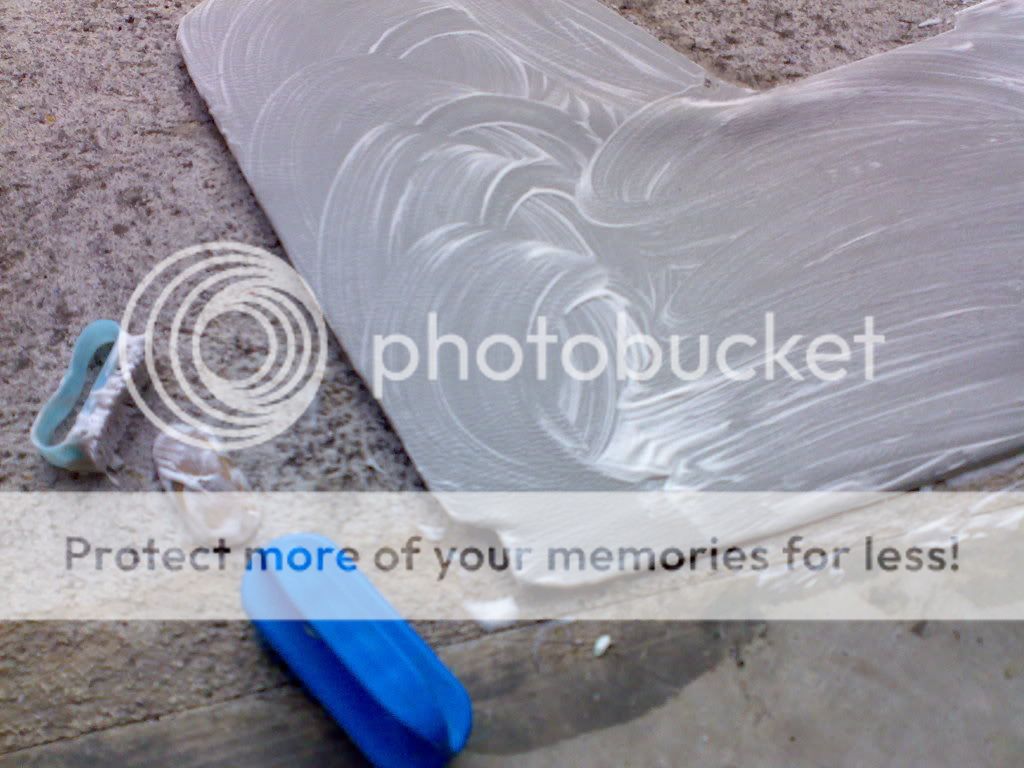
using LATEX for closing the cardboard to moisture and water:
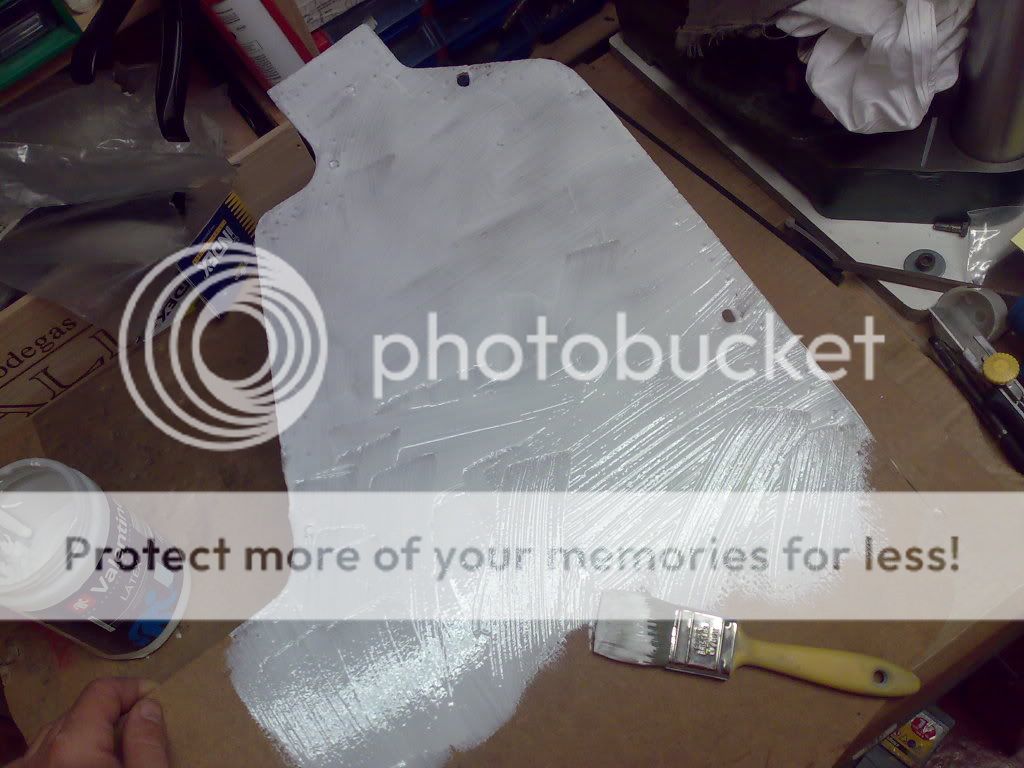
initially is white, but
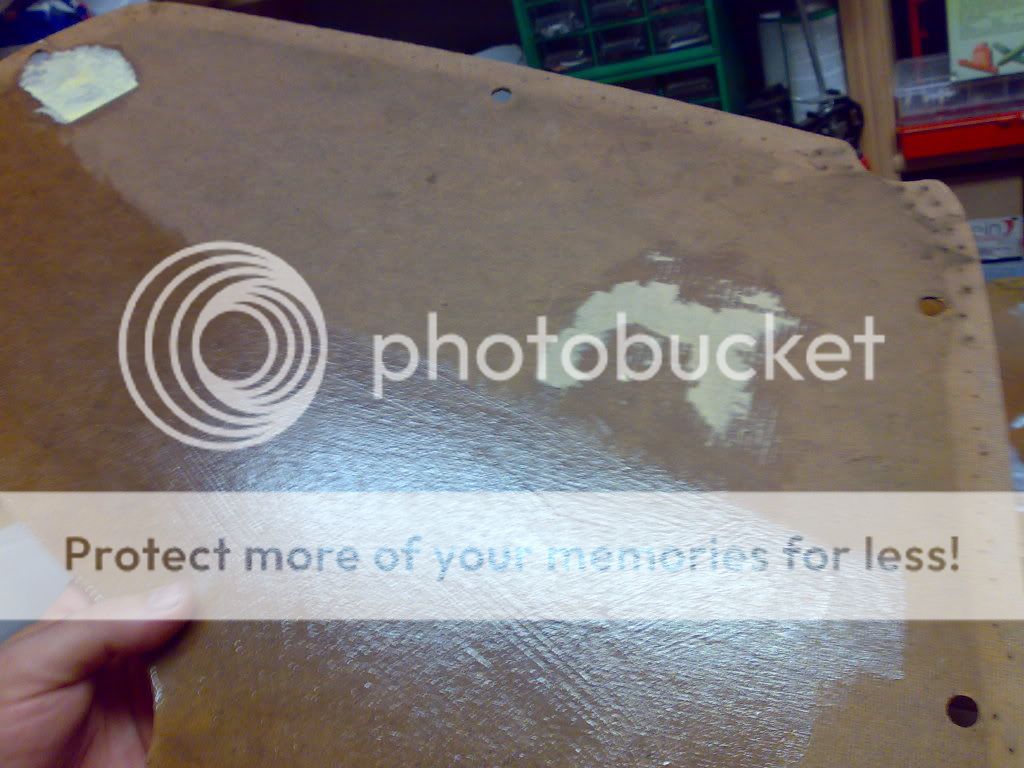
let it dry:
after drying, you can see half done, it becomes transparent
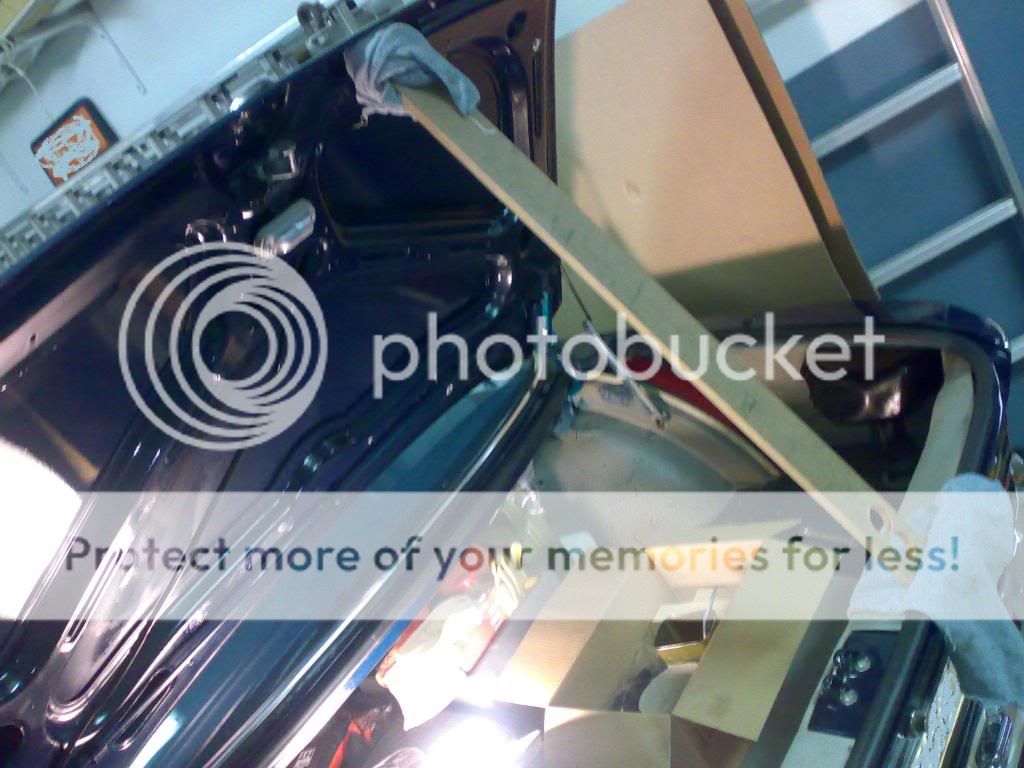
to be continued...
i am finding the cardboards of the trim panels quite damaged by humidity, it is a very poor material for this kind of use because it is not really prepared to avoid moisture
removal of the trim panels:
condition found of panels:
remove staples:
remove textile skin:
clean with soap and water
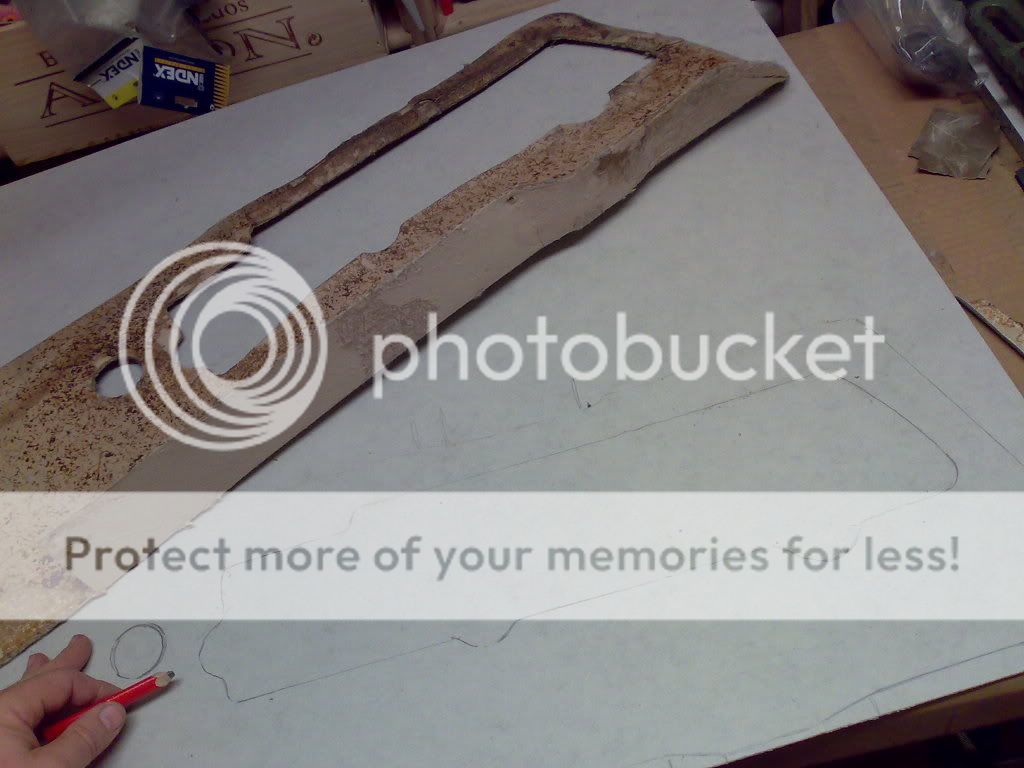
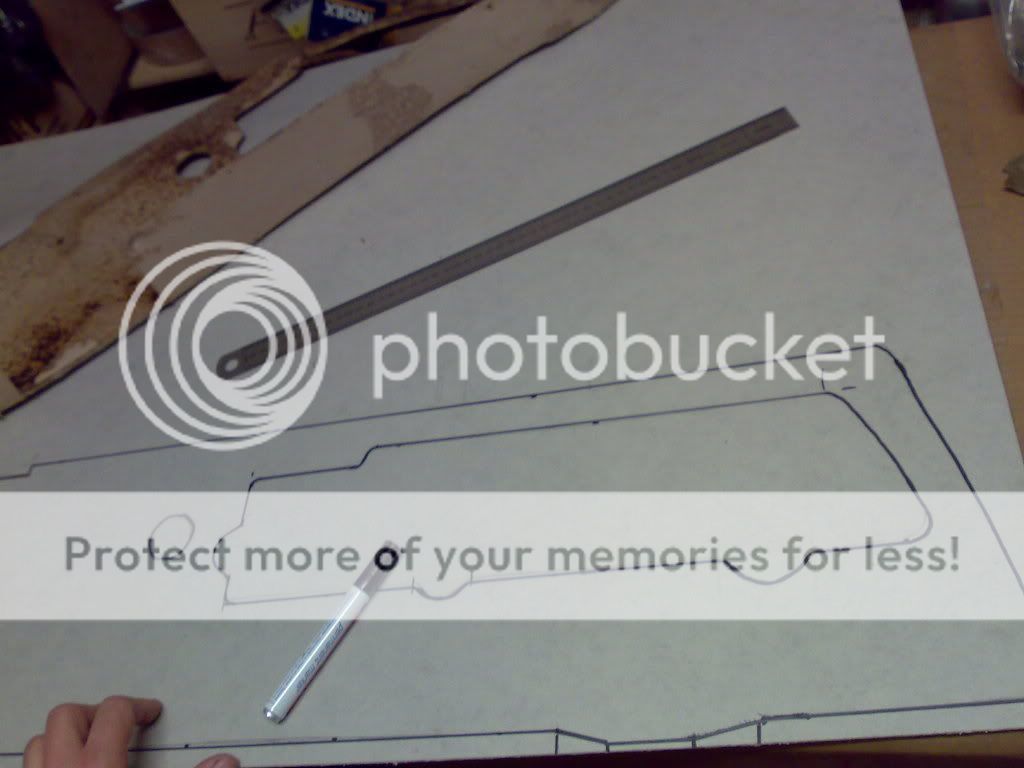
cardboard:
some repairs of broken areas with white glue, using wood blocks to press and reshape
aspect of repaired cracks
using LATEX for closing the cardboard to moisture and water:
initially is white, but
let it dry:
after drying, you can see half done, it becomes transparent
to be continued...
Last edited: