hunting the carbs problem

deQuincey

Quousque tandem...?
Site Donor
Messages
8,414
Reaction score
2,429
Location
BIO - 43°15'46.5"N 2°56'03.7"W
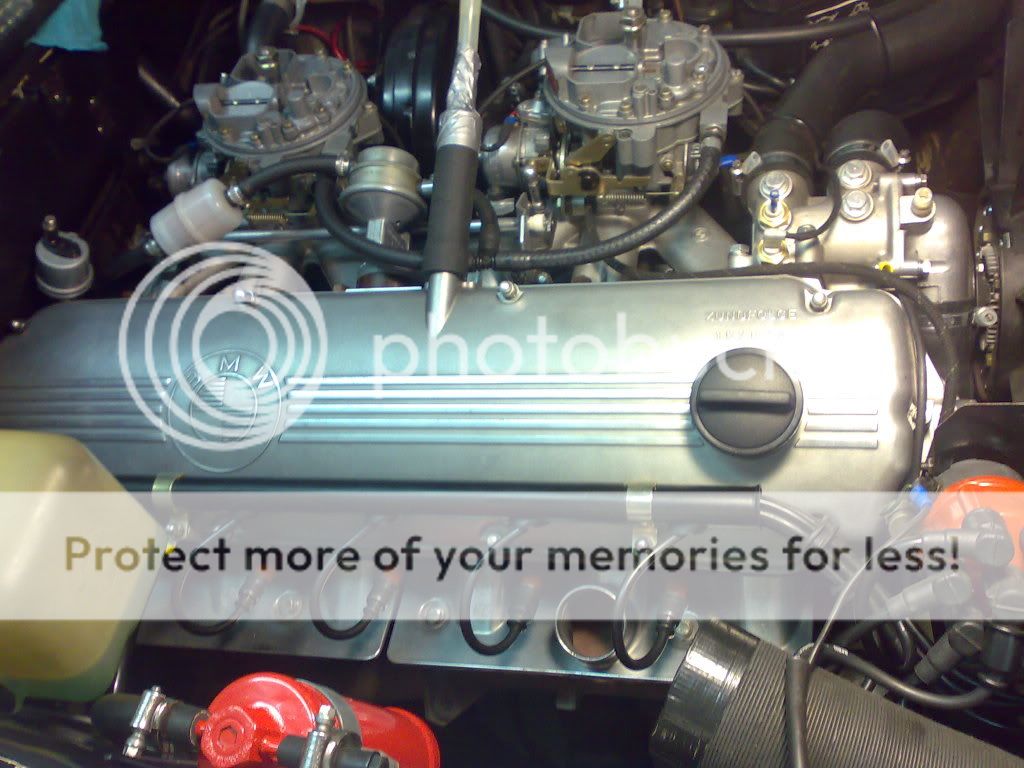
hunting the carbs problem, zeniths

so, it has been a long time up and down with the carbs

really fed up with them, no way to synchronise both, to get a good and smooth iddle

and when the iddle (thanks to porsche61, and stevehose among others) was reached, the transition (1800 to 2200 rpm´s) was not good, and so on,...

apologies for not translating all this (probably the pics are selfexplaining), if questions, i will be really happy to answer:
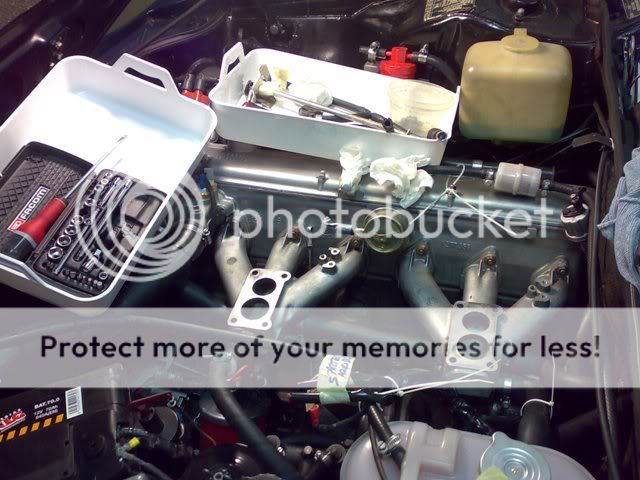
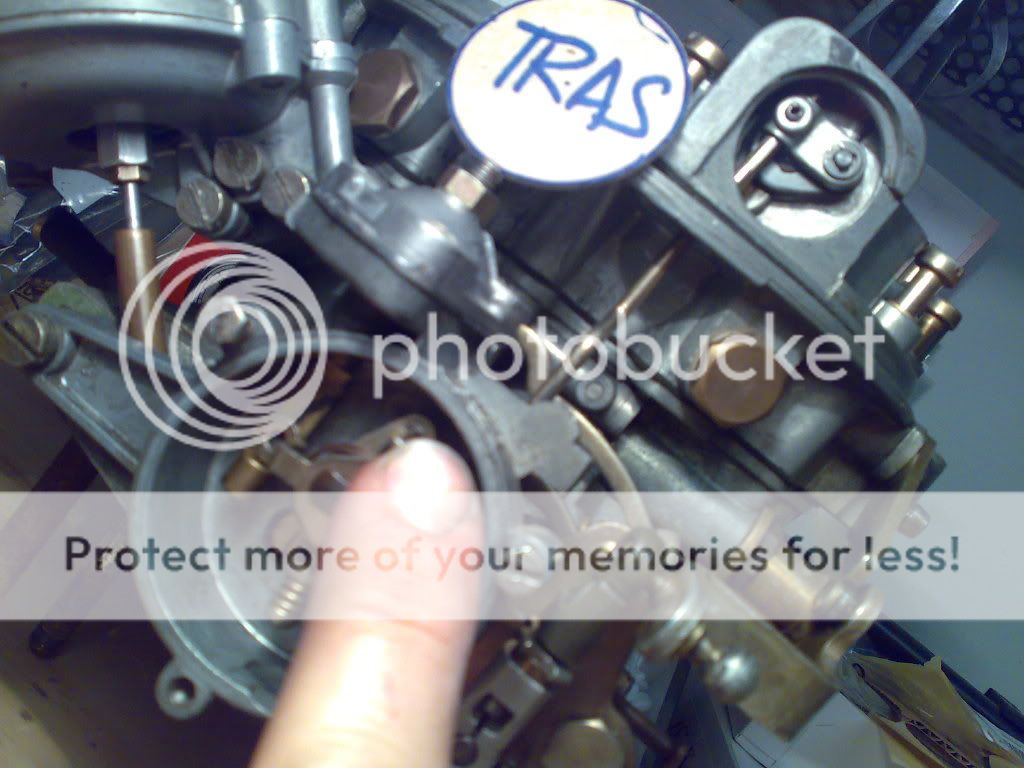
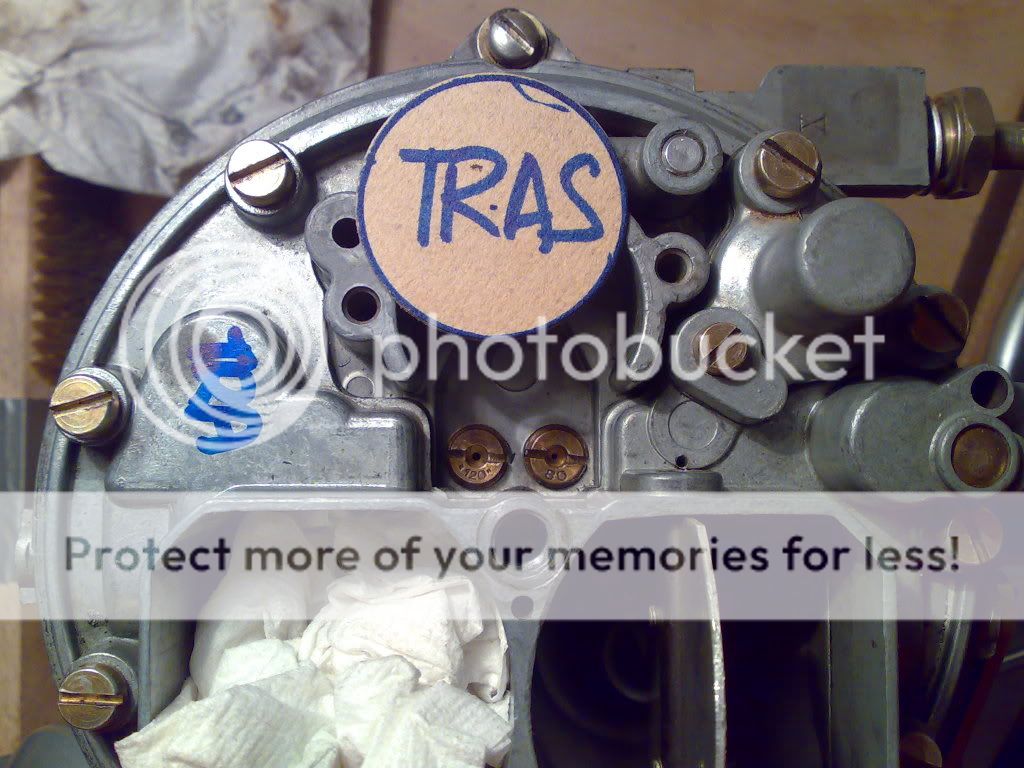
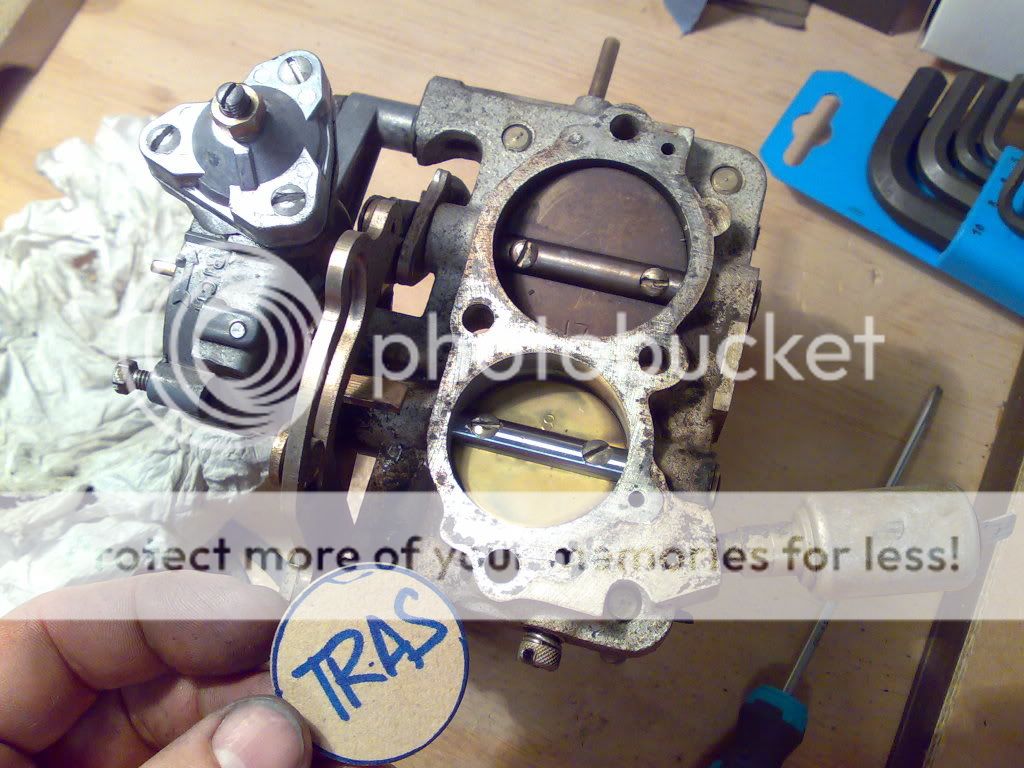
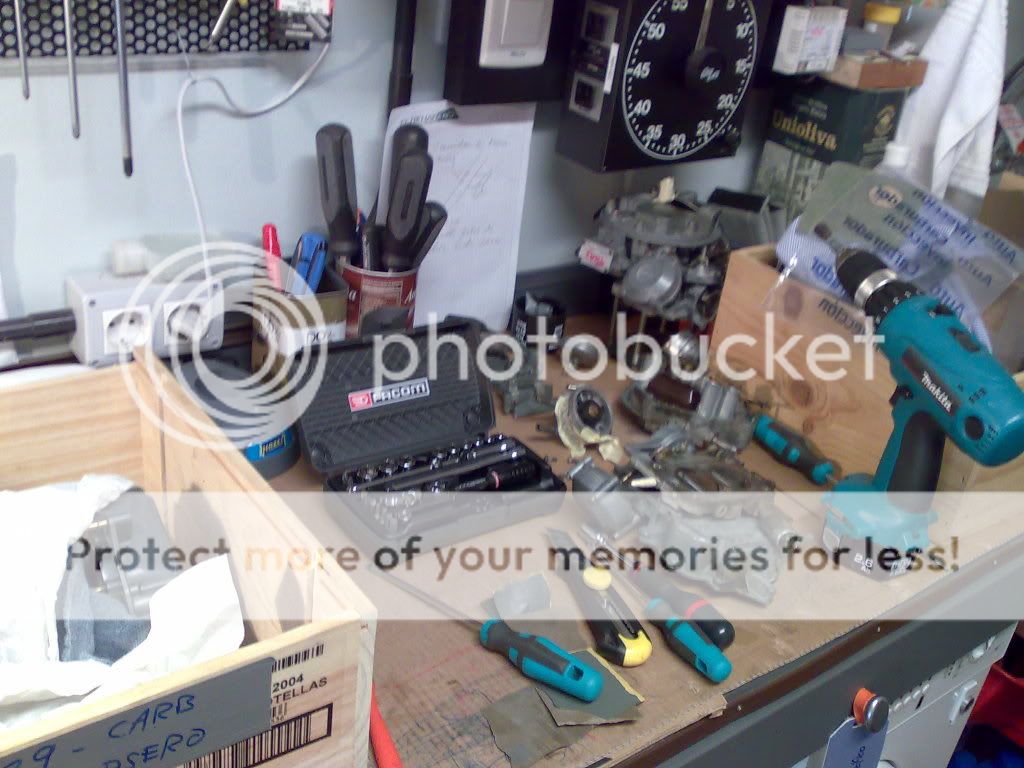
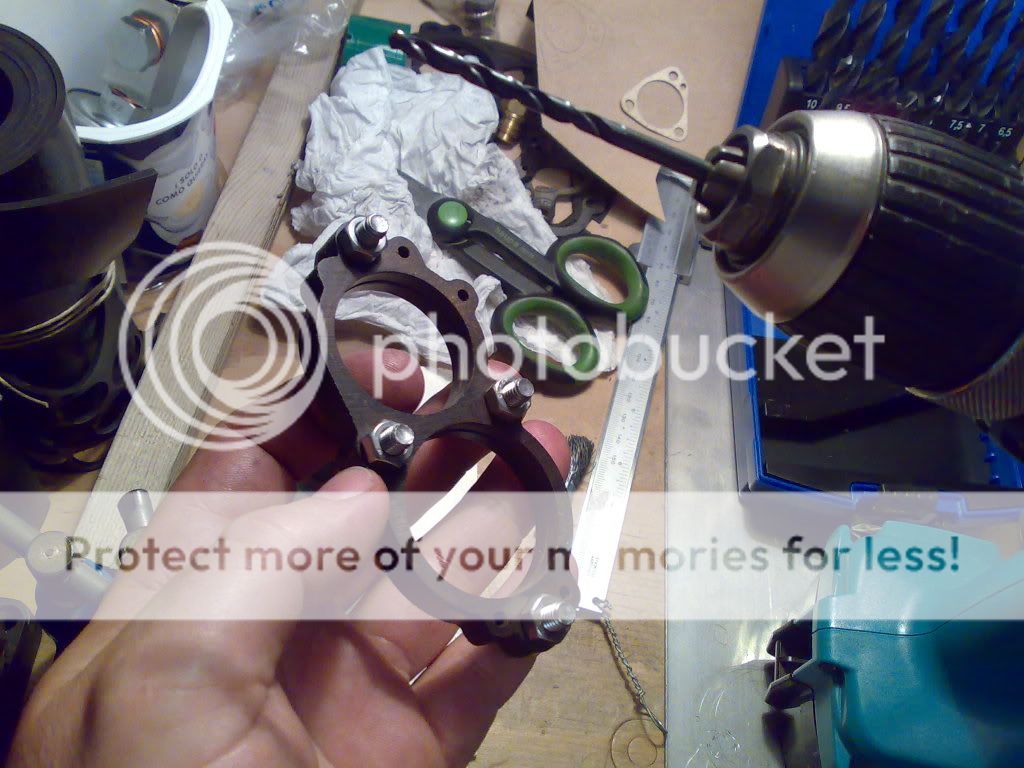
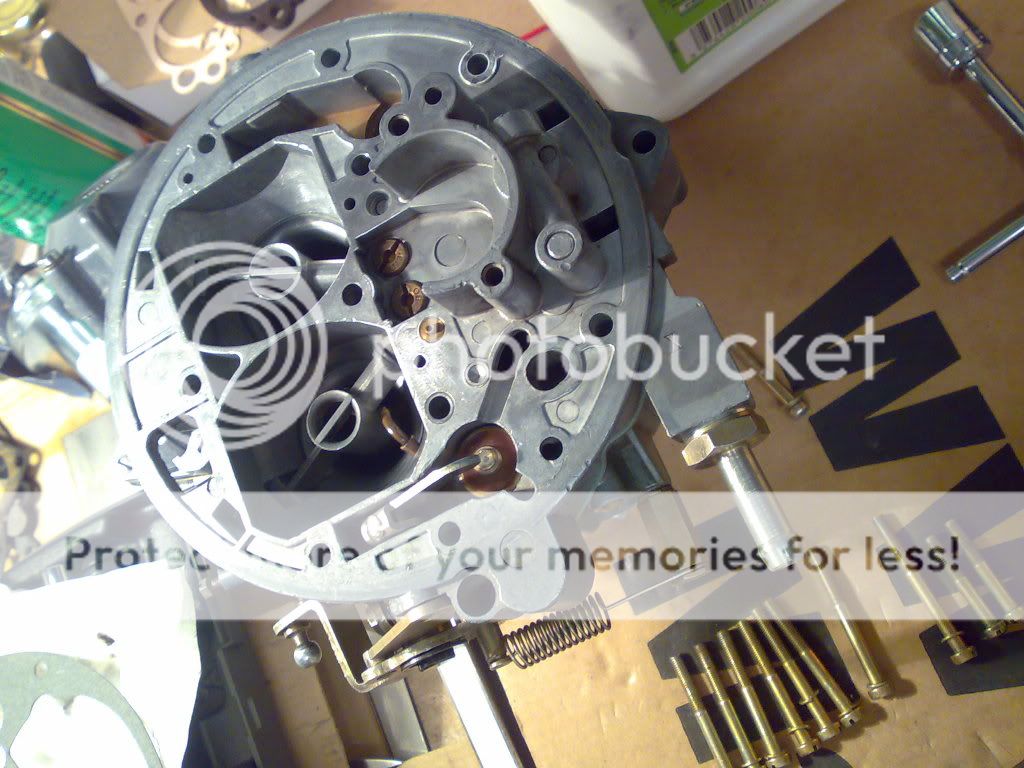
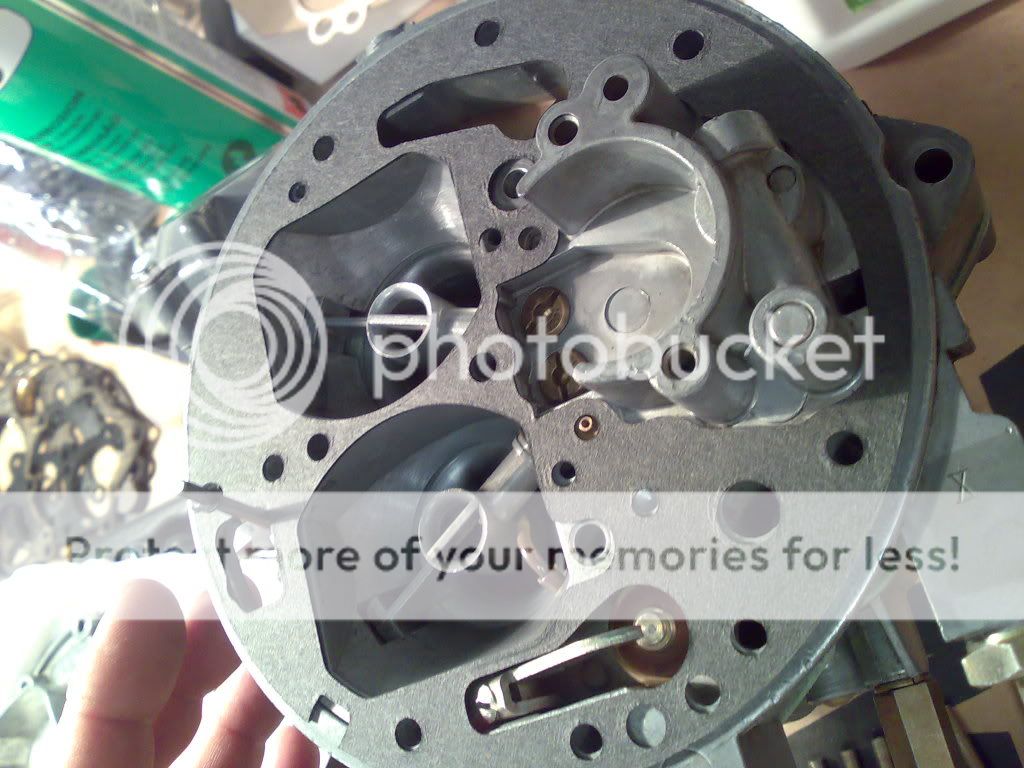
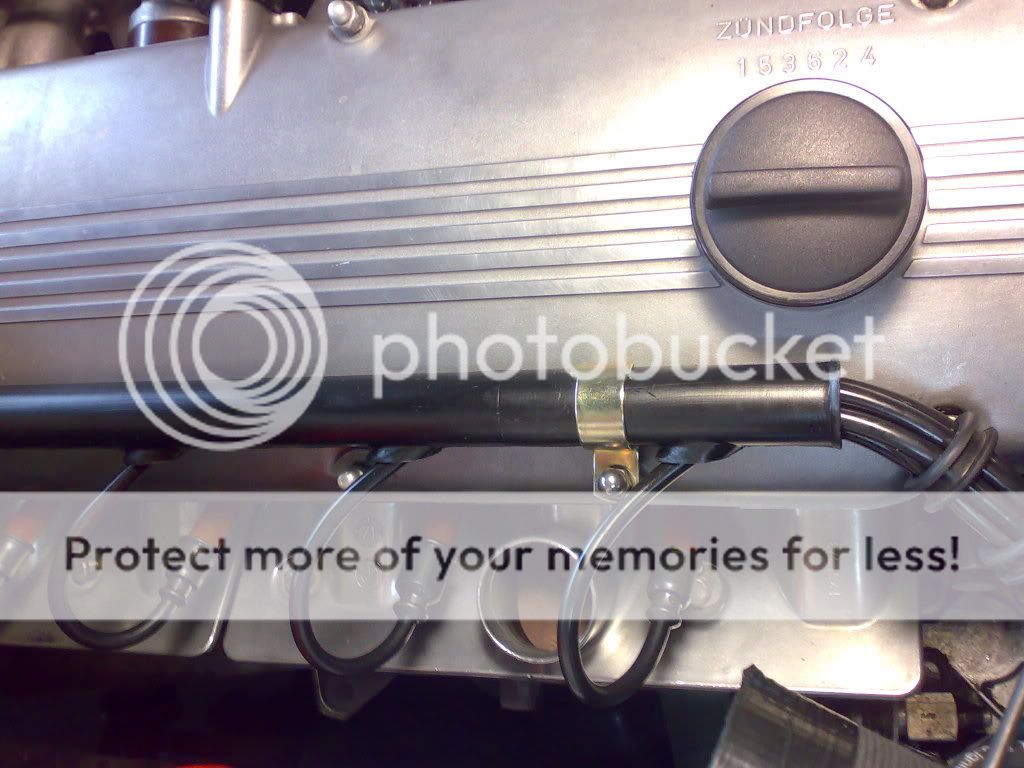
-------------------------------------------------------------

empezamos

230320111996.jpg


230320112009.jpg

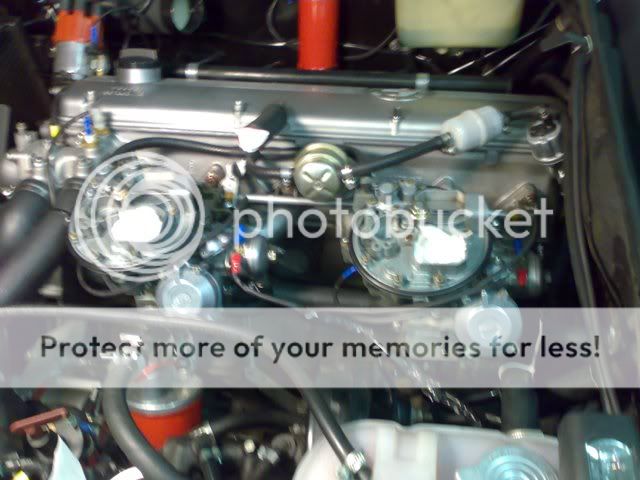
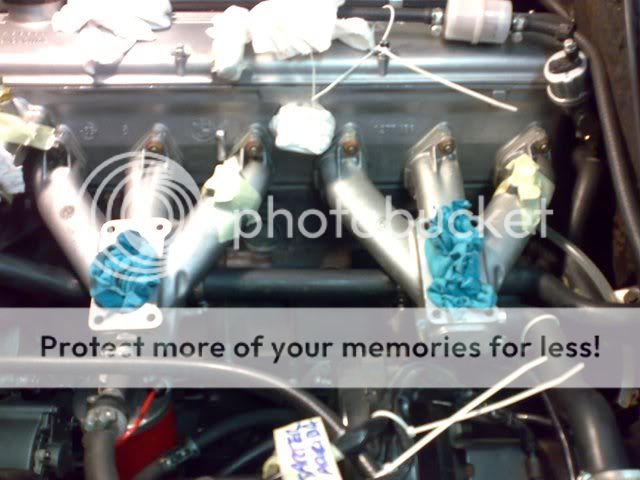
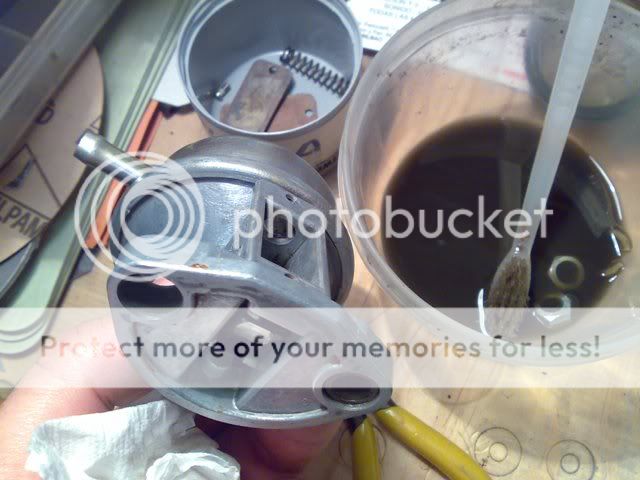
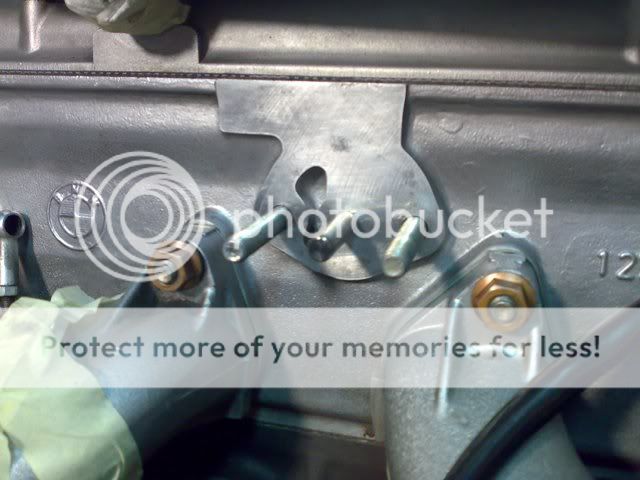
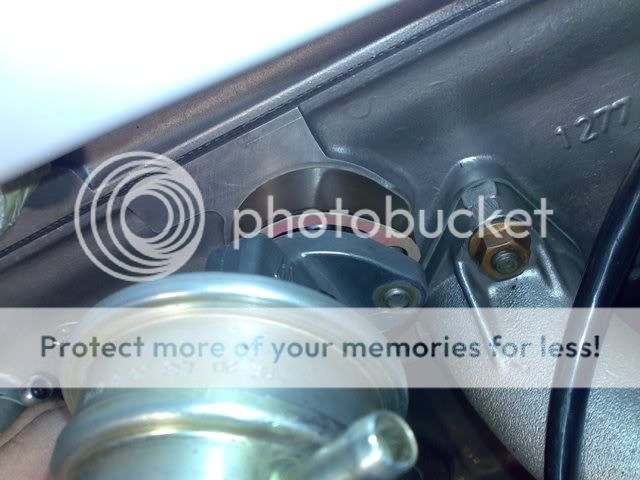
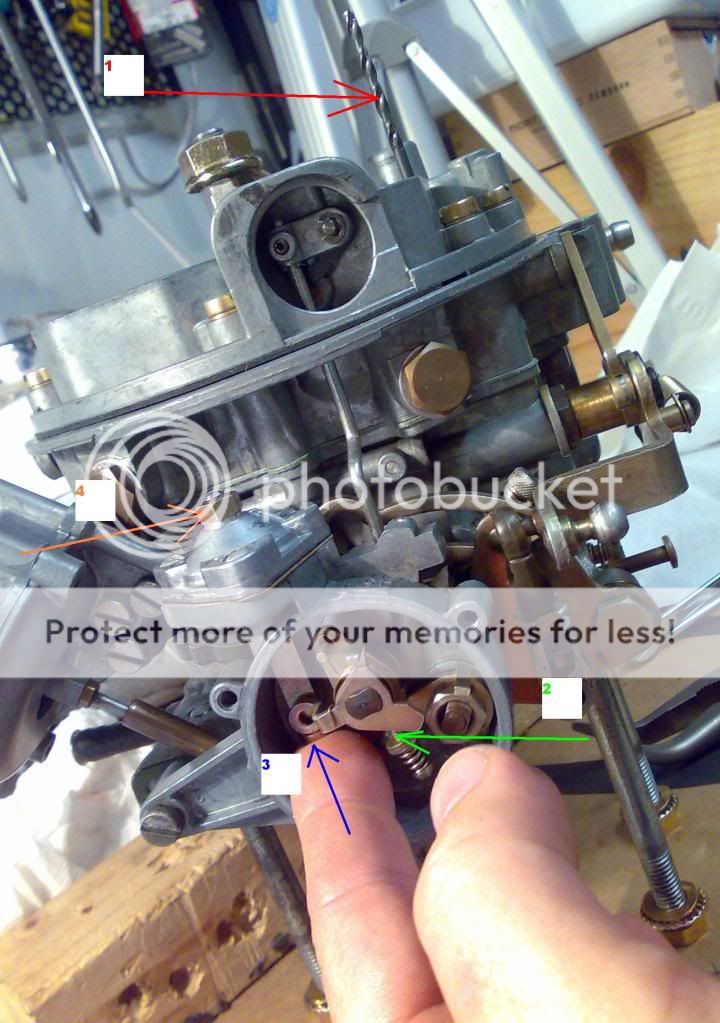
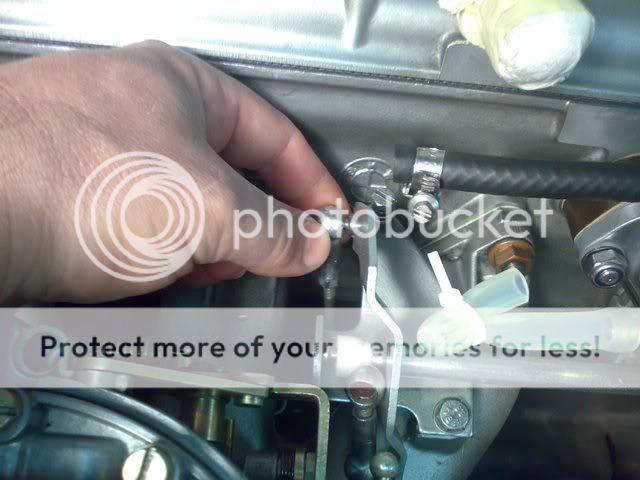
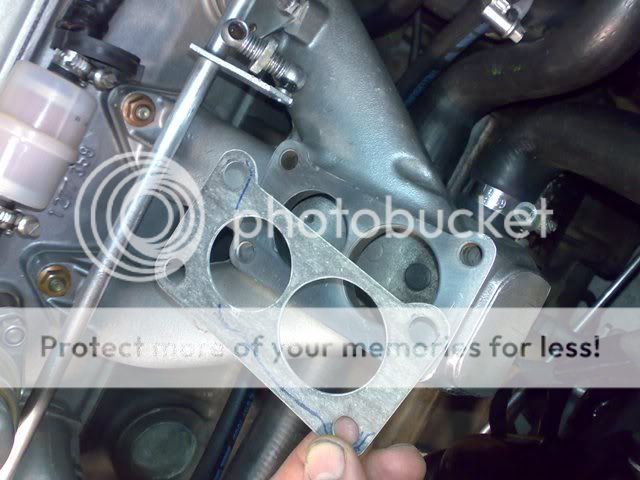
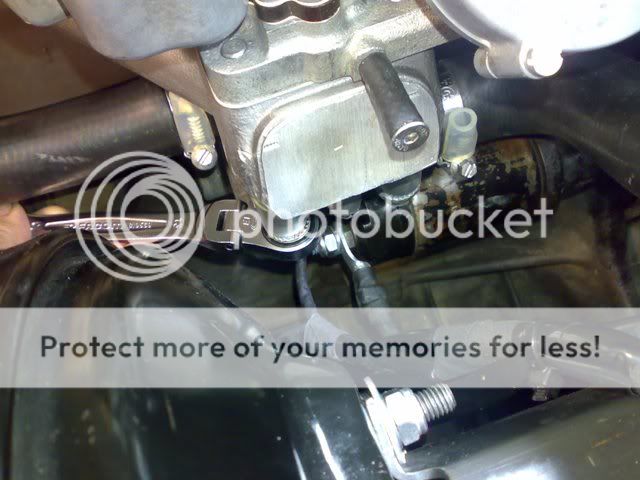
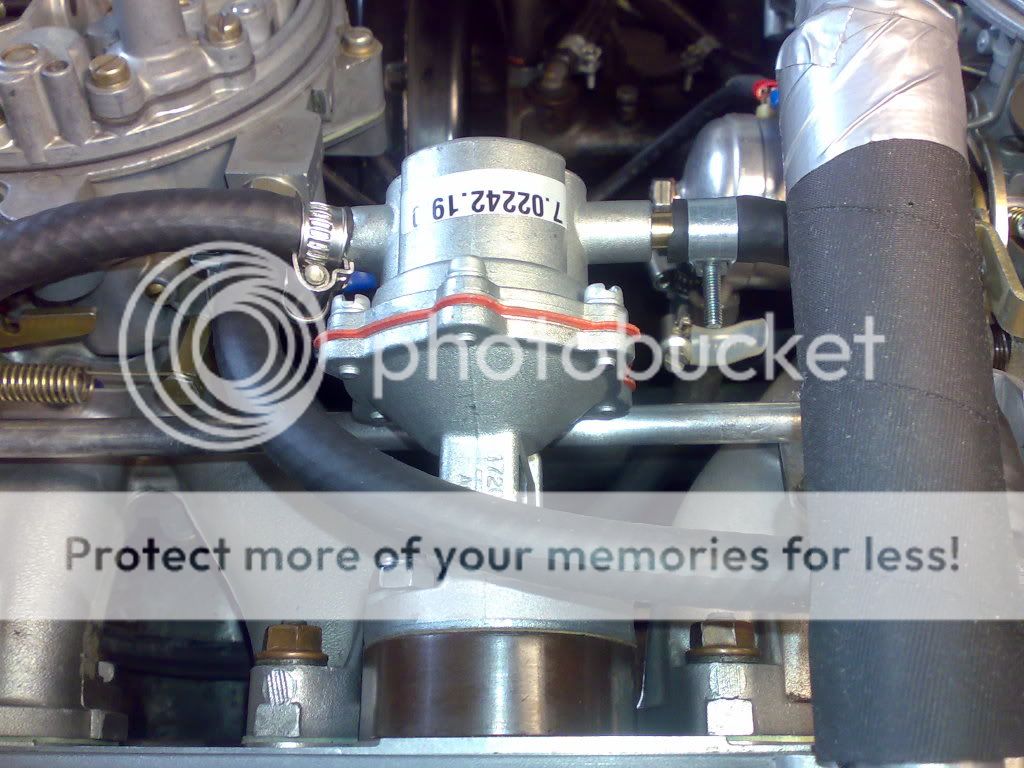
sacamos las conexiones electricas y nos rompemos las manos soltando las tuercas del carbur trasero, la buena noticia es que una vez sueltas con la llave, se sacan facil a mano

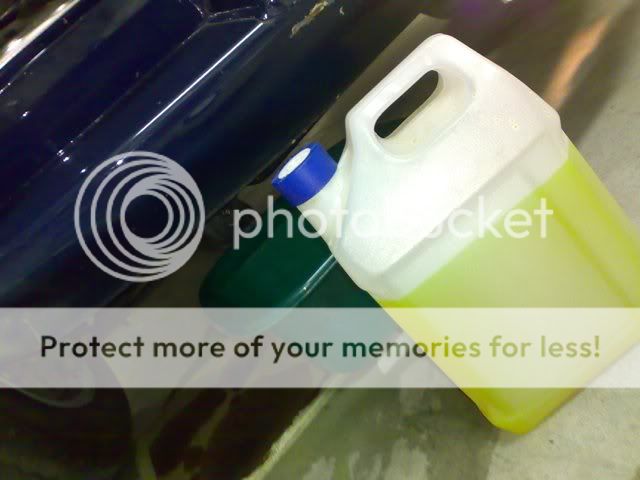
vacio el refrigerante, y la buena noticia es que sale bastante limpio (un año en el circuito) y sin aceite o porquerias
250320112010.jpg


250320112011.jpg

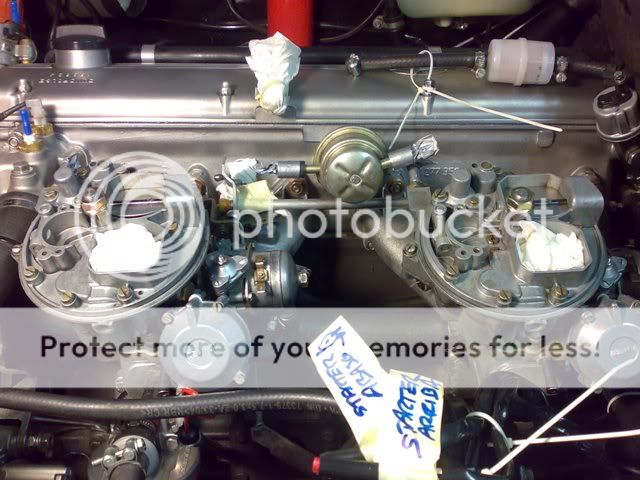
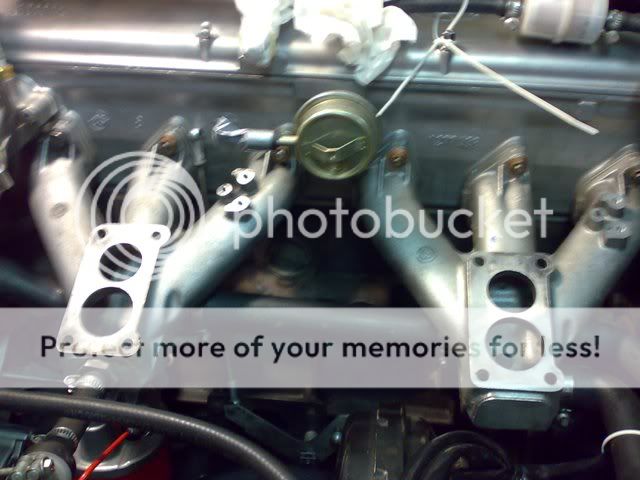
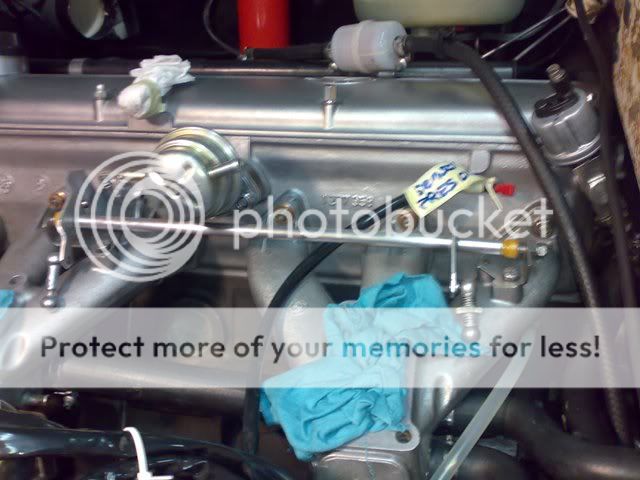
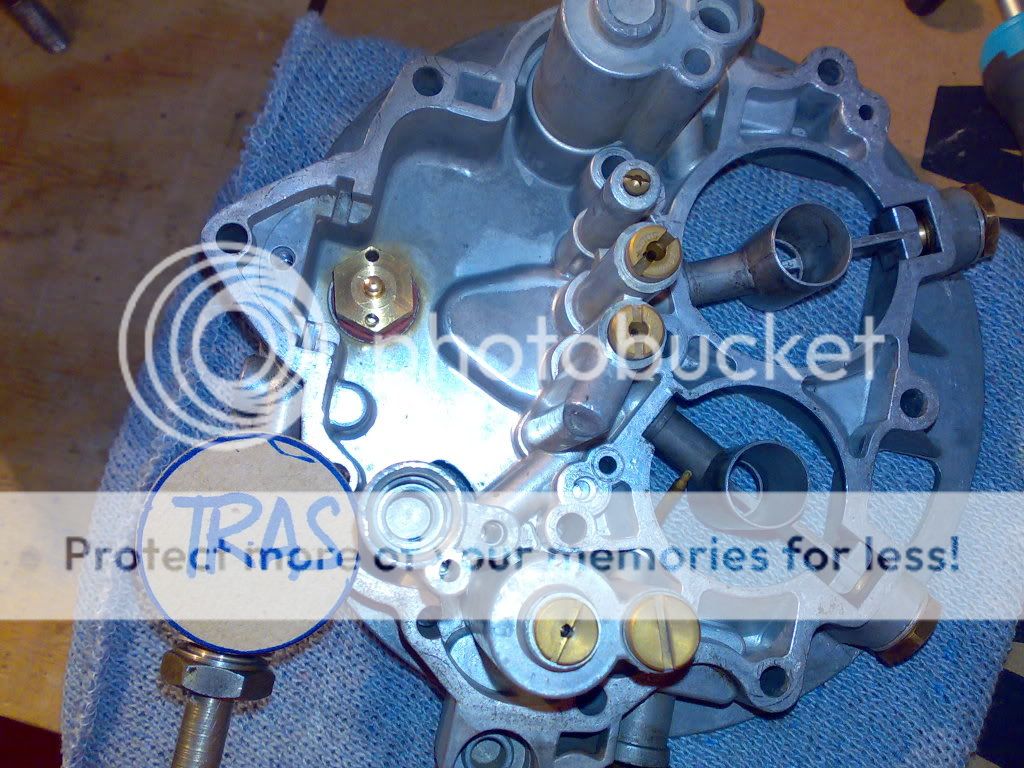
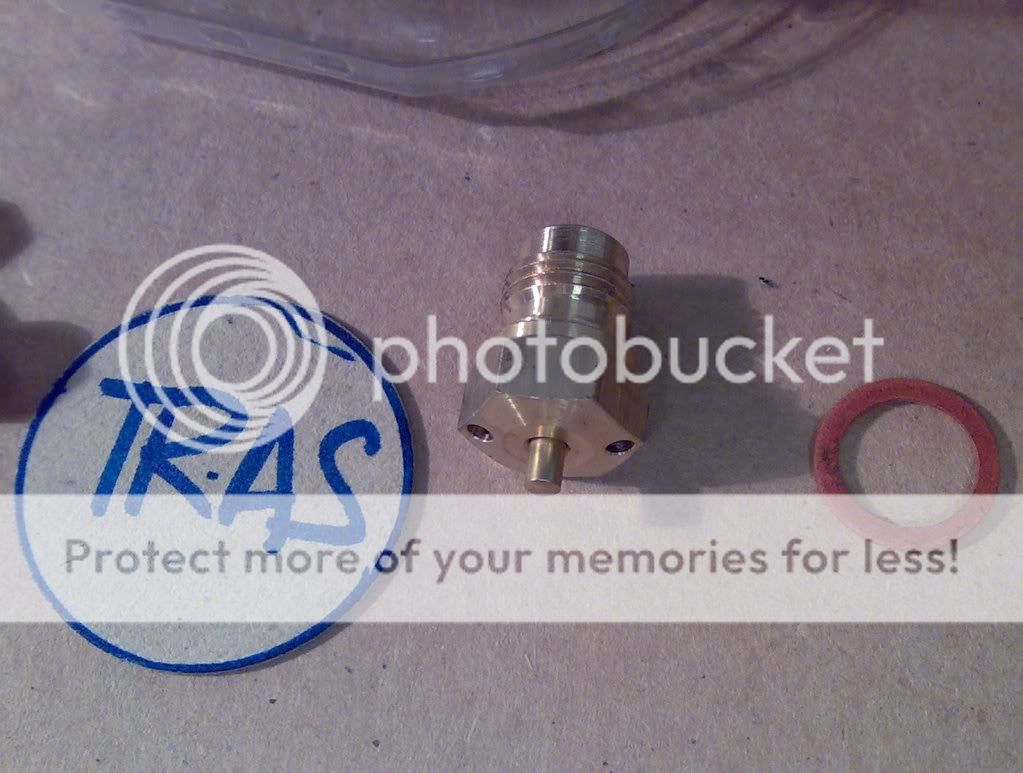
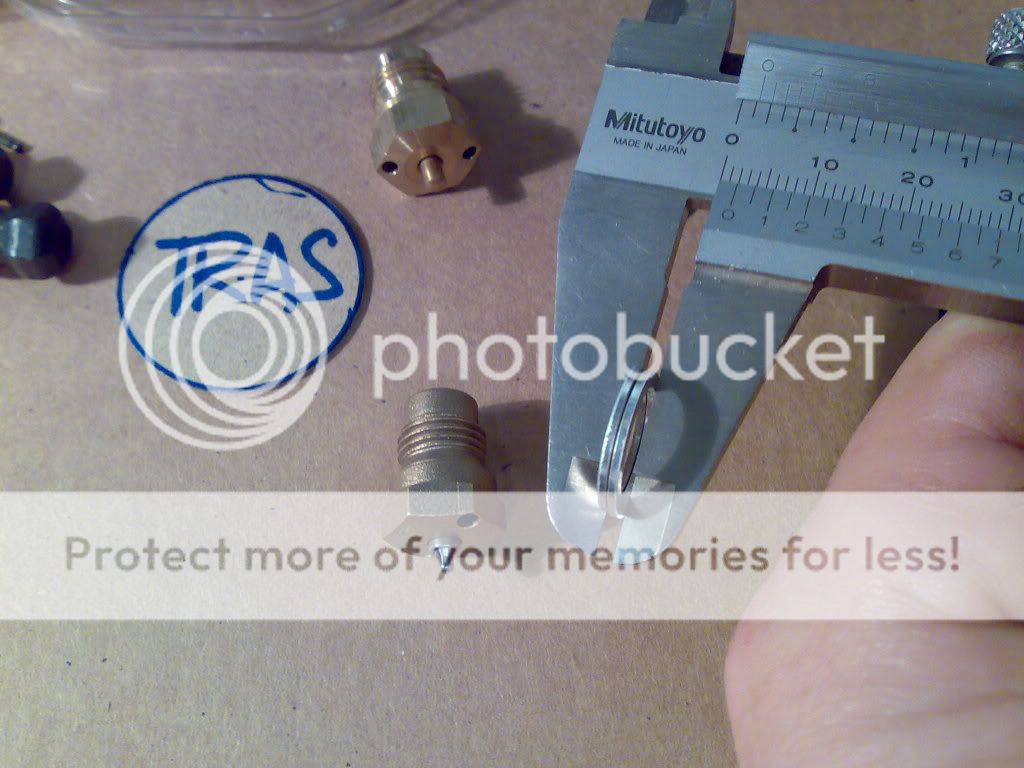
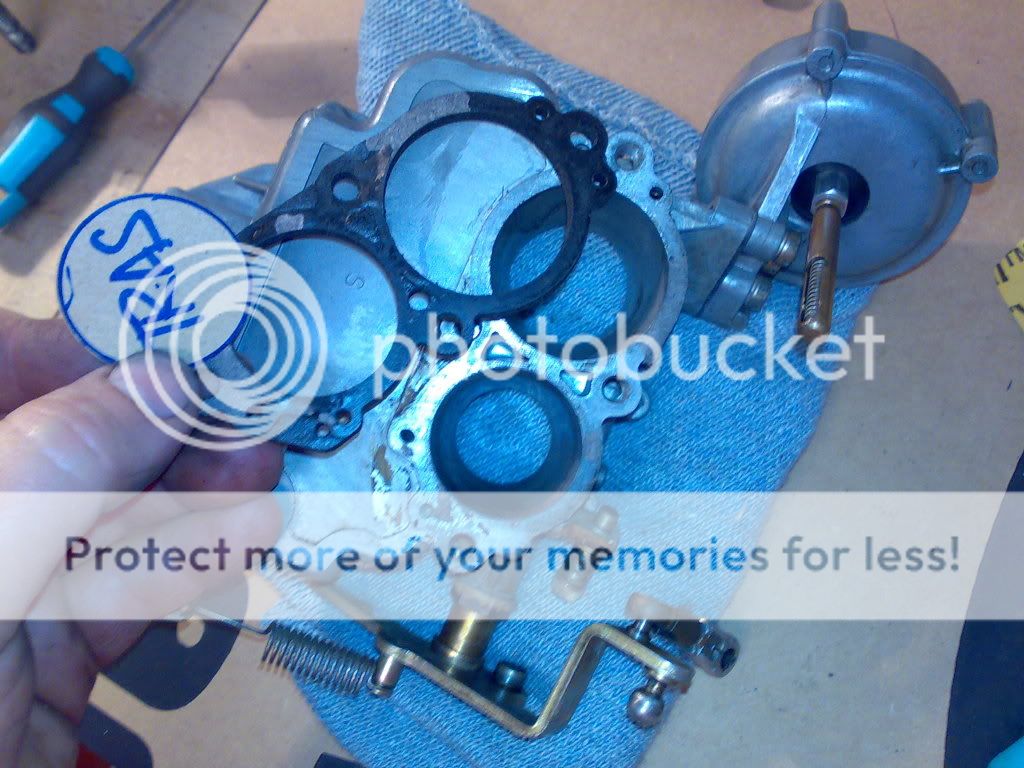
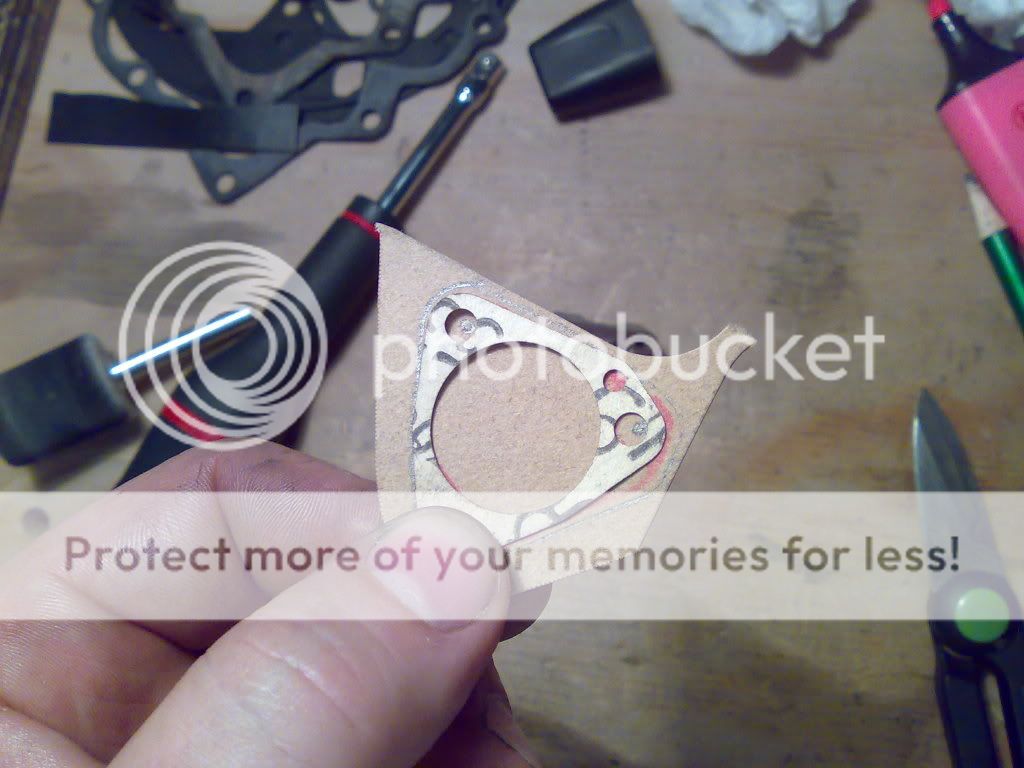
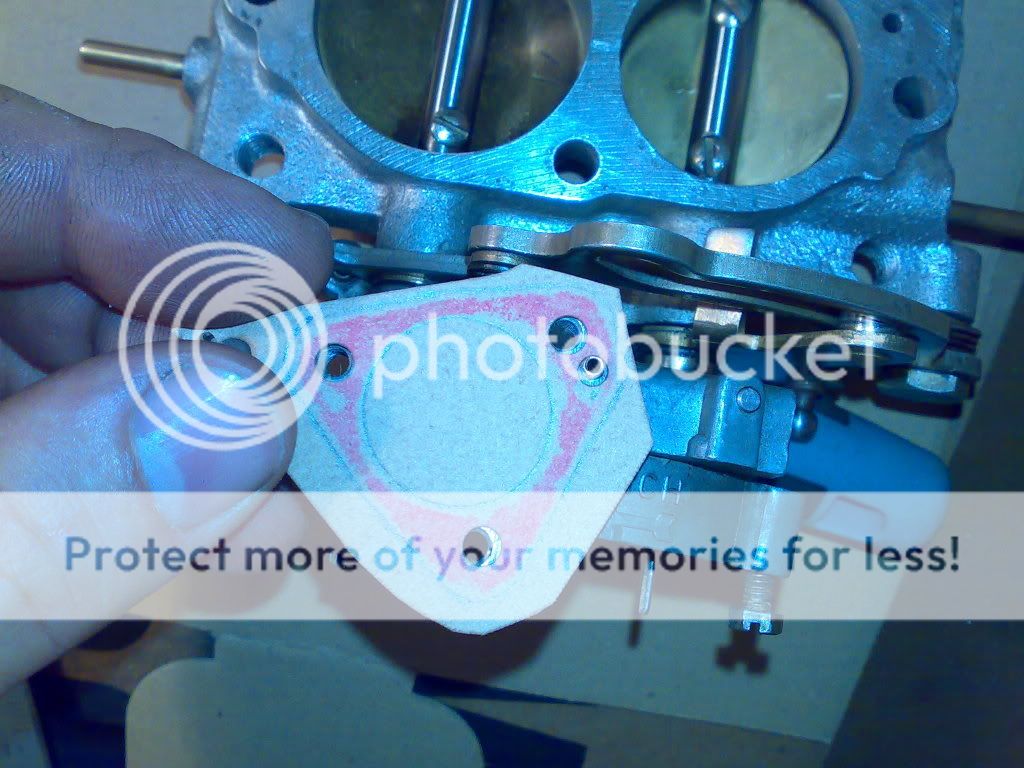
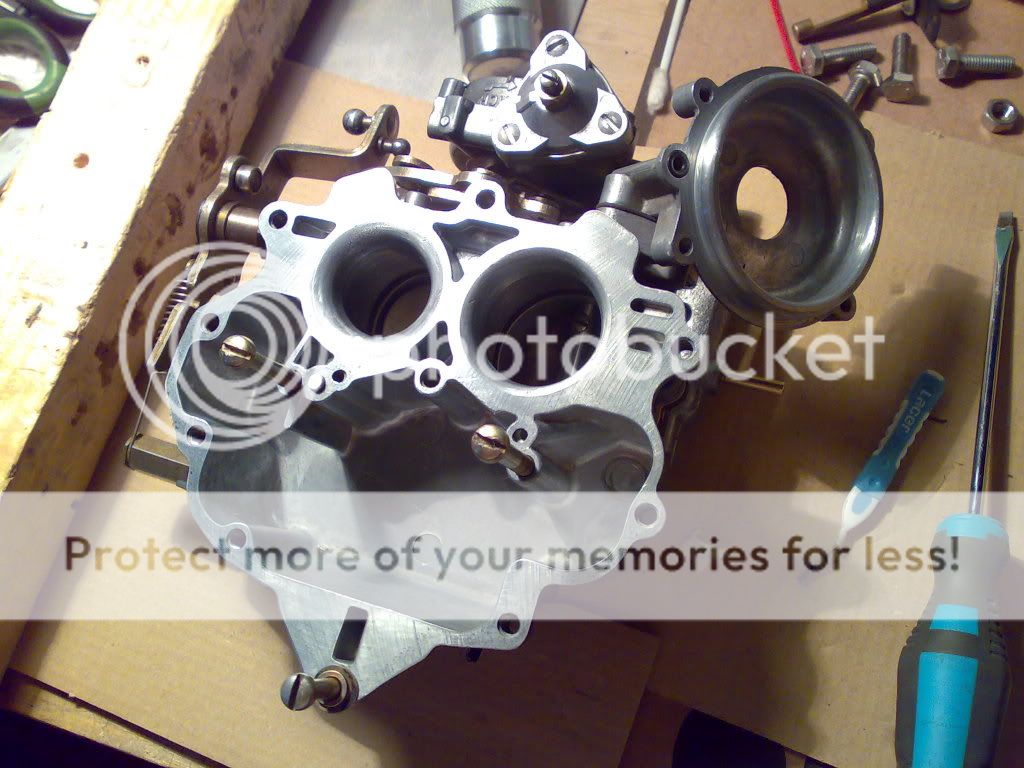
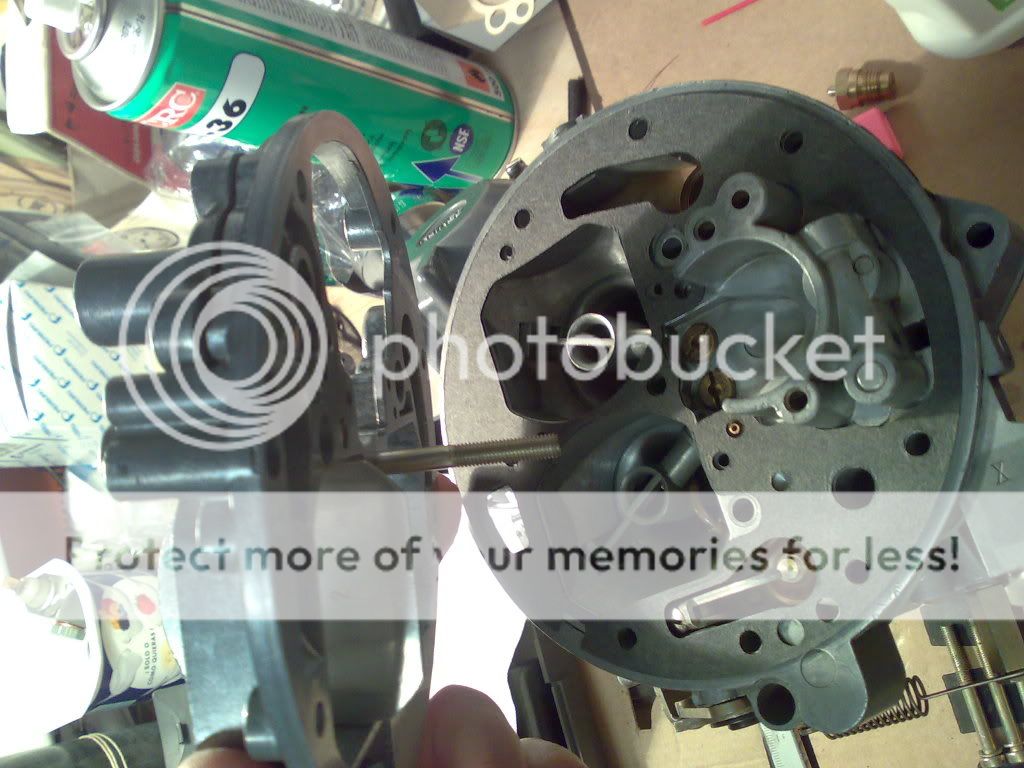
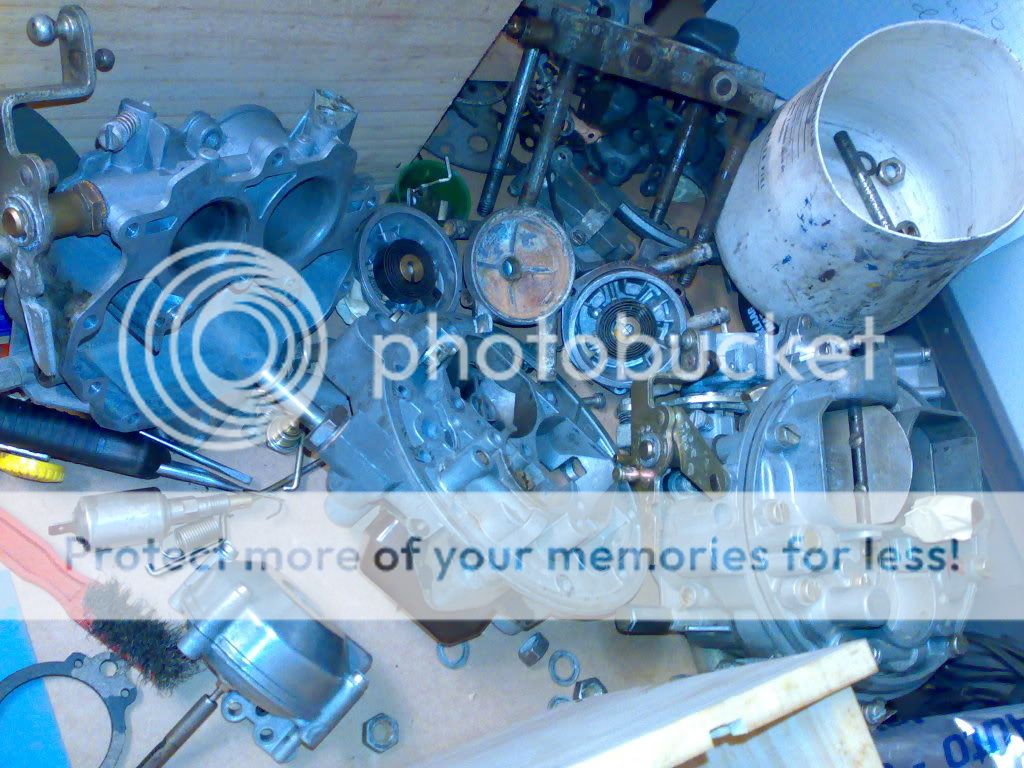
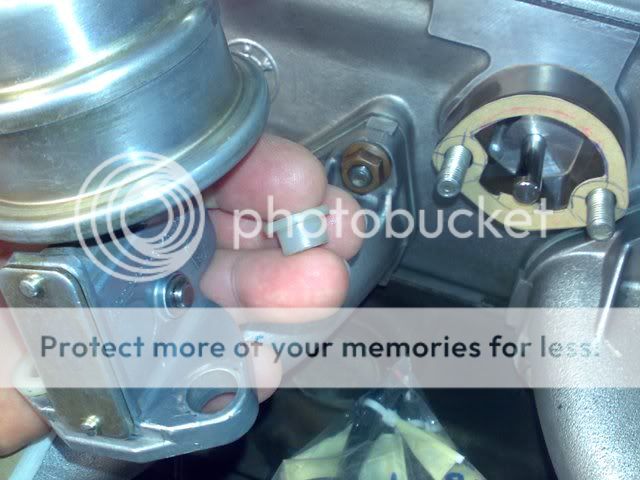
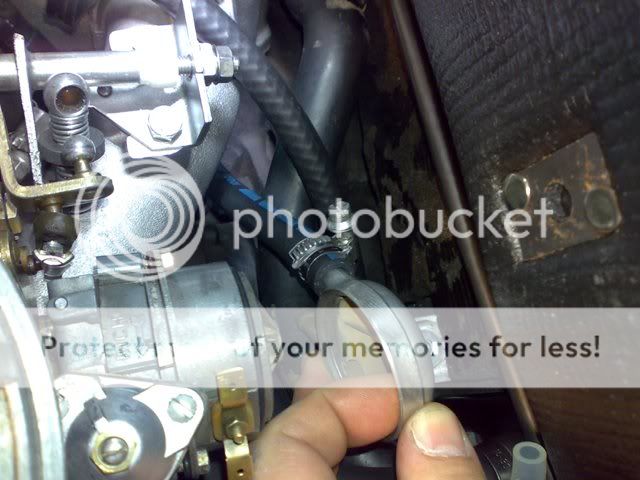
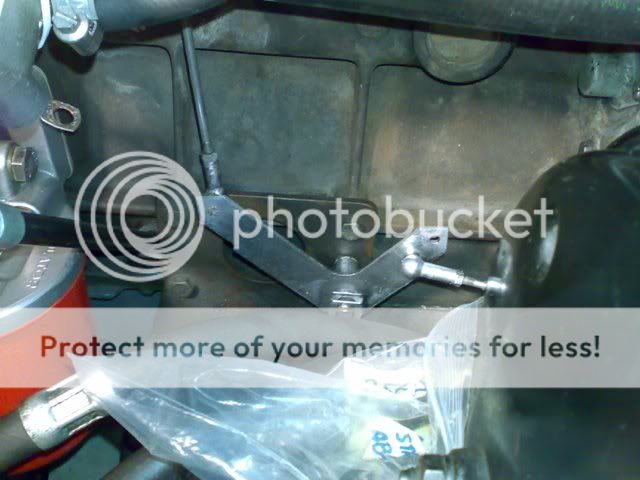
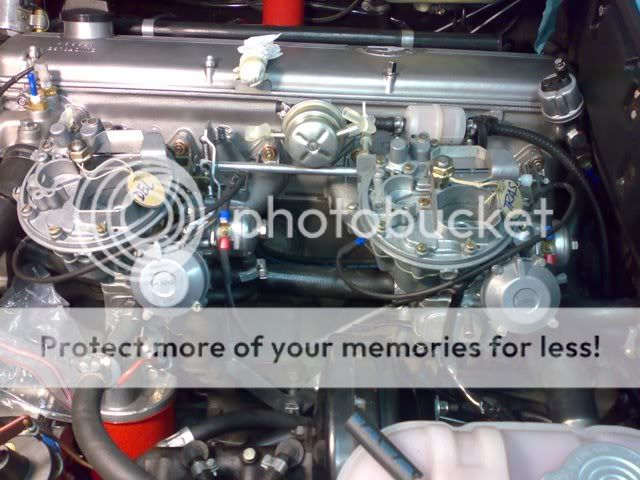
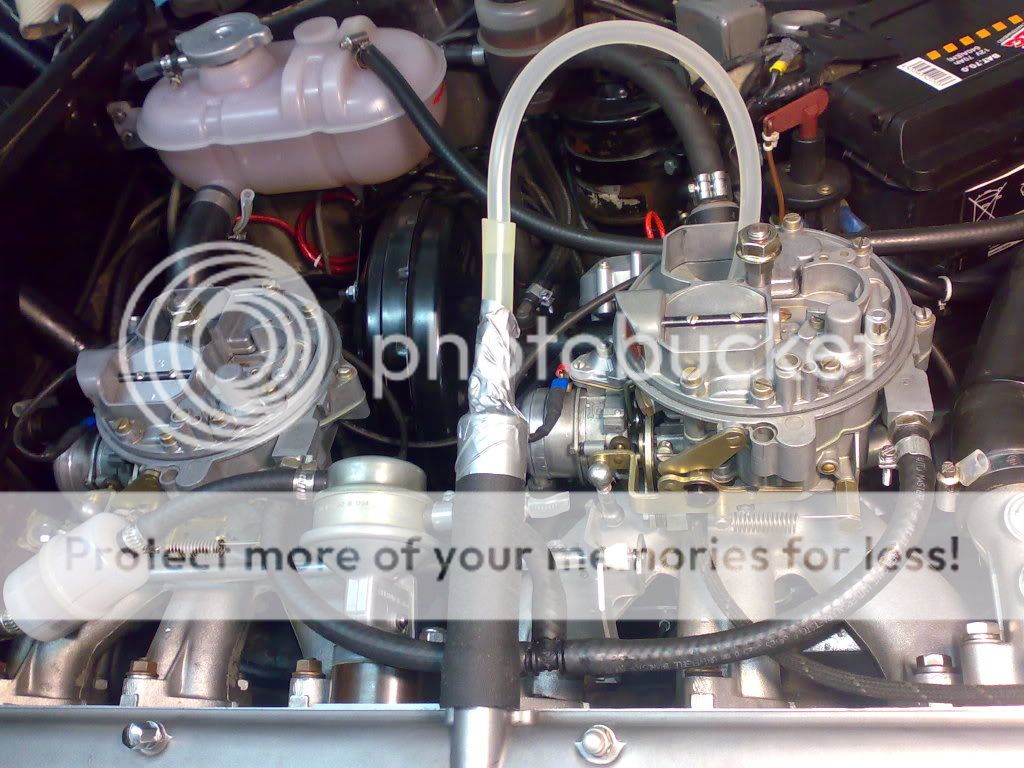
corto los tubos del circuito del carburador, esto se podria evitar, pero no quiero quitar las cazoletas en el motor, asi que corto y me llevo todo la banco
250320112012.jpg

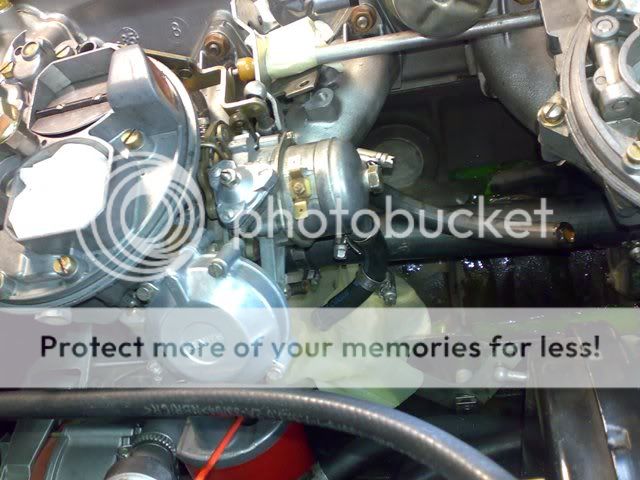
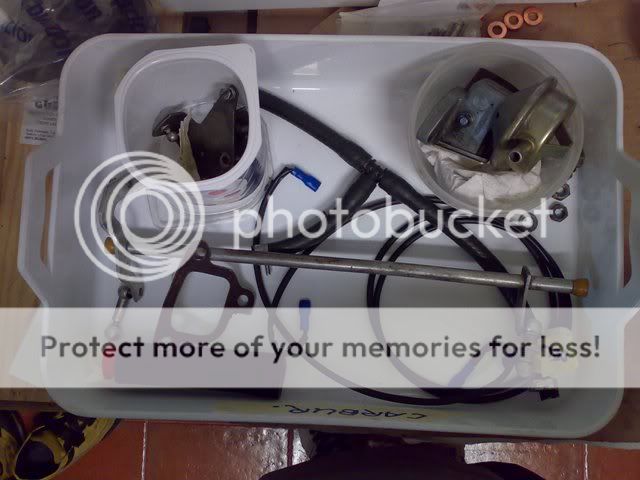
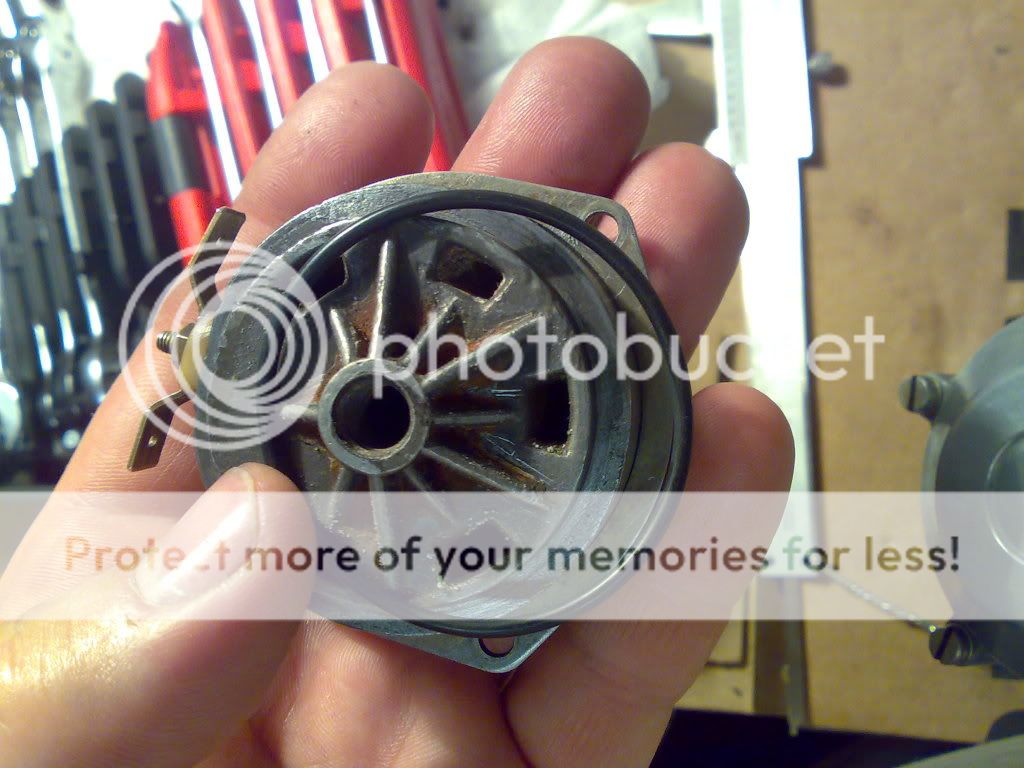
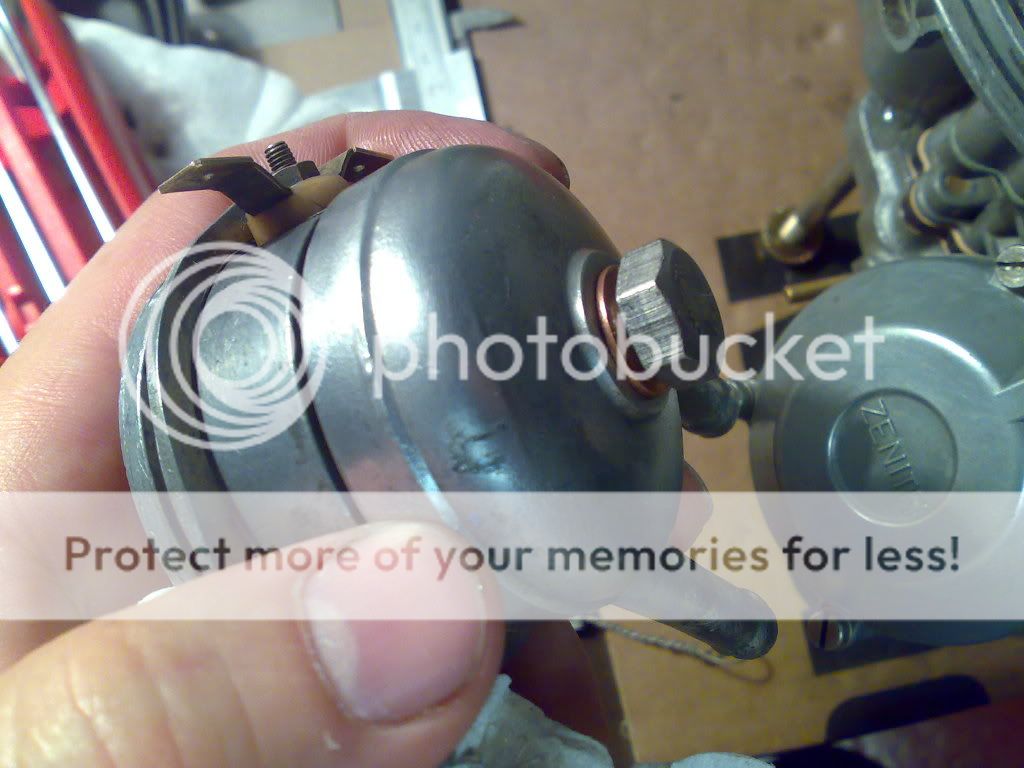
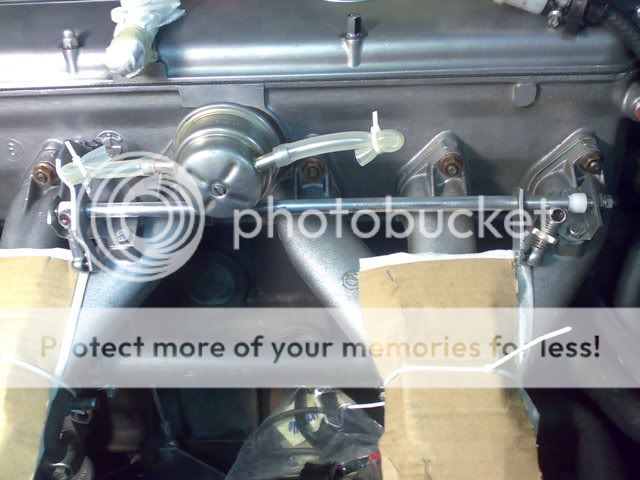
bomba de gasolina mecanica
250320112013.jpg

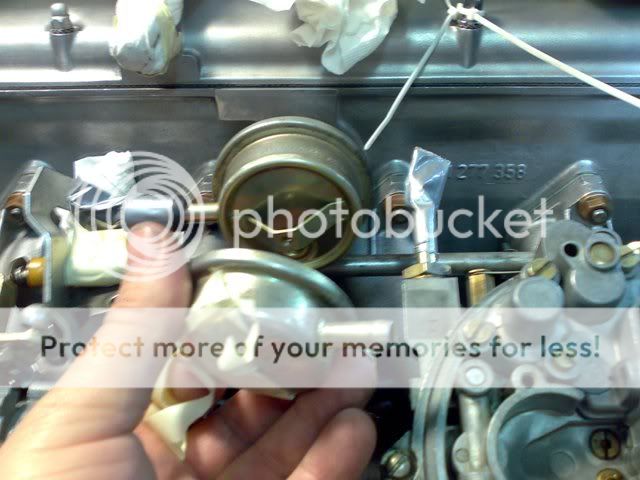
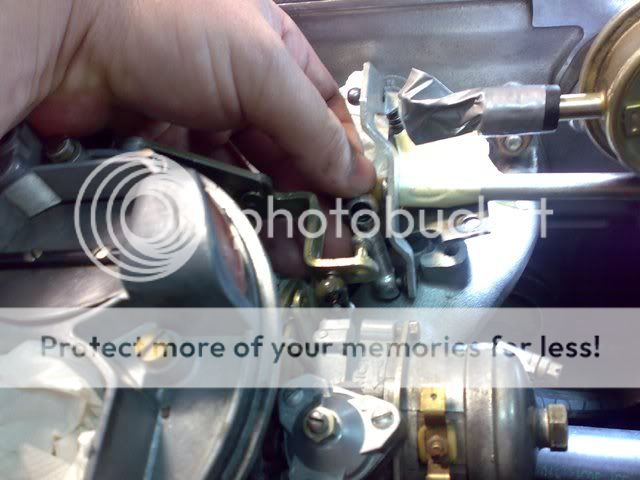
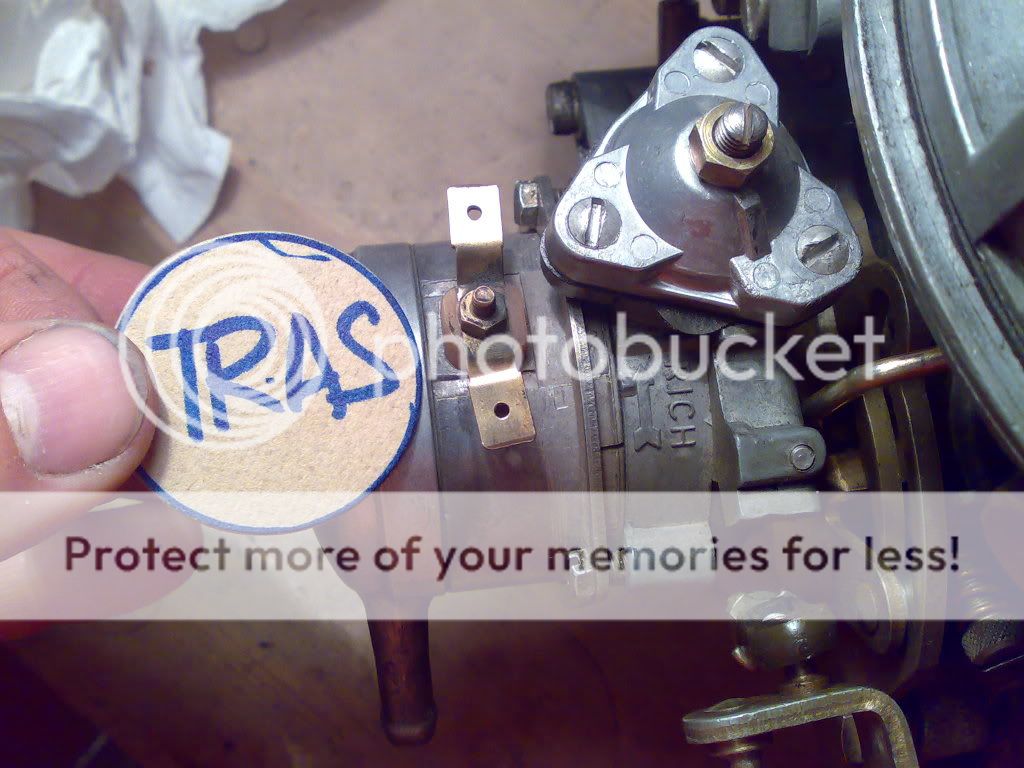
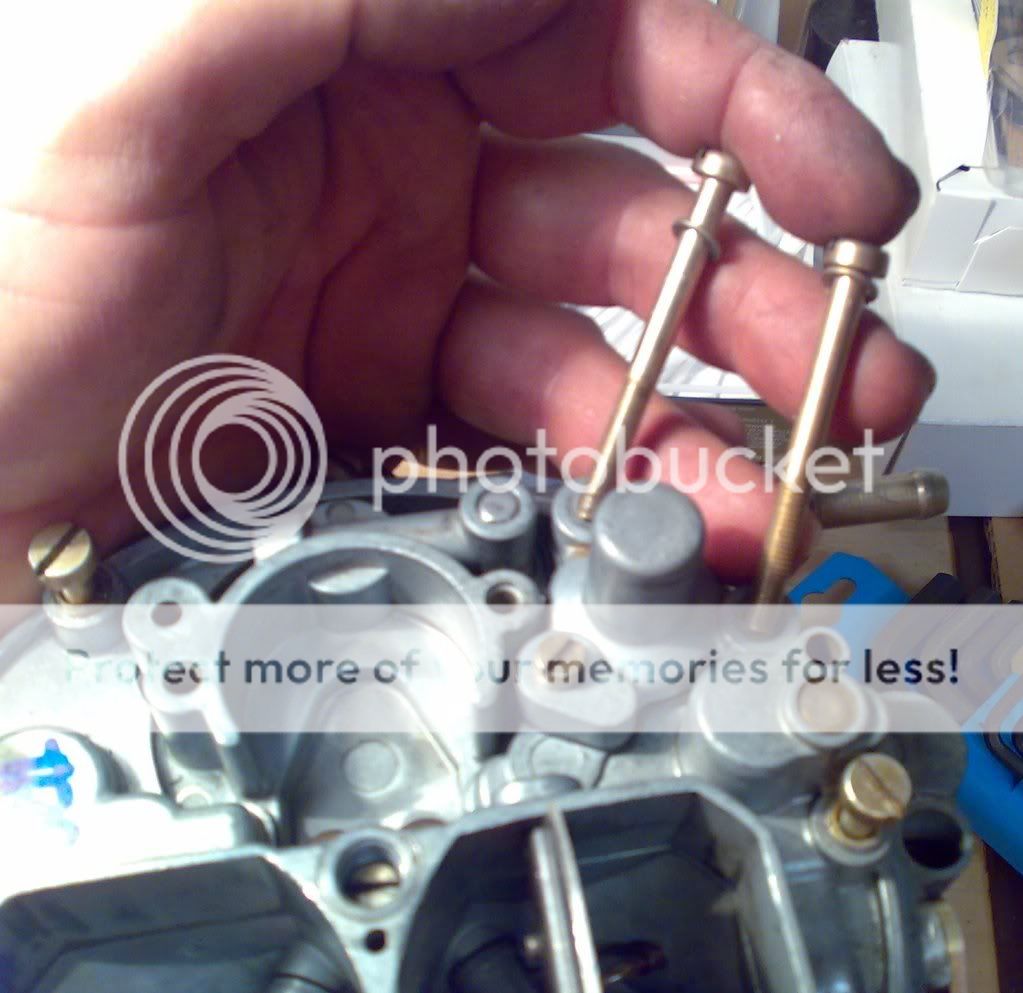
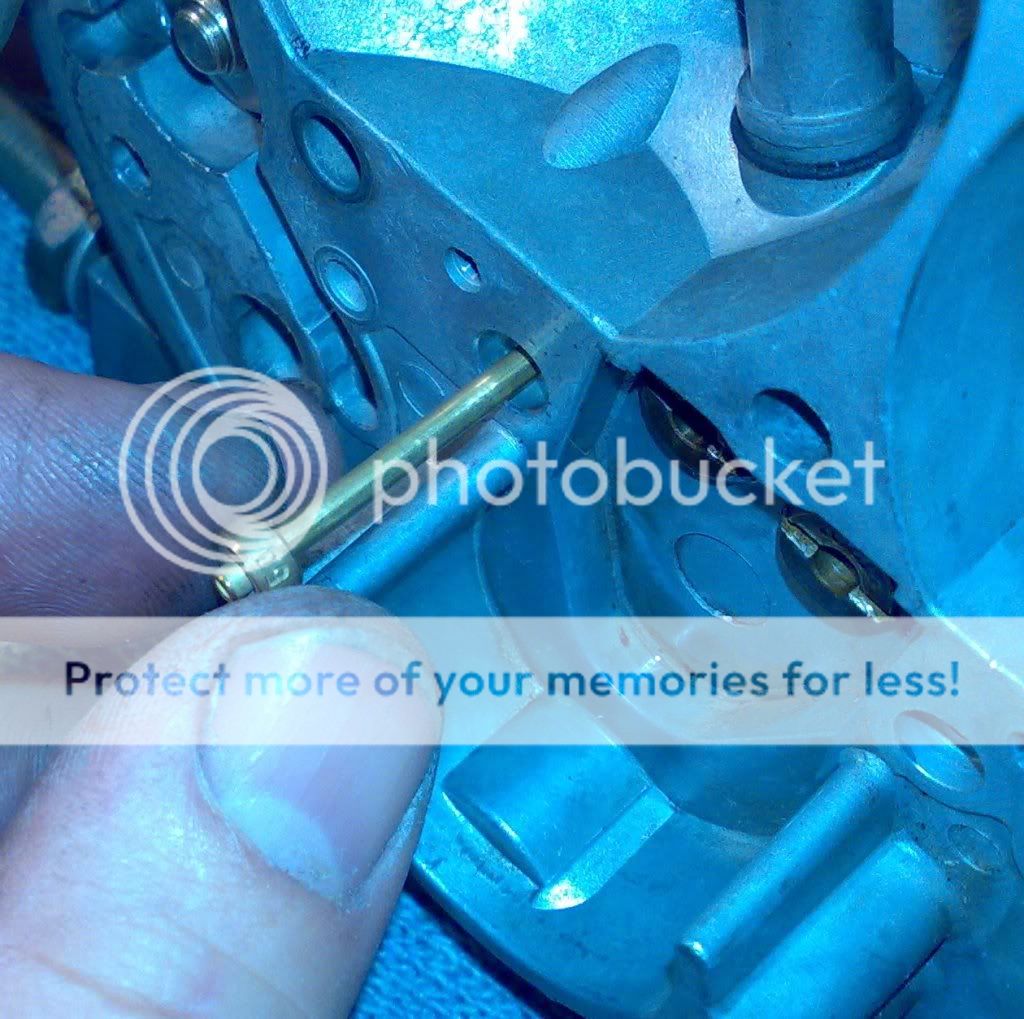
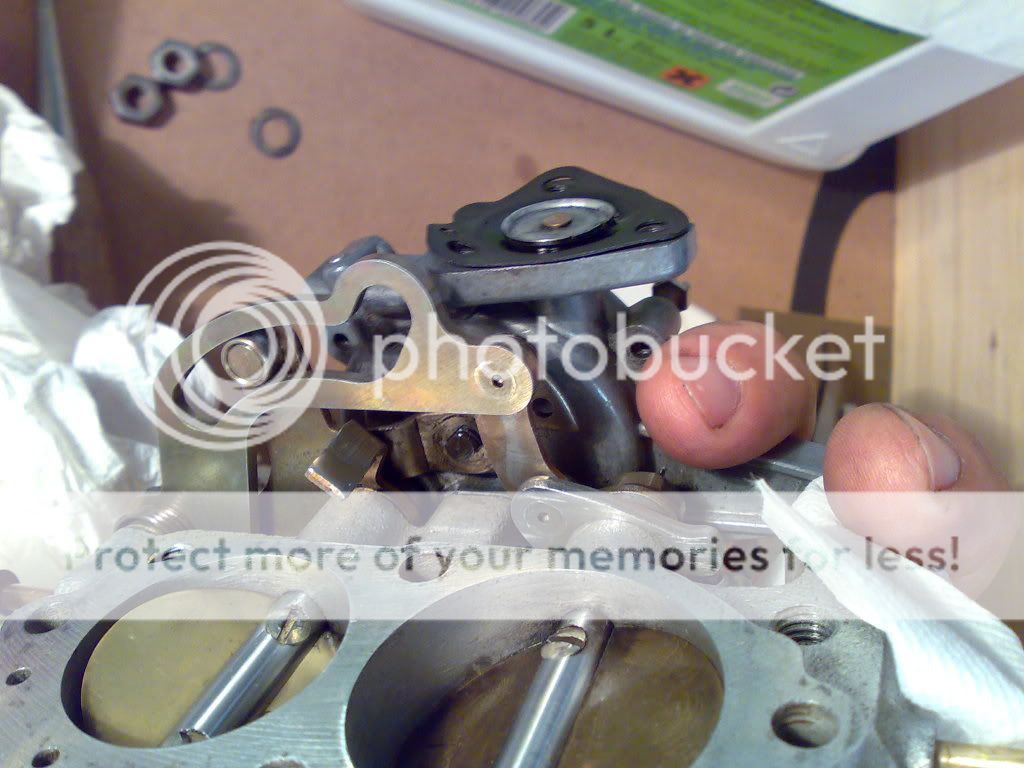
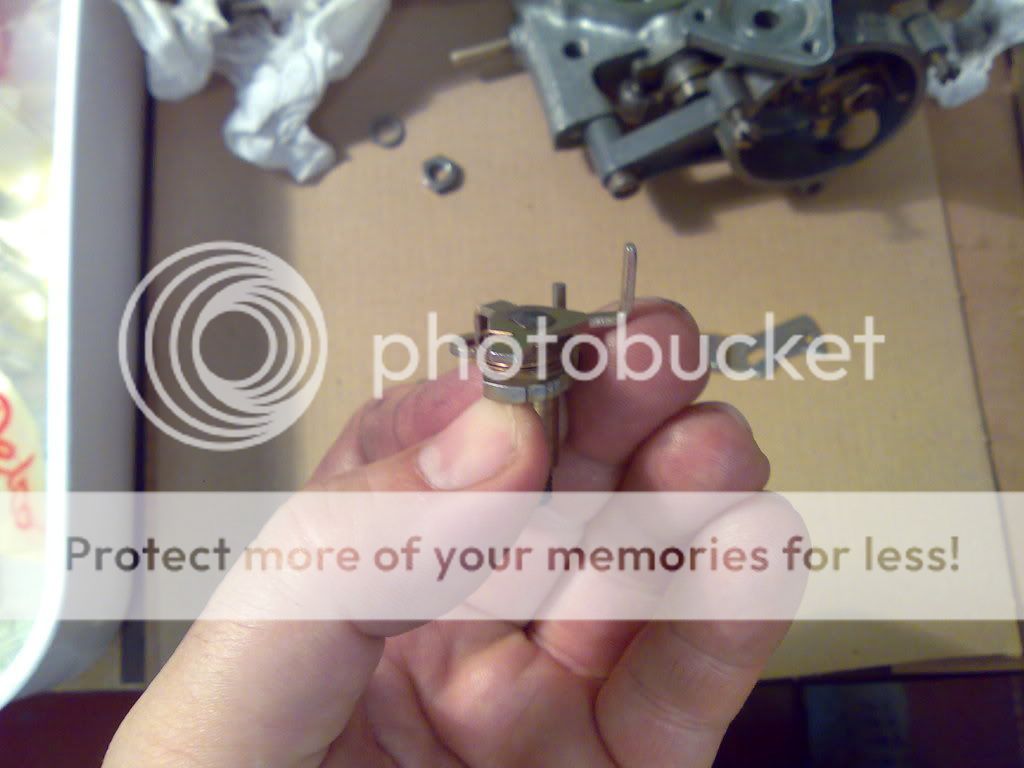
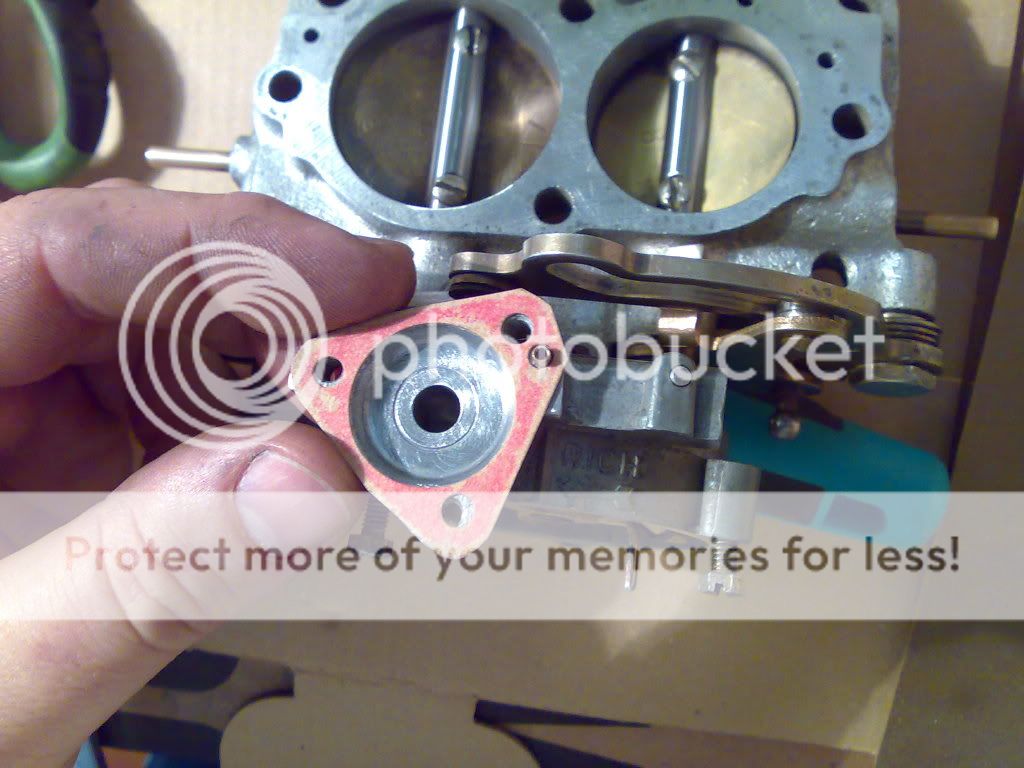
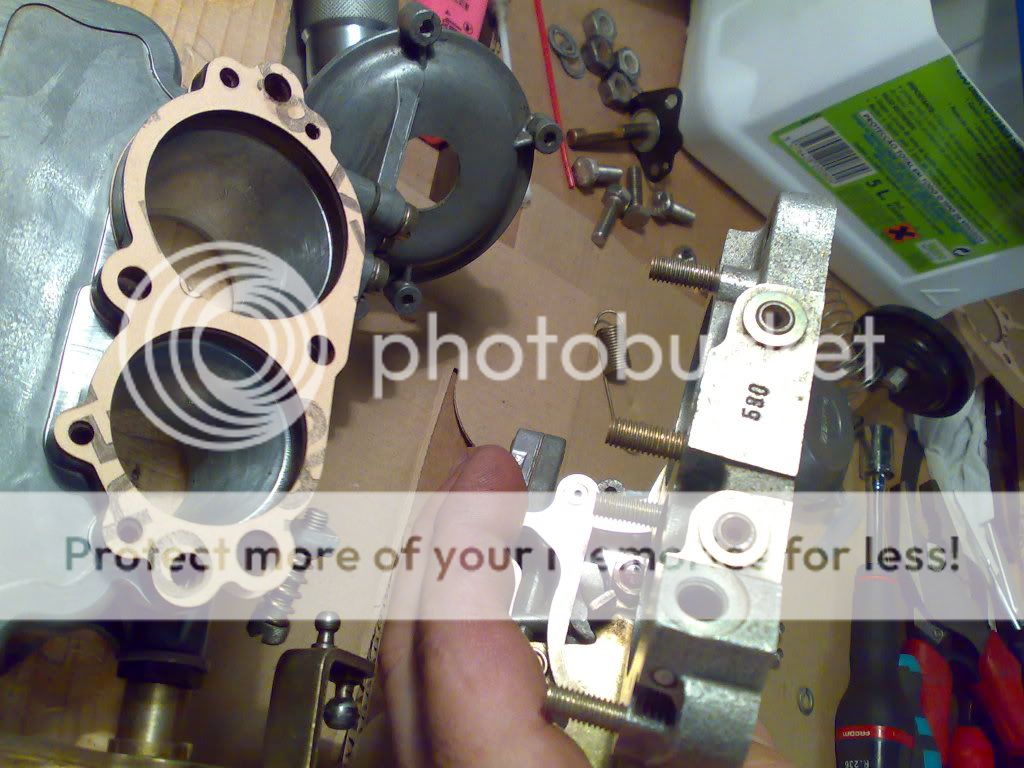
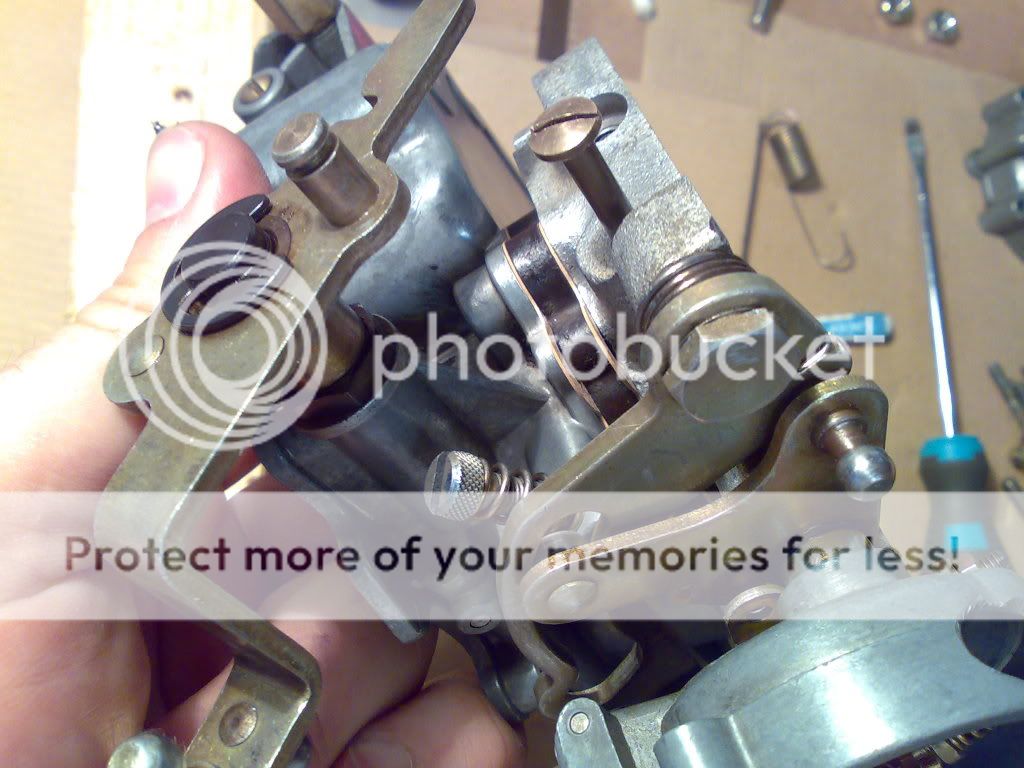
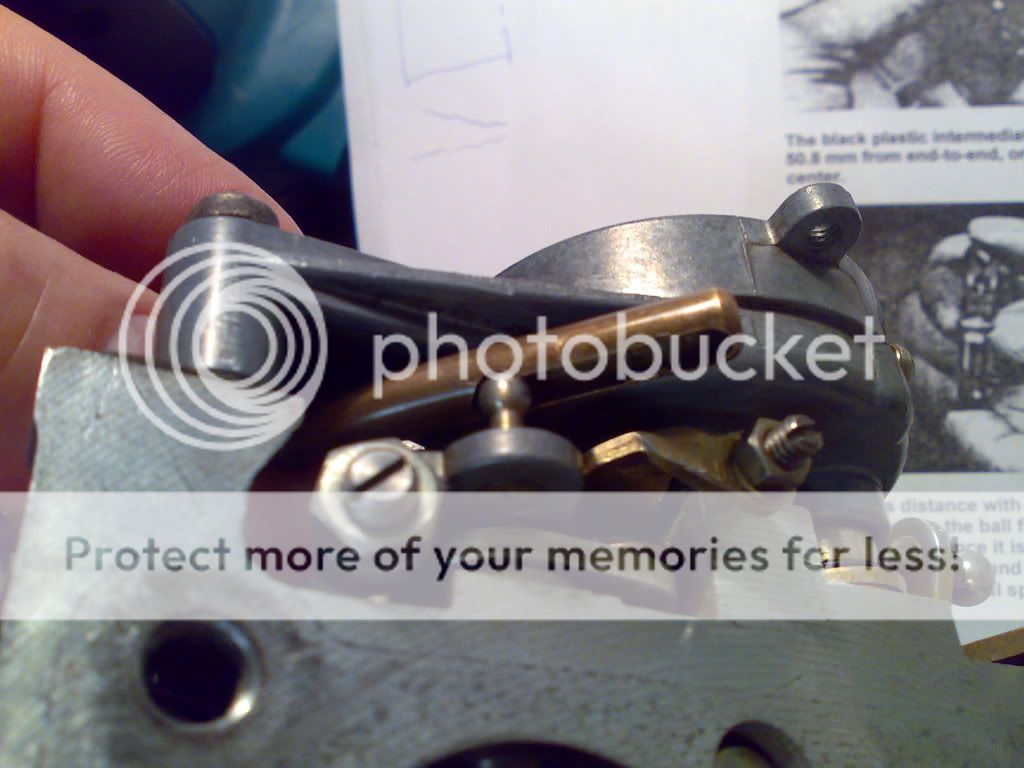
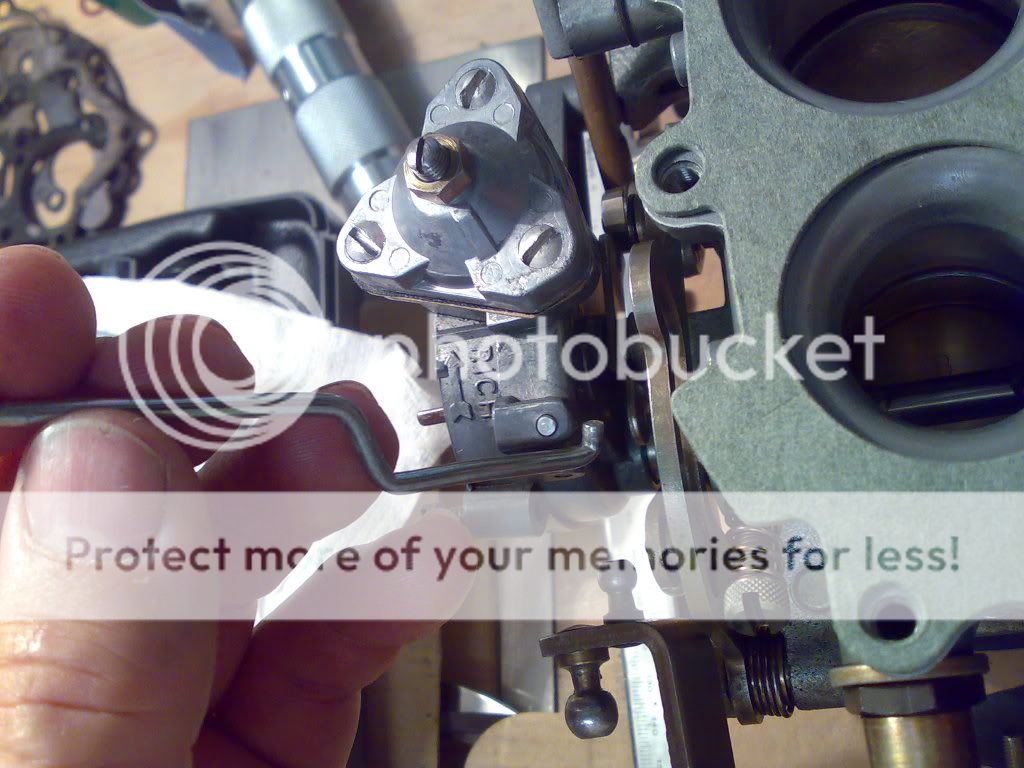
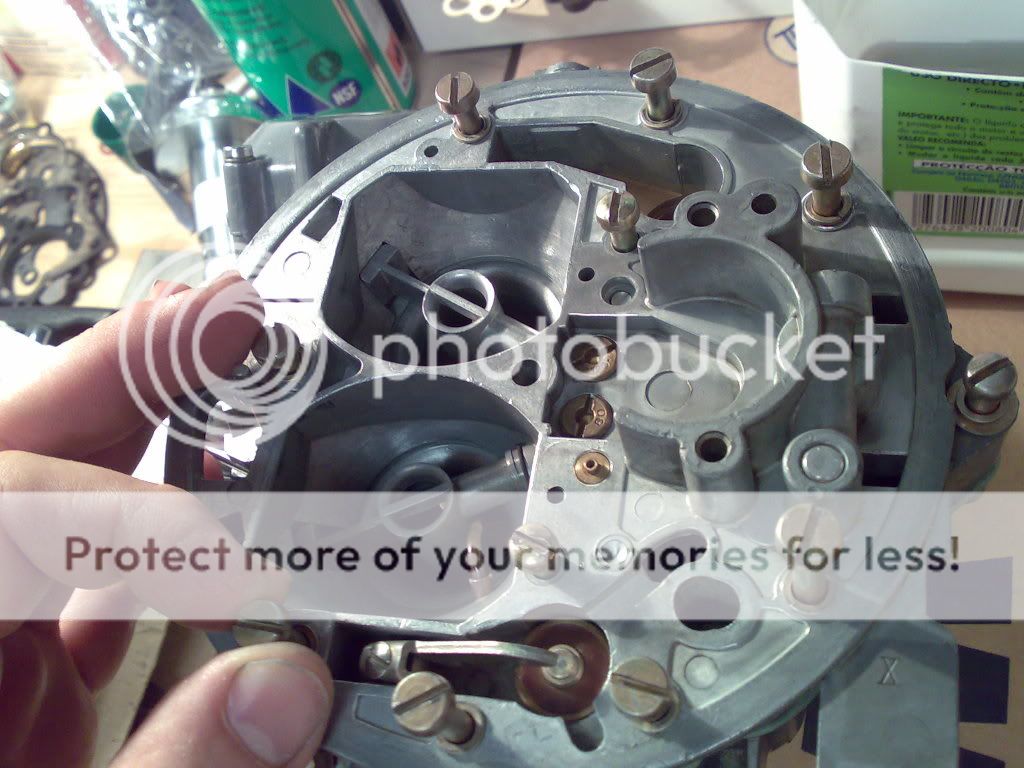
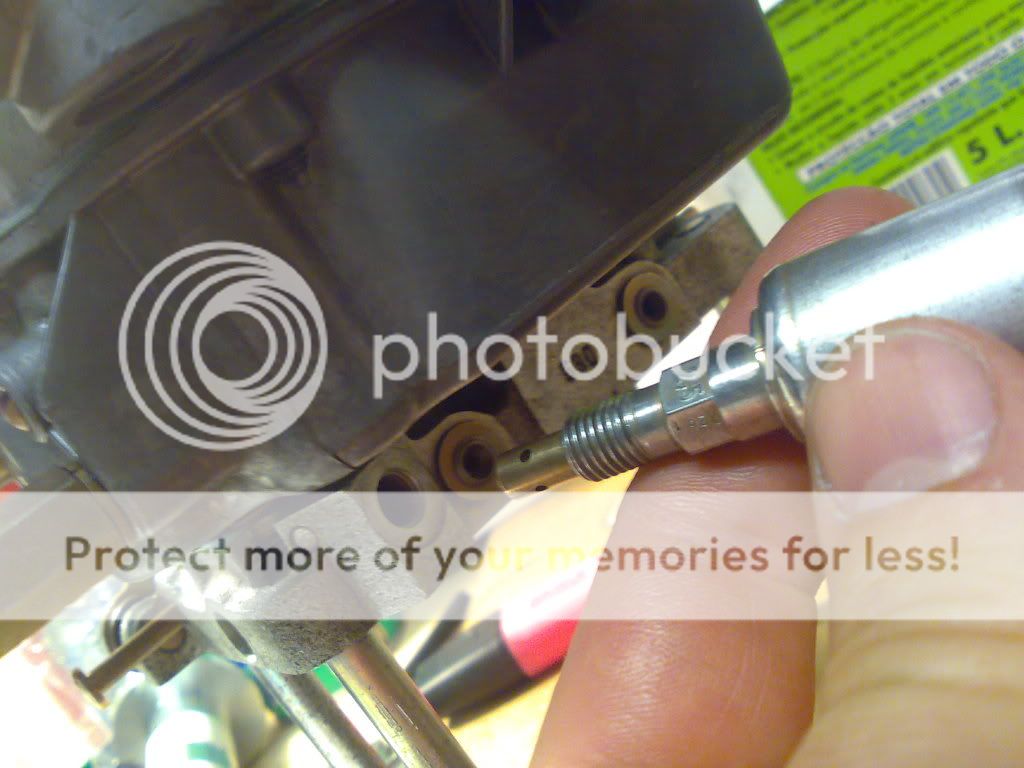
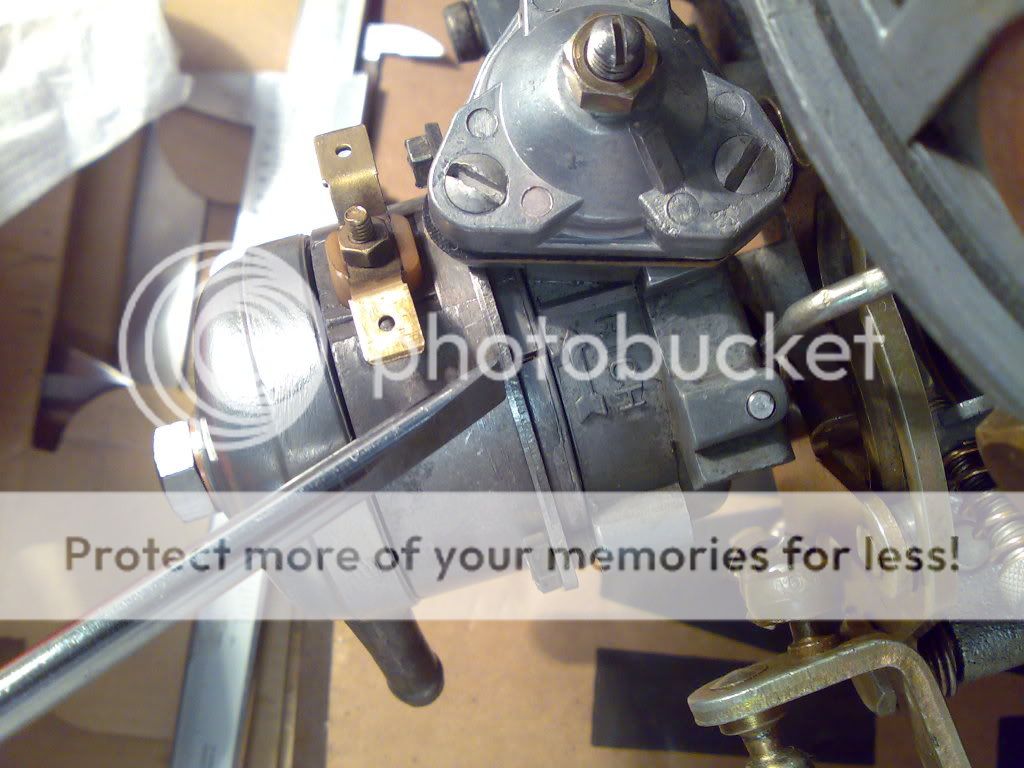
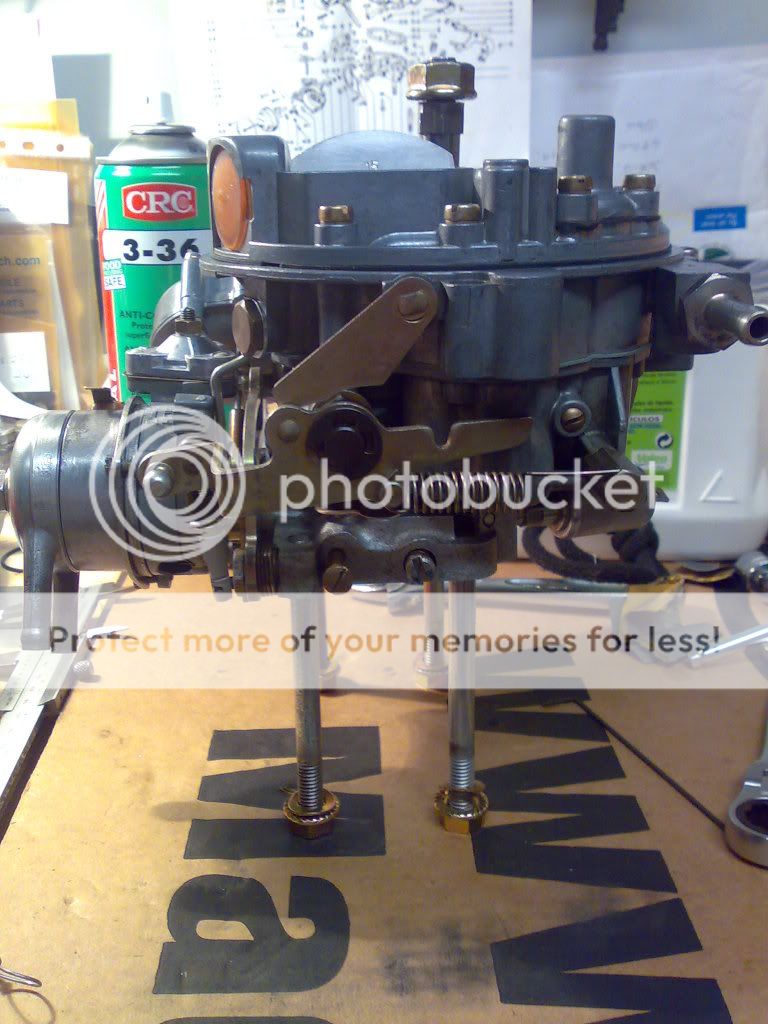
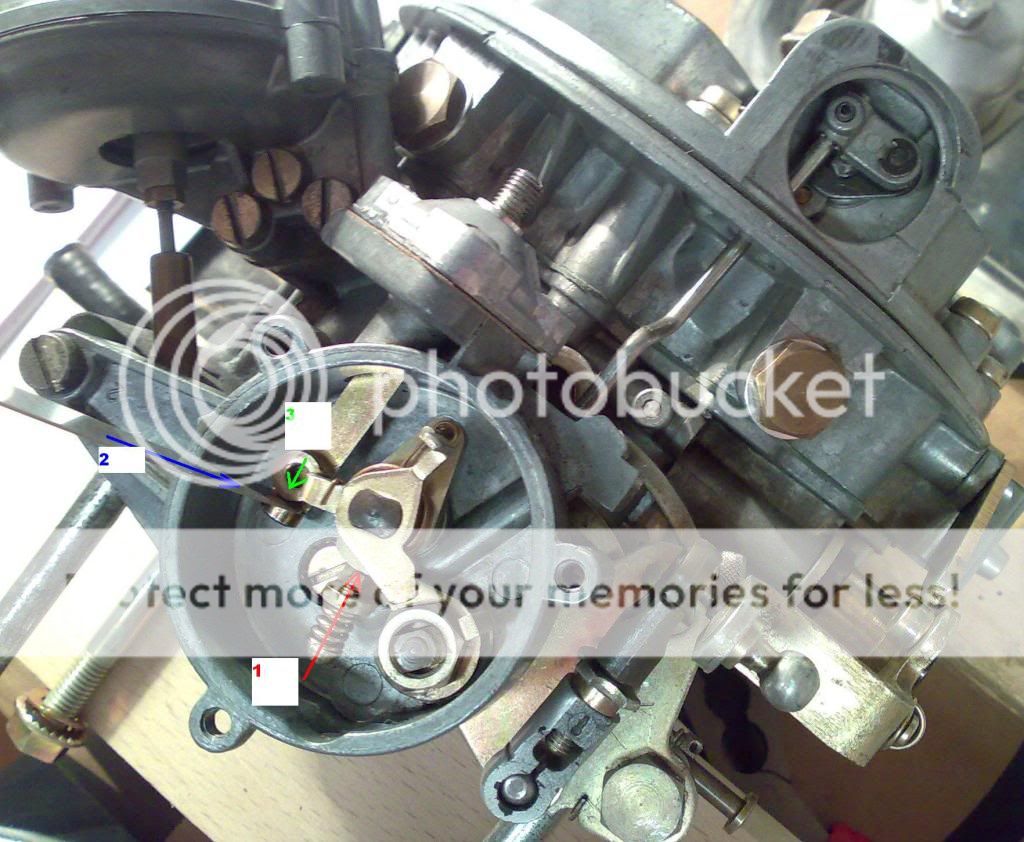
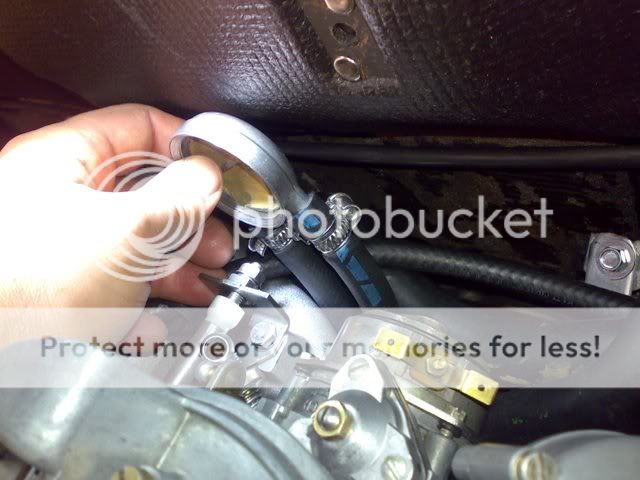
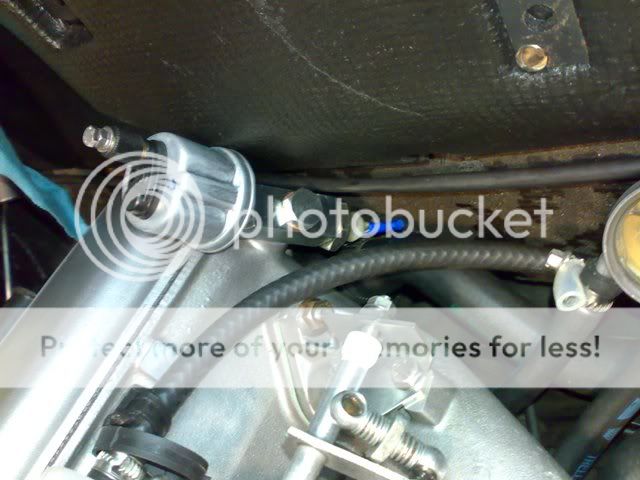
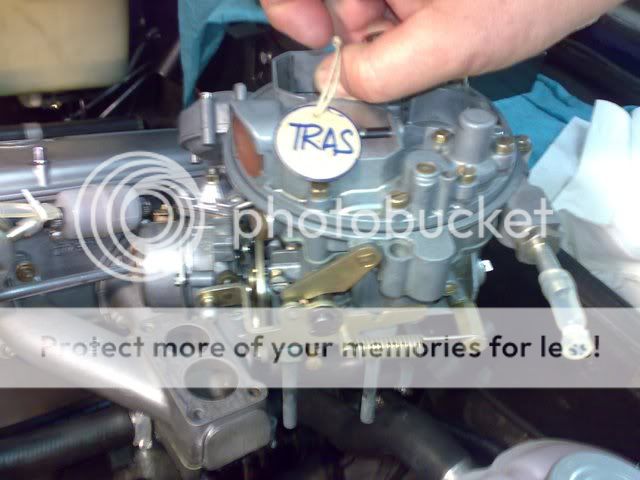
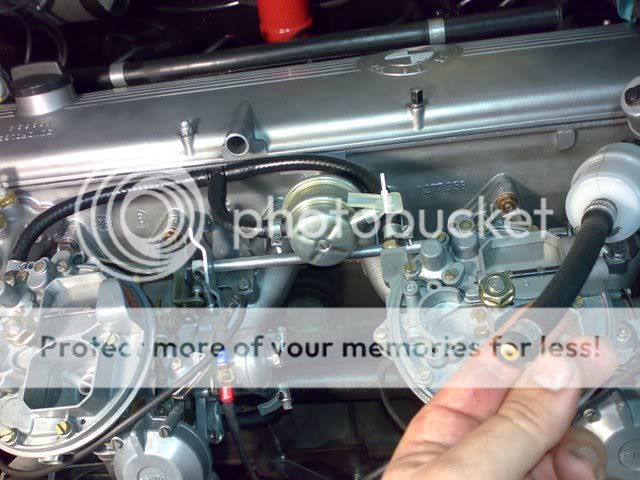
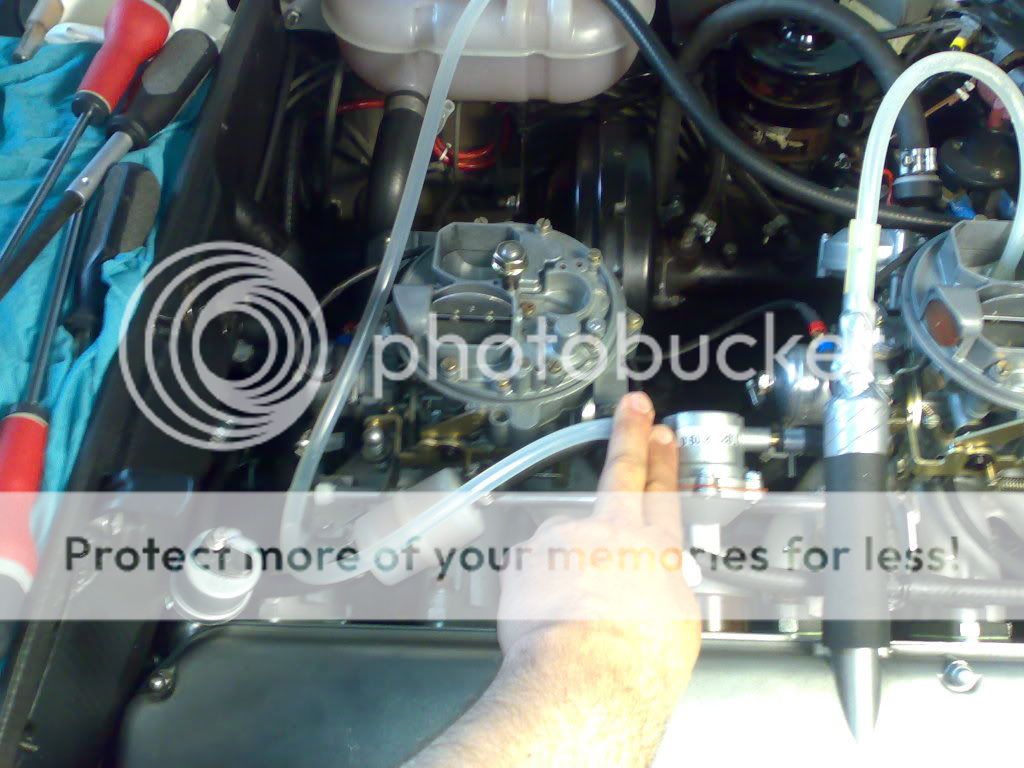
suelto vastagos de carbur trasero
250320112014.jpg

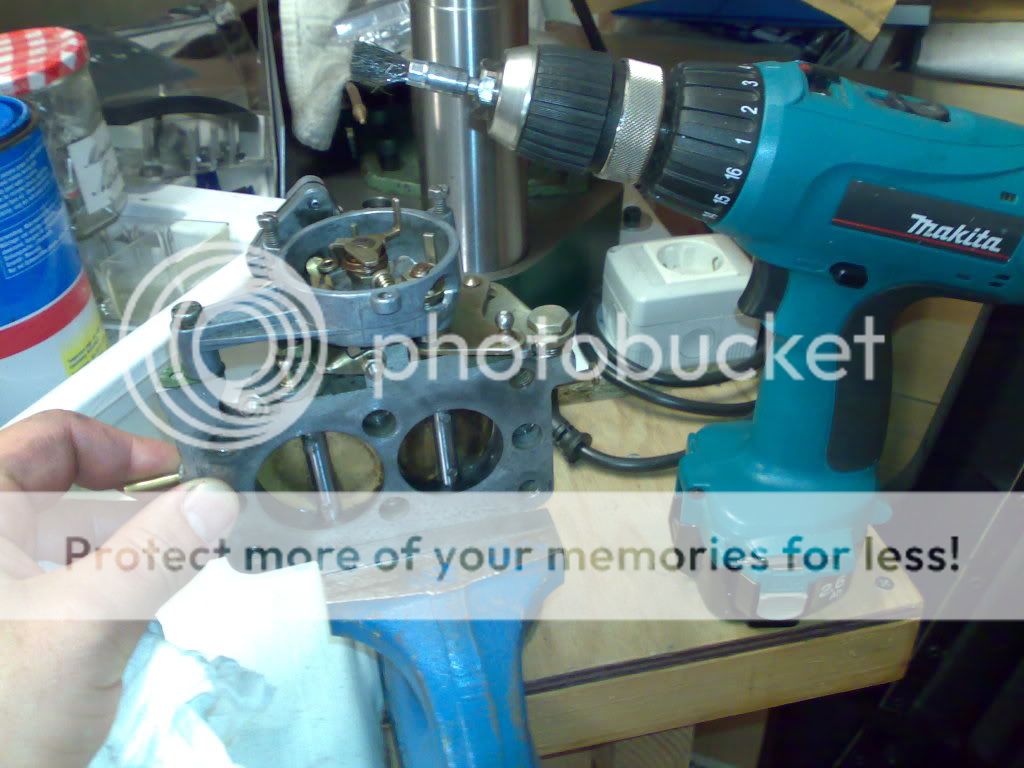
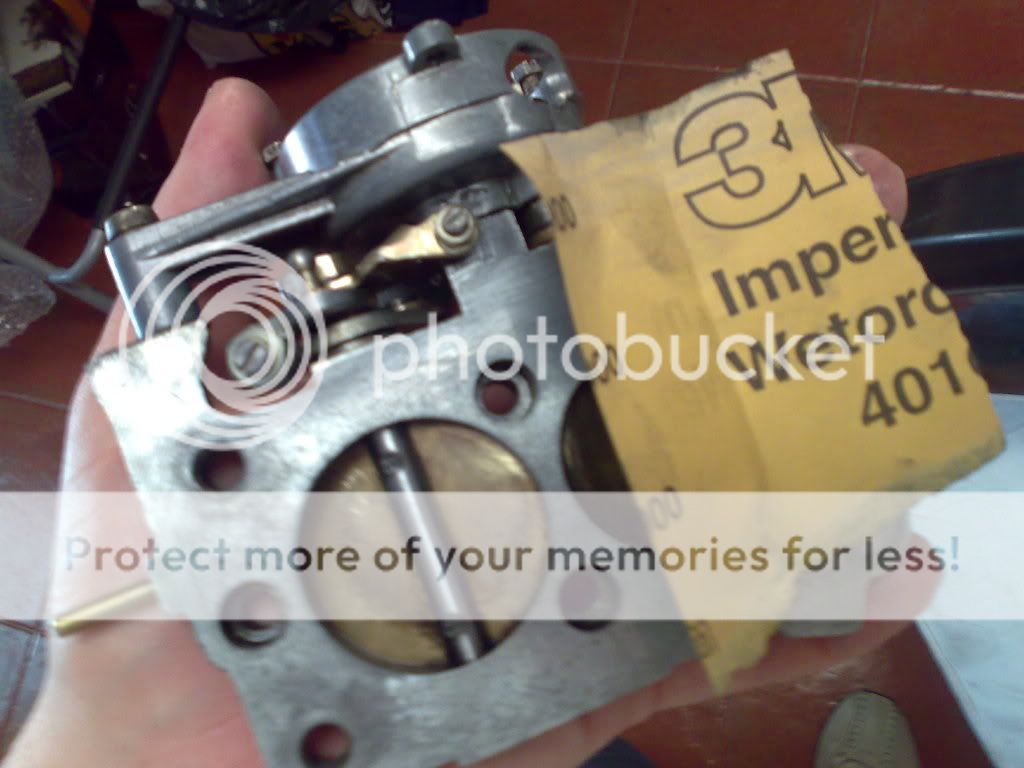
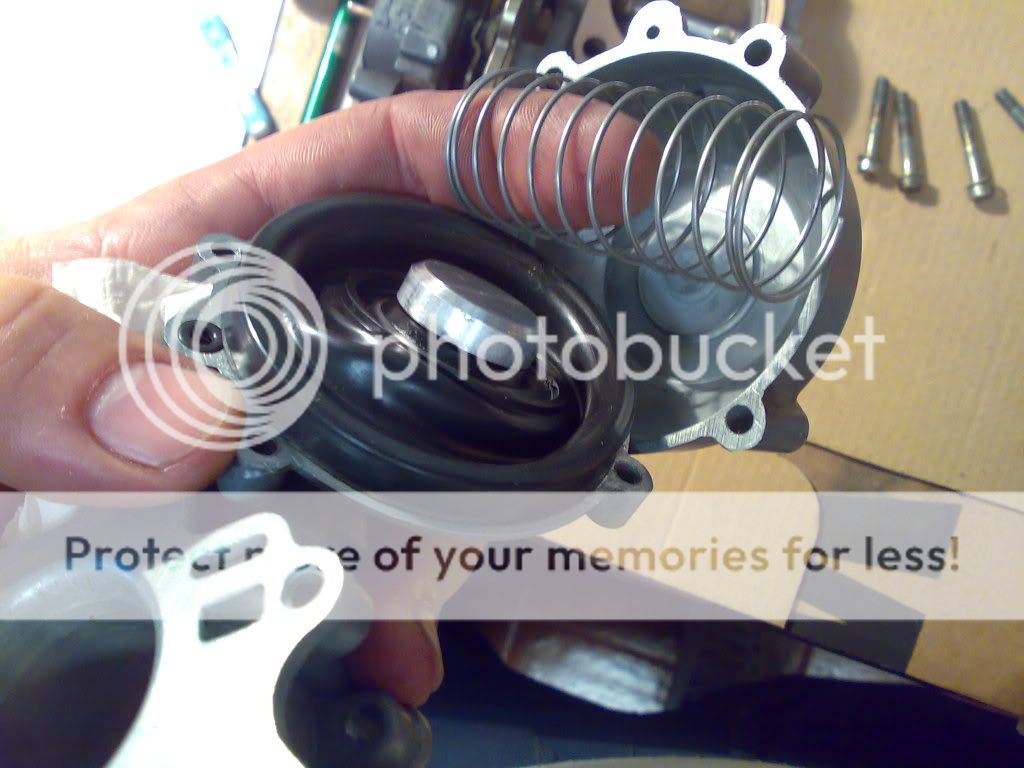
y ya esta en la mano
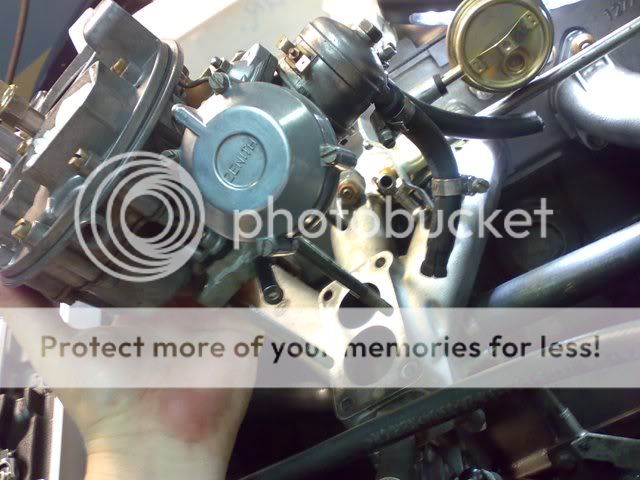
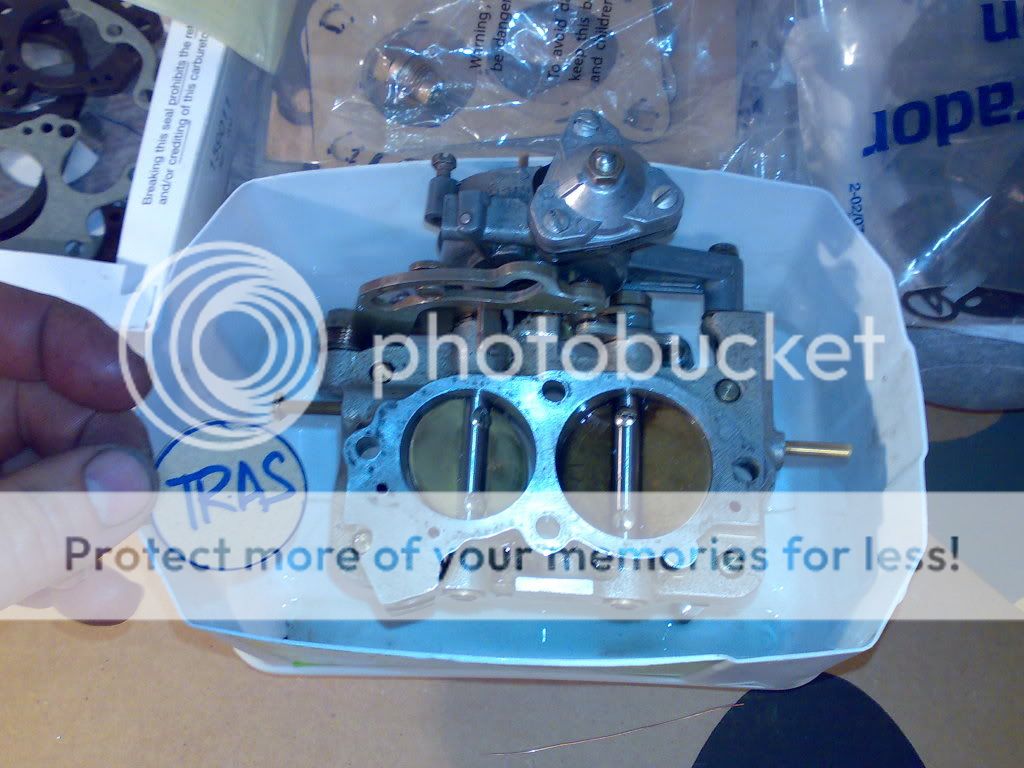
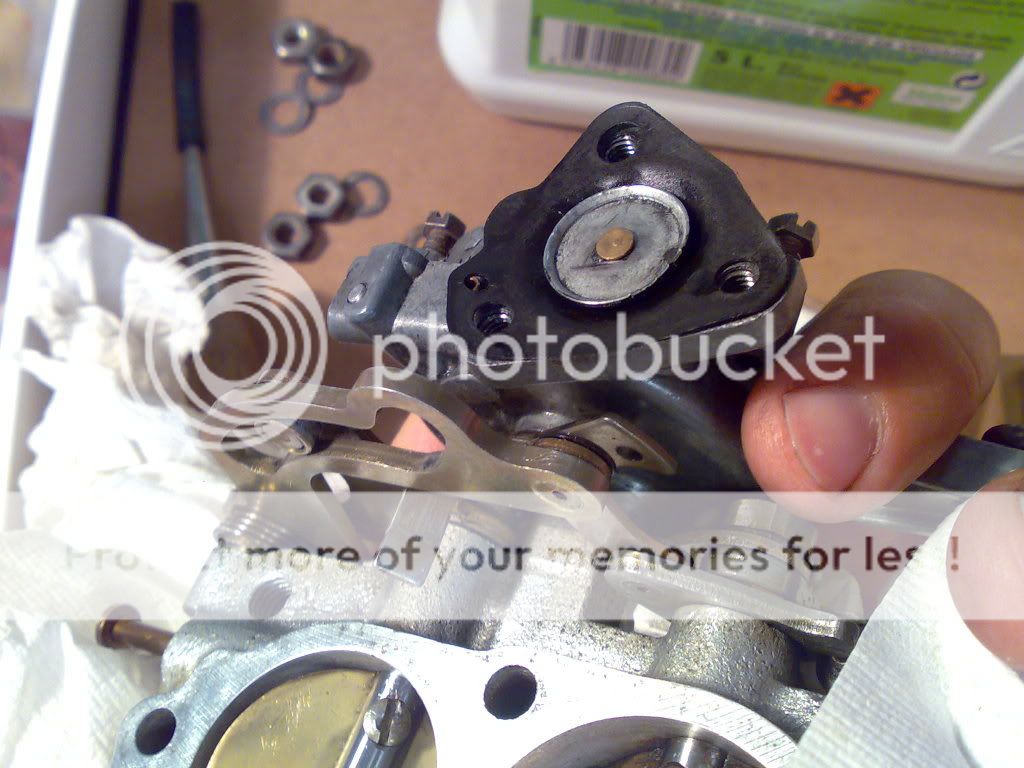
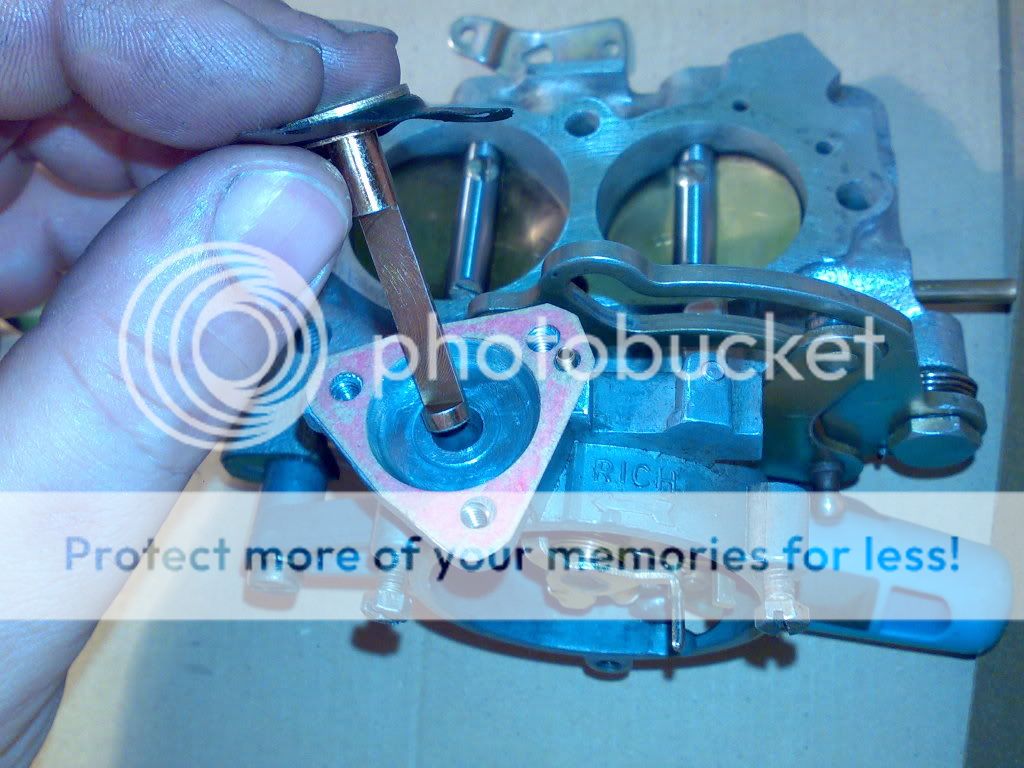
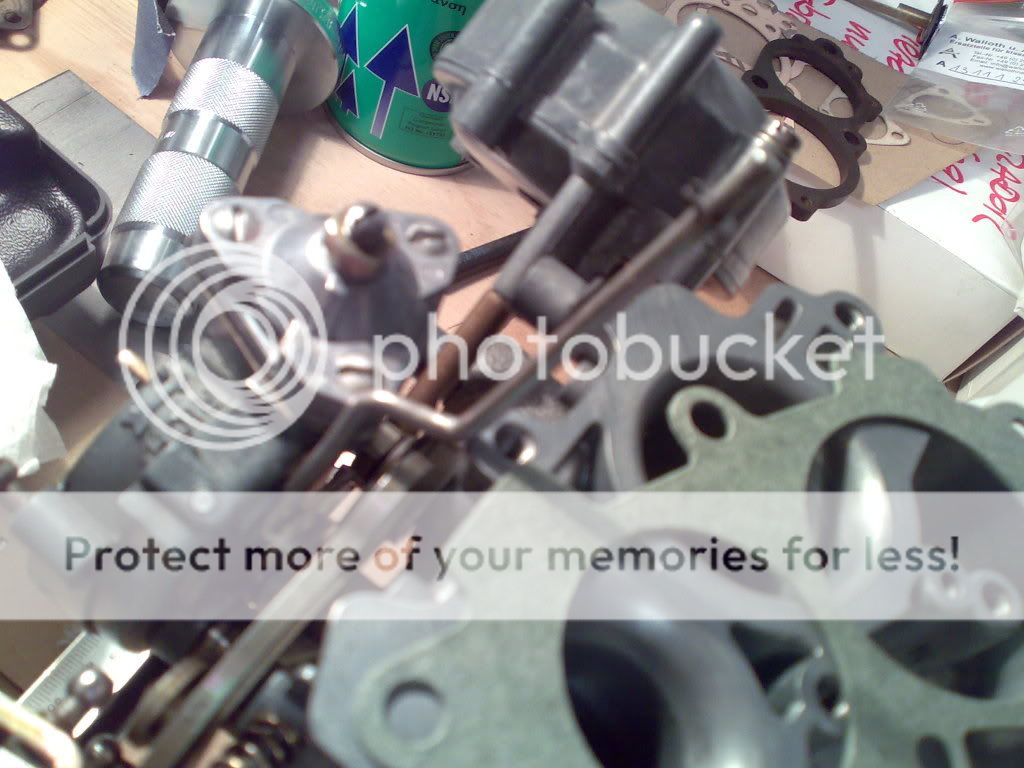
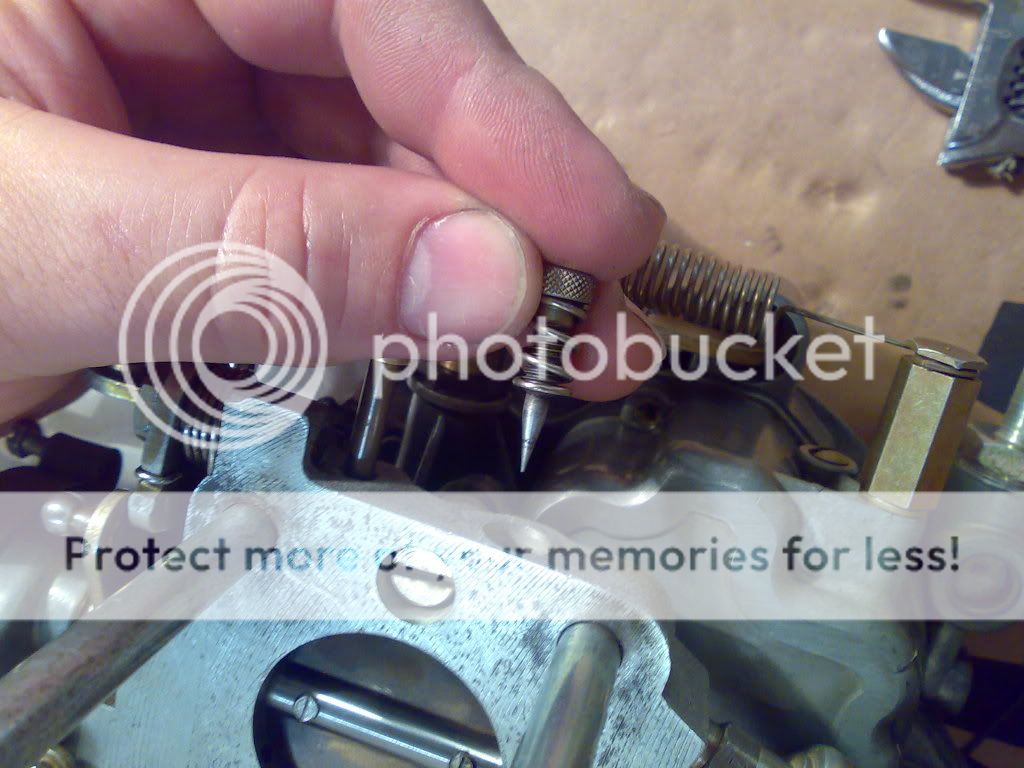
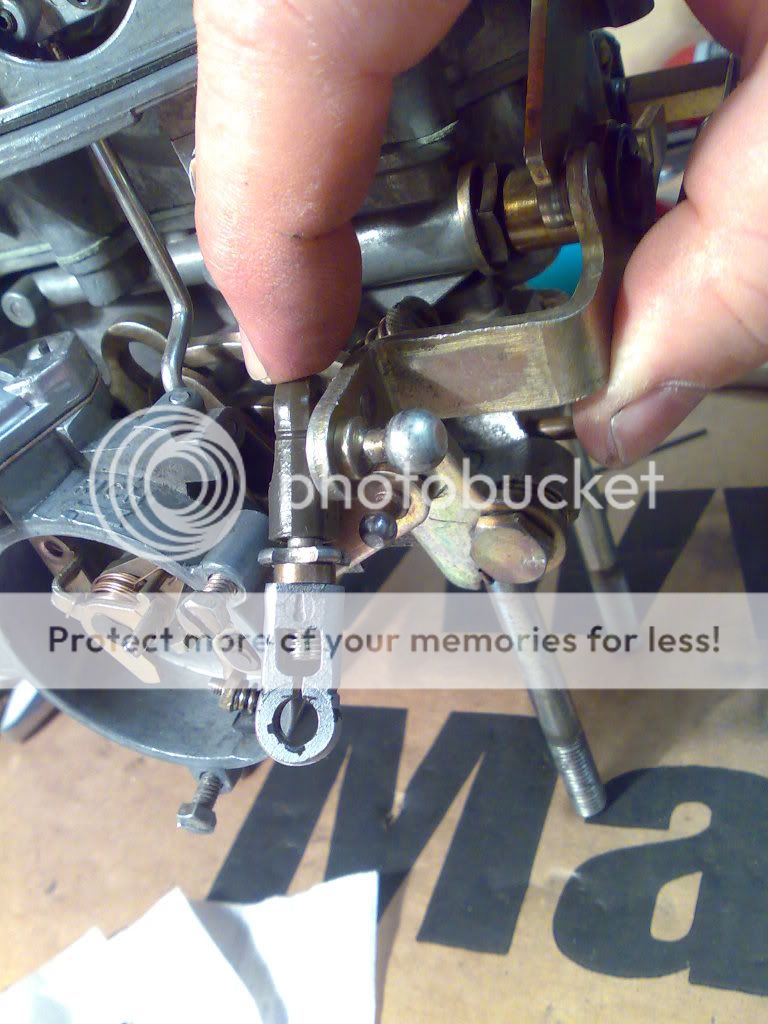
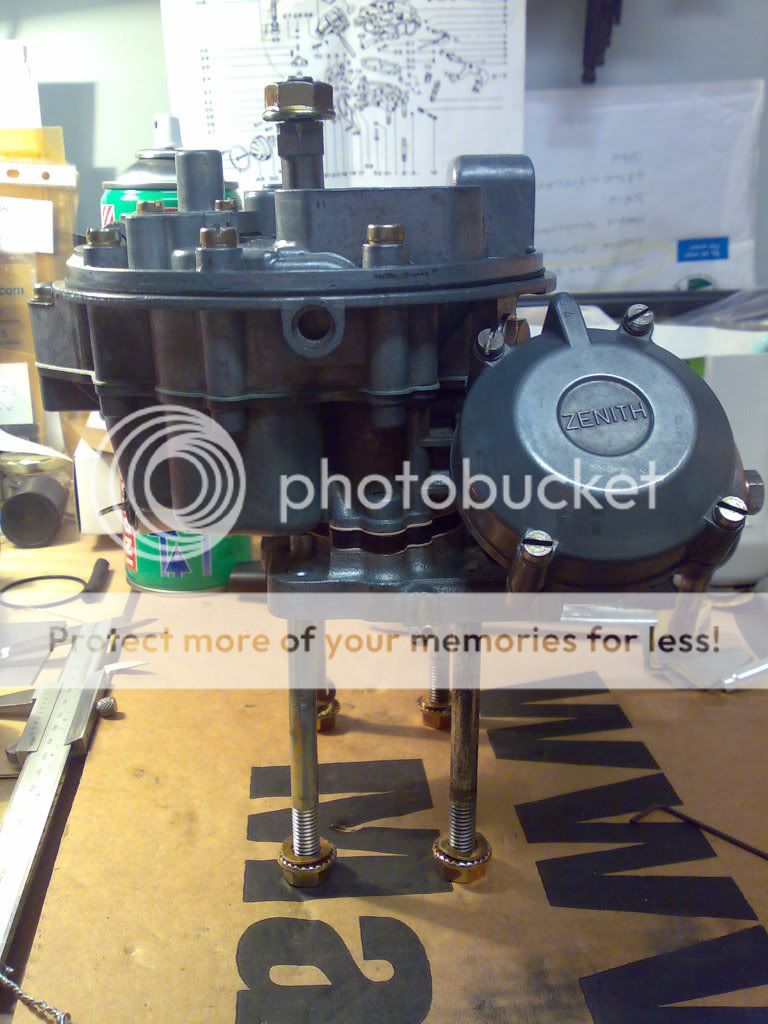
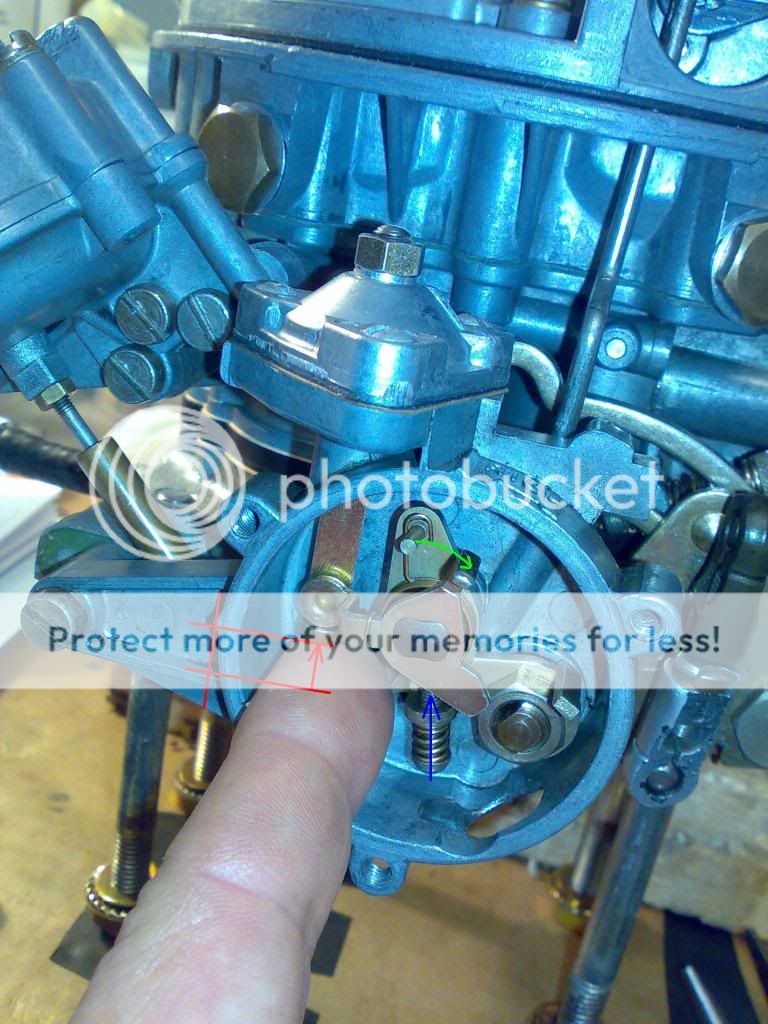
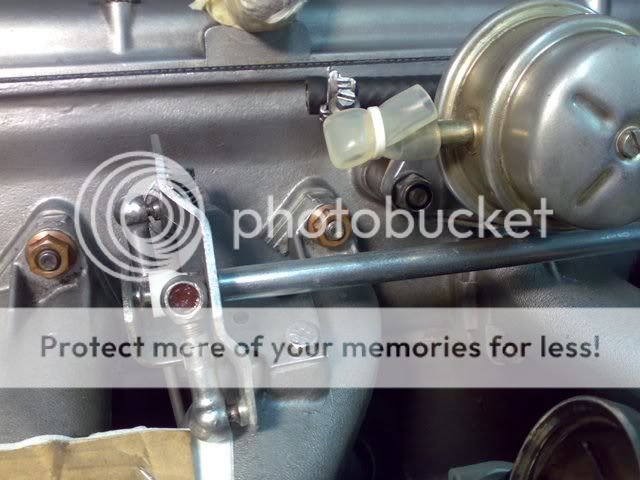
250320112015.jpg

idem delantero
250320112016.jpg


250320112017.jpg

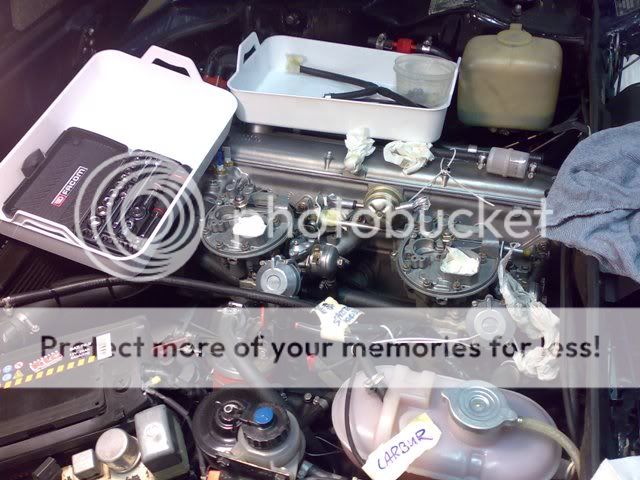
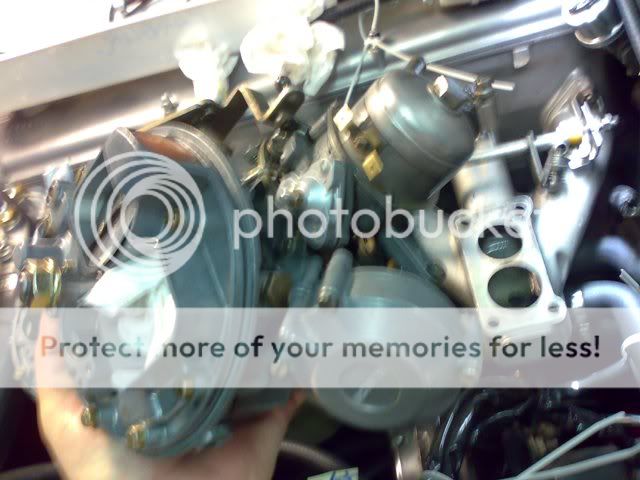
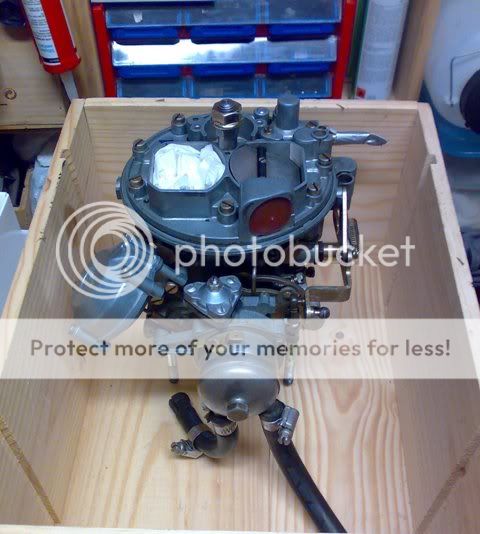
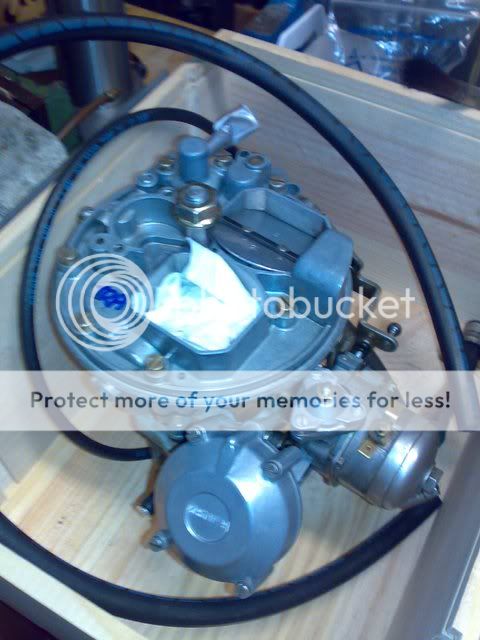
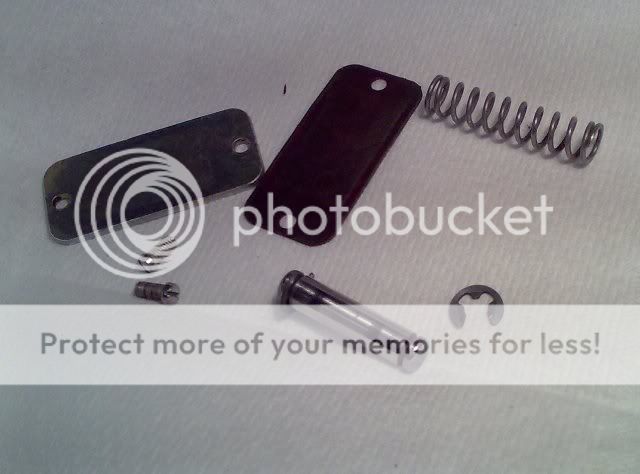
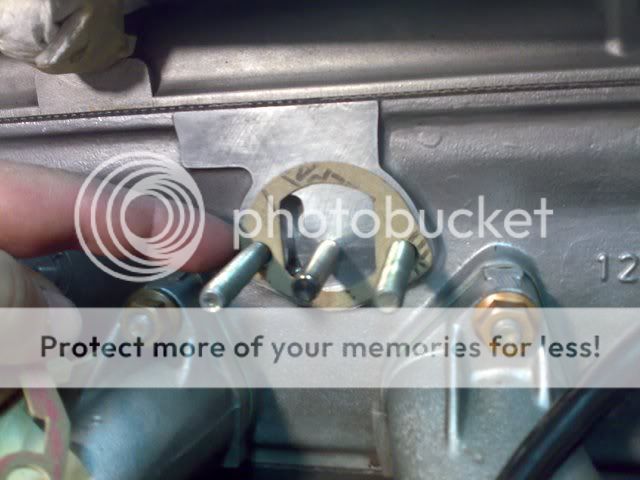
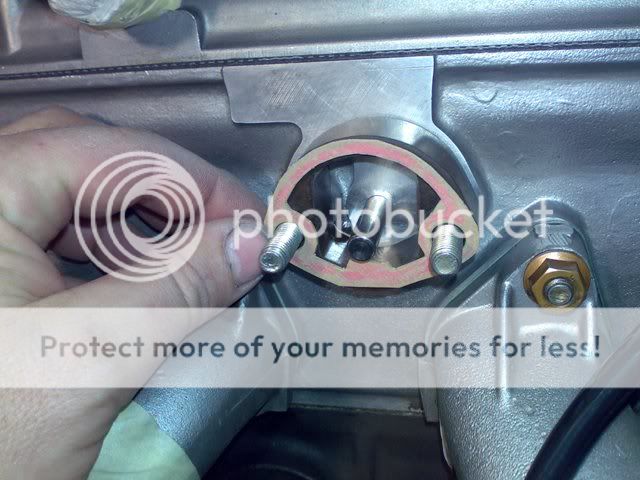
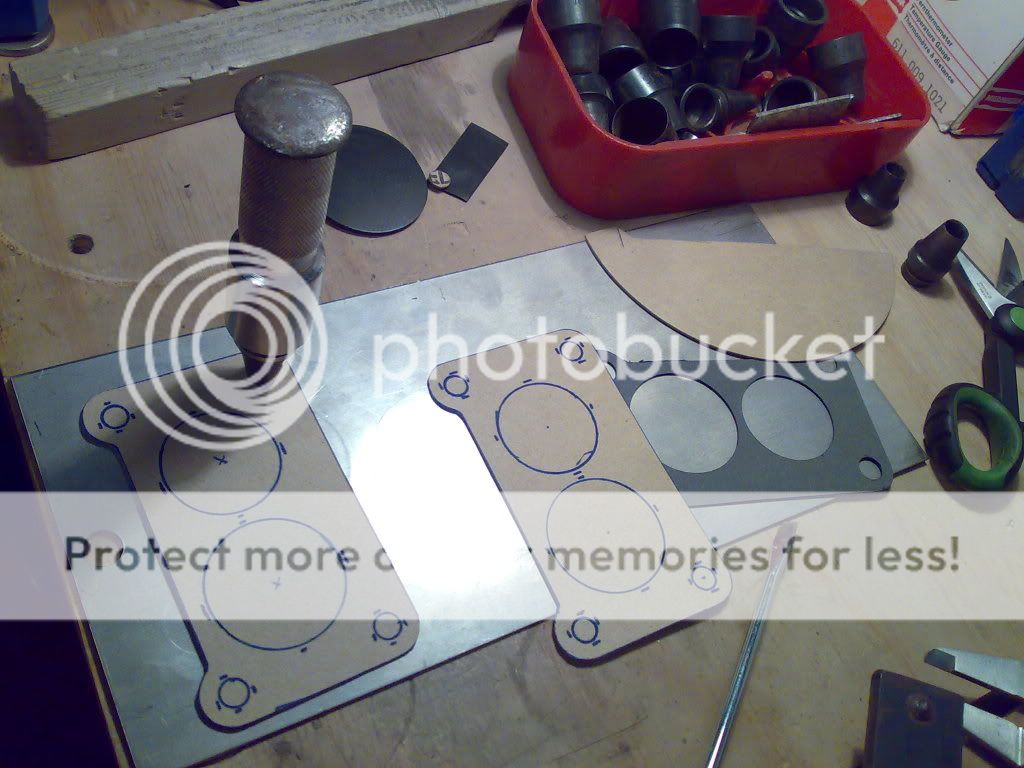
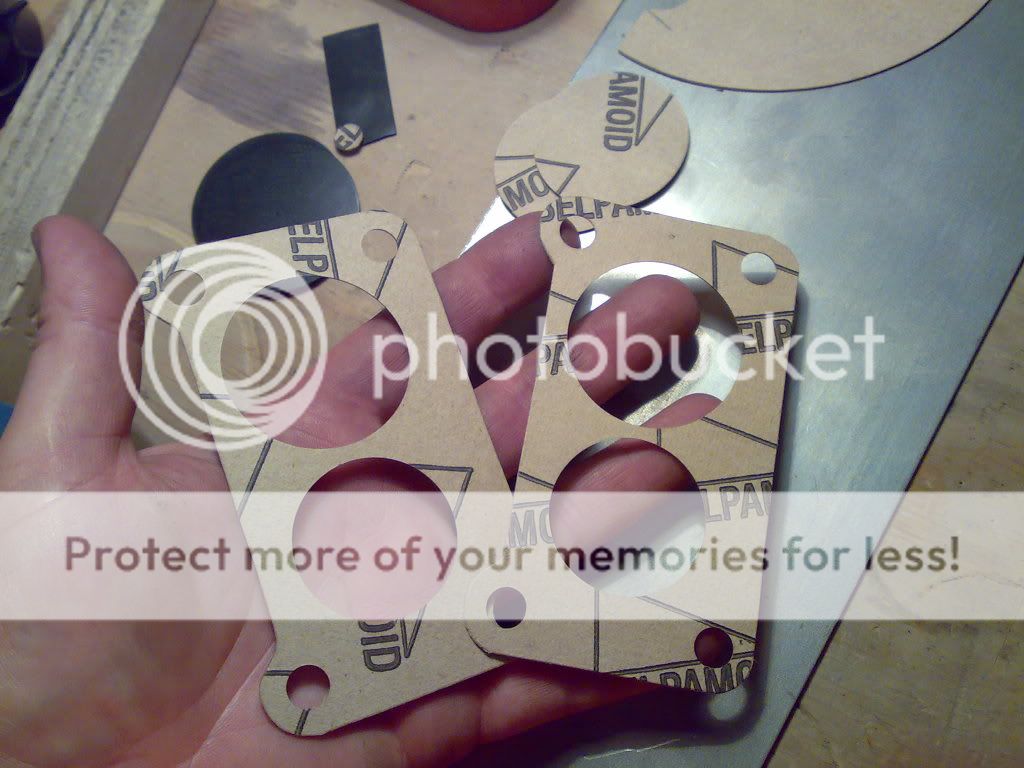
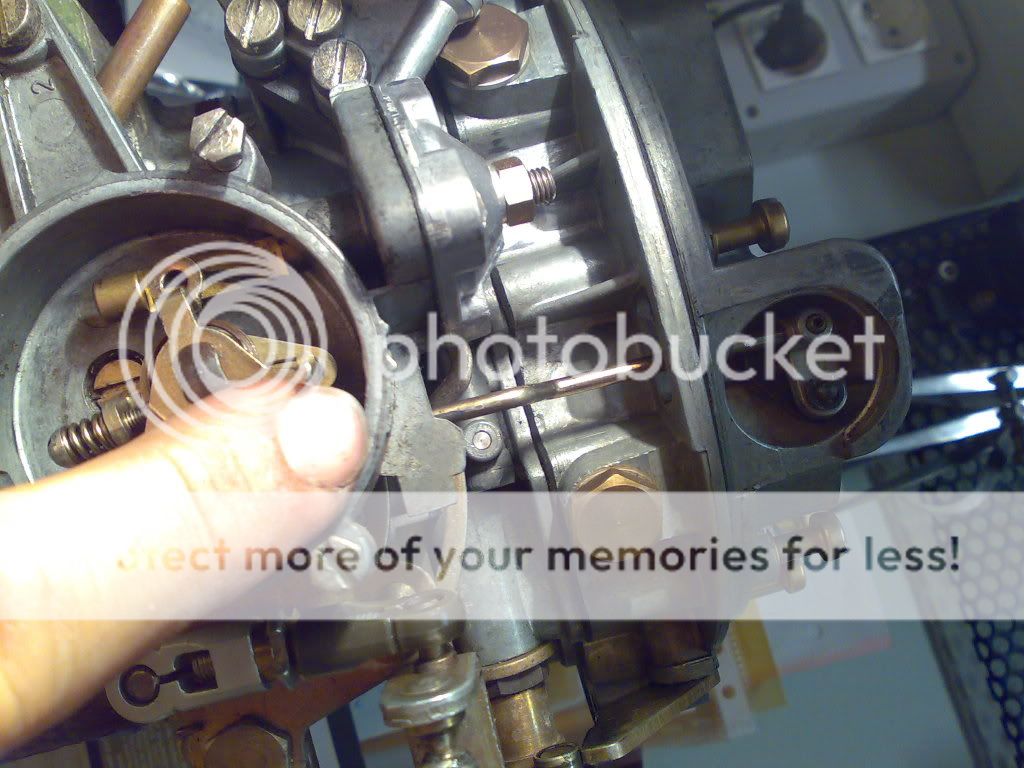
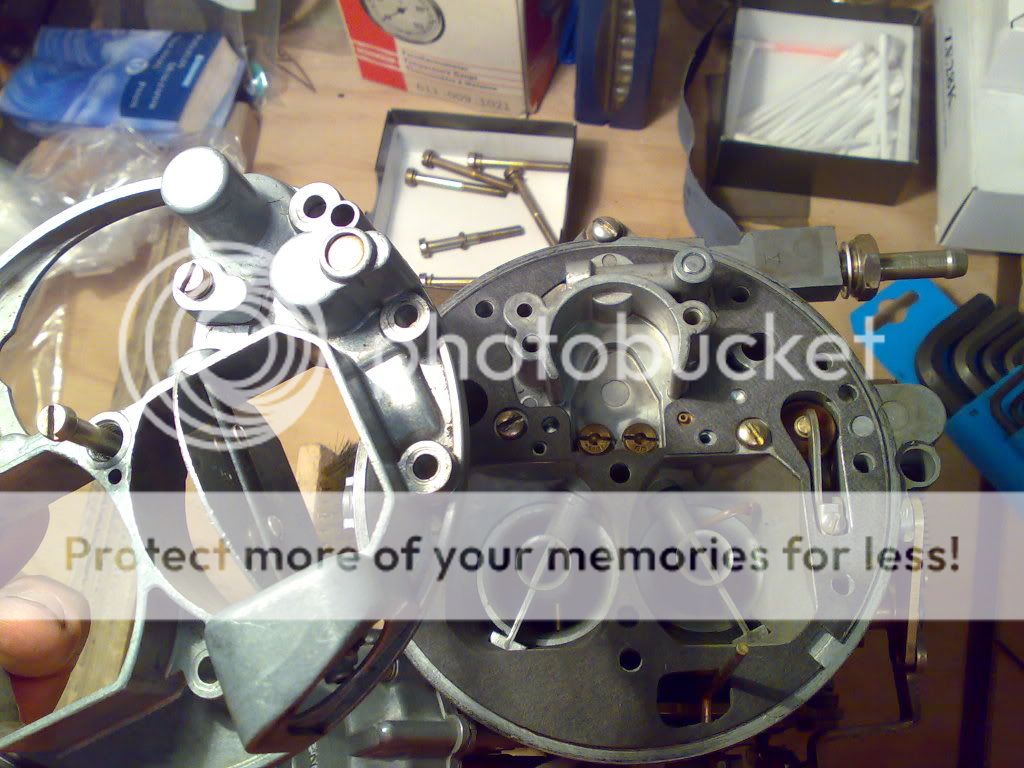
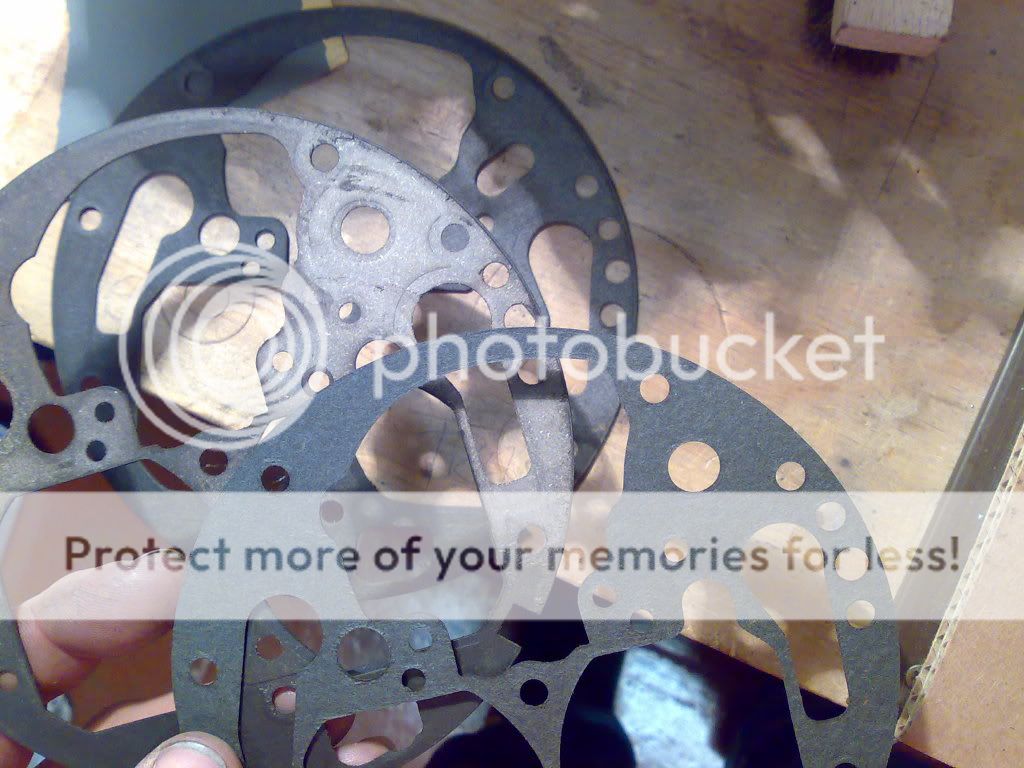
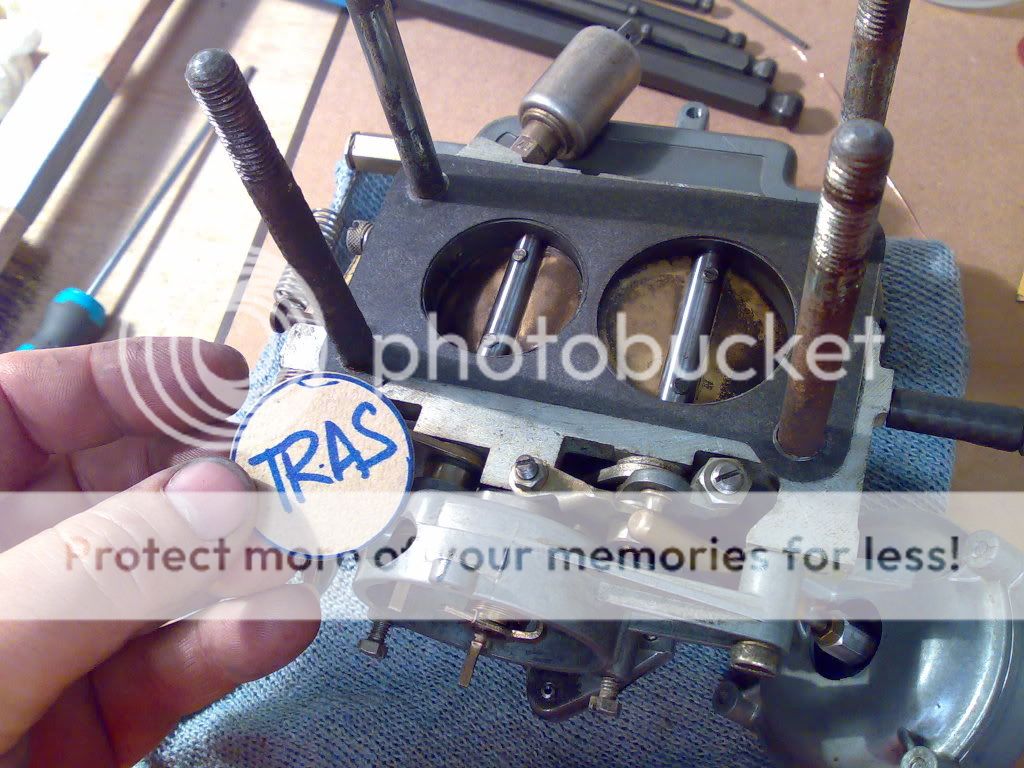
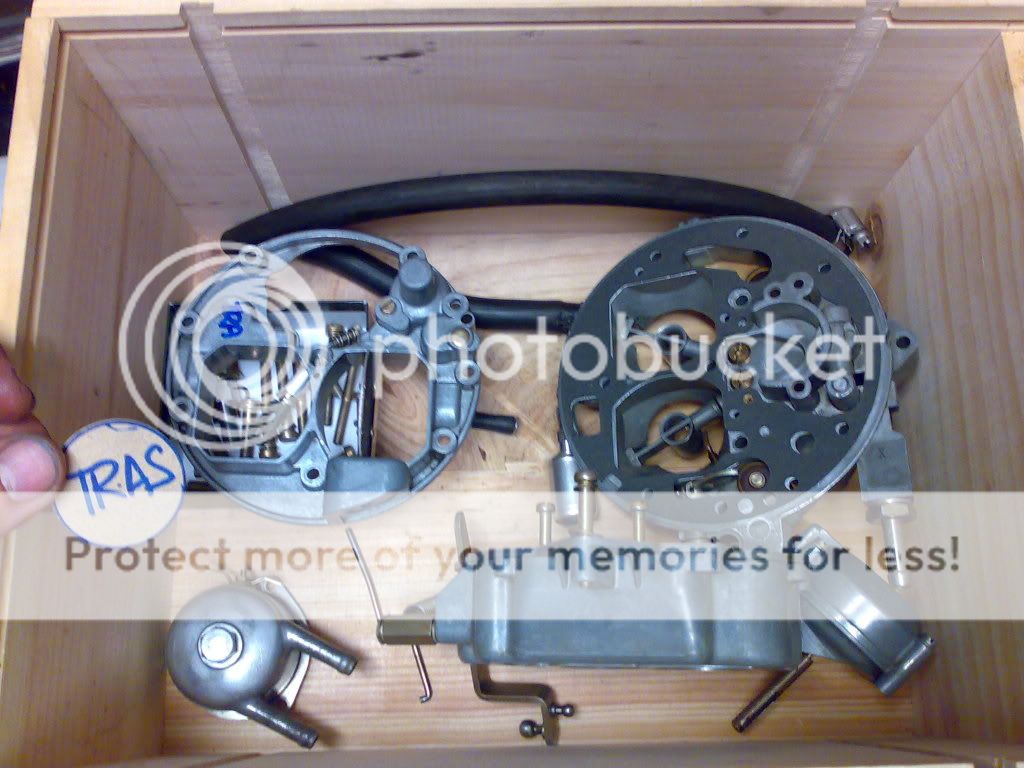
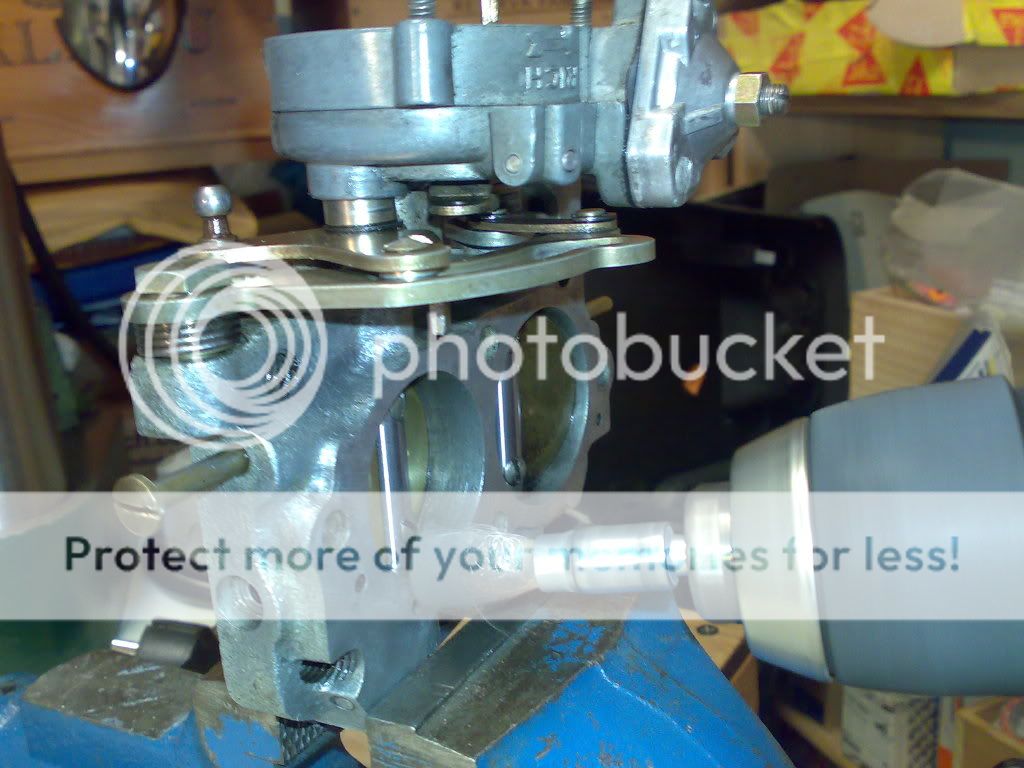
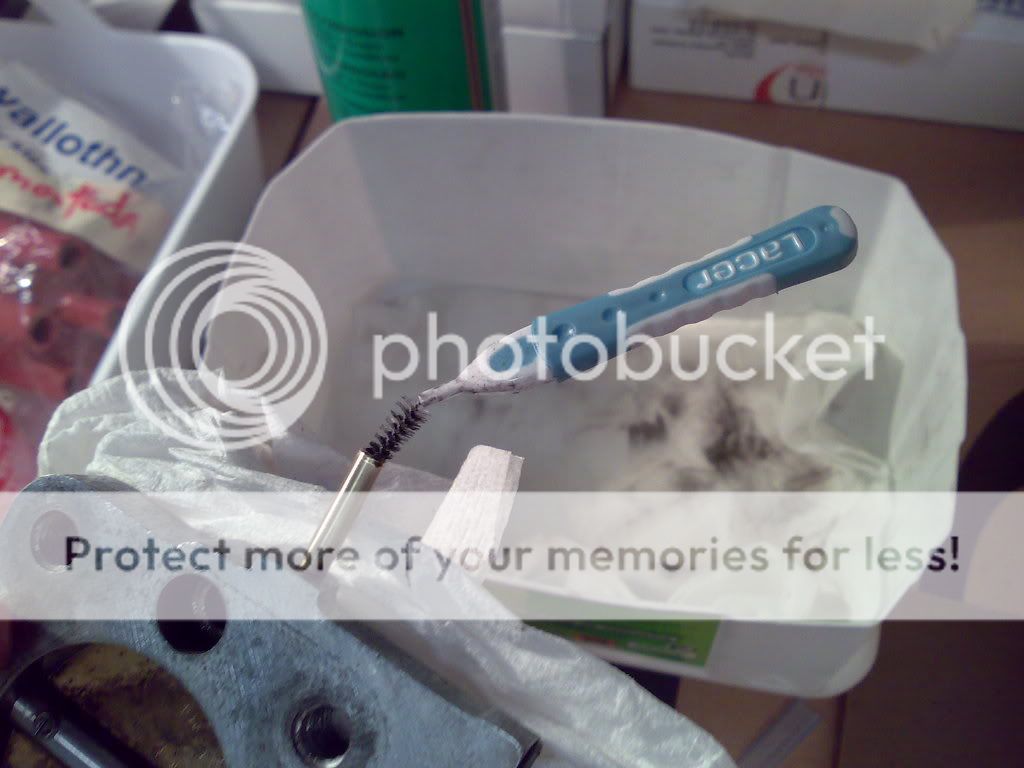
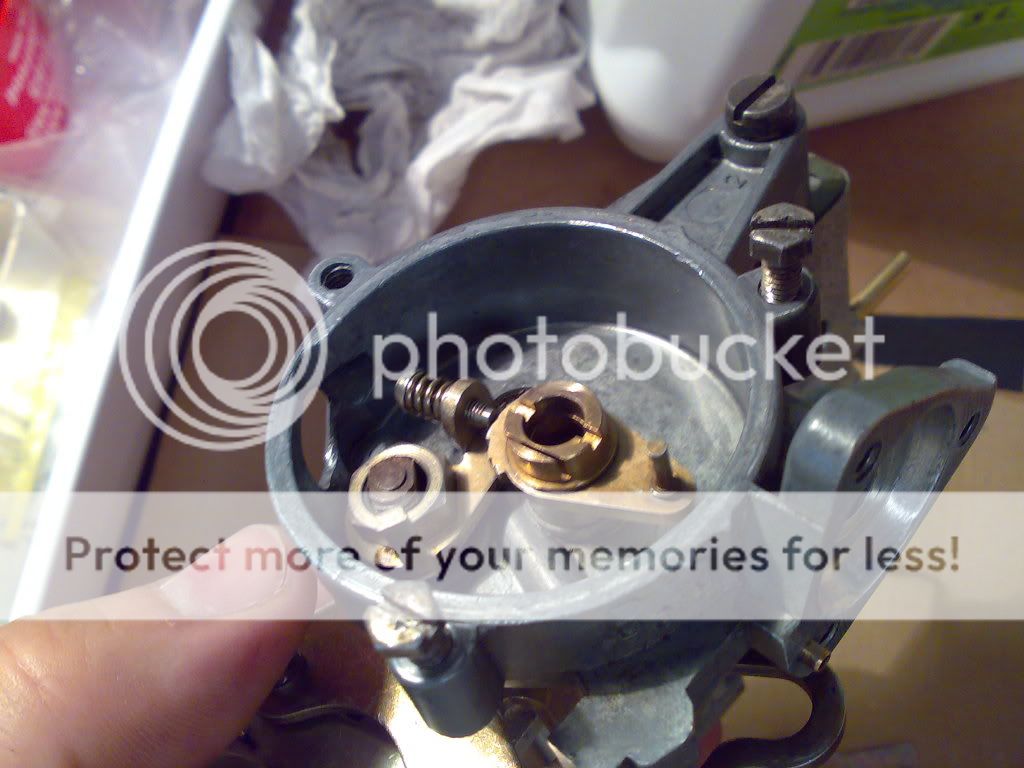
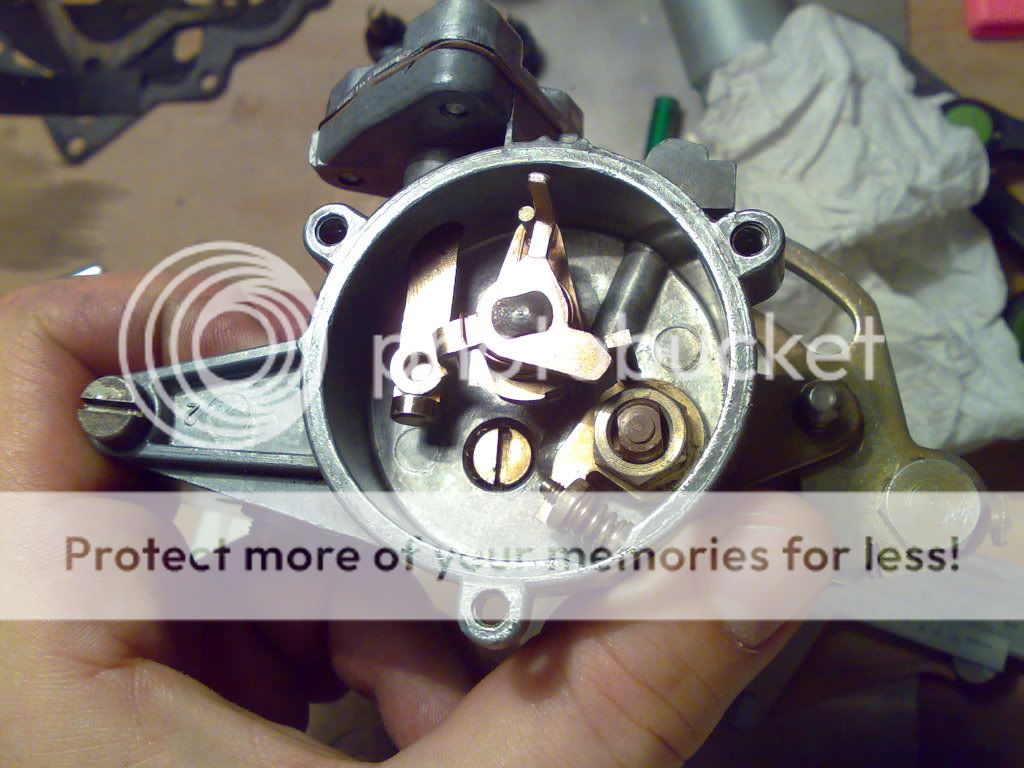
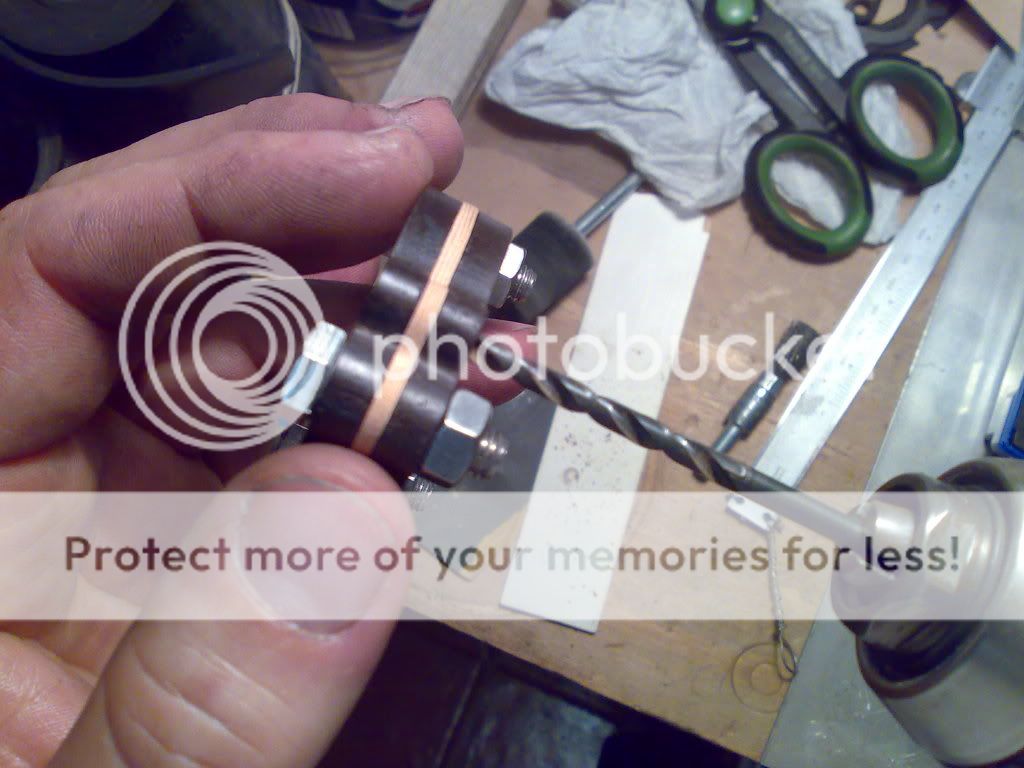
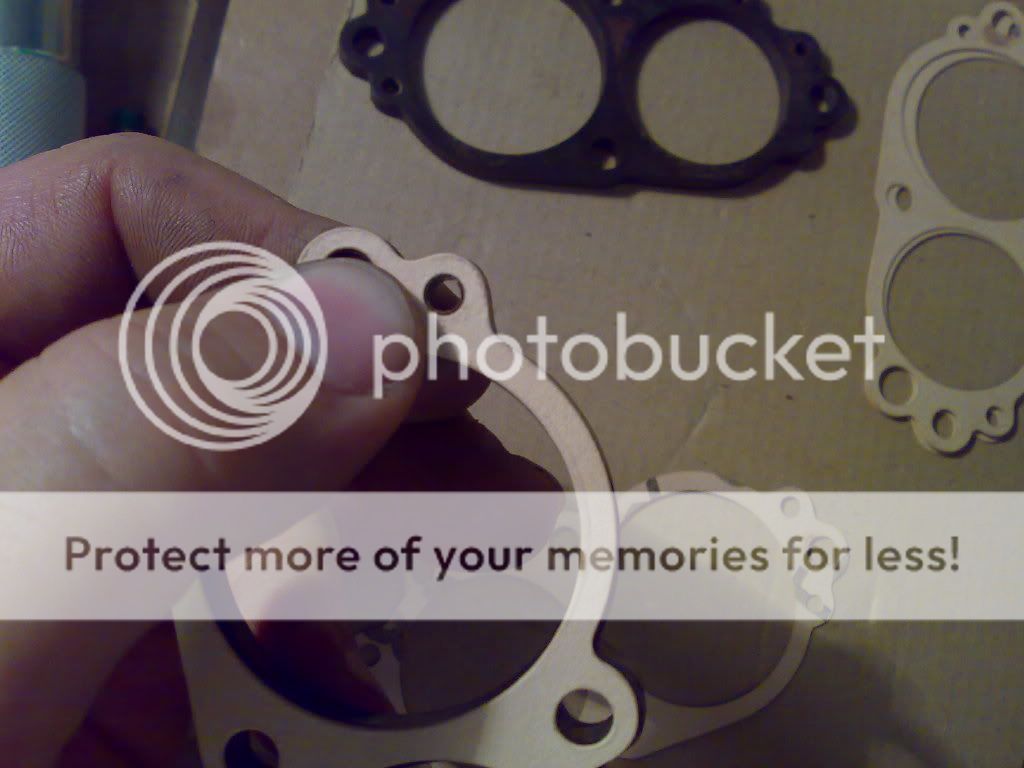
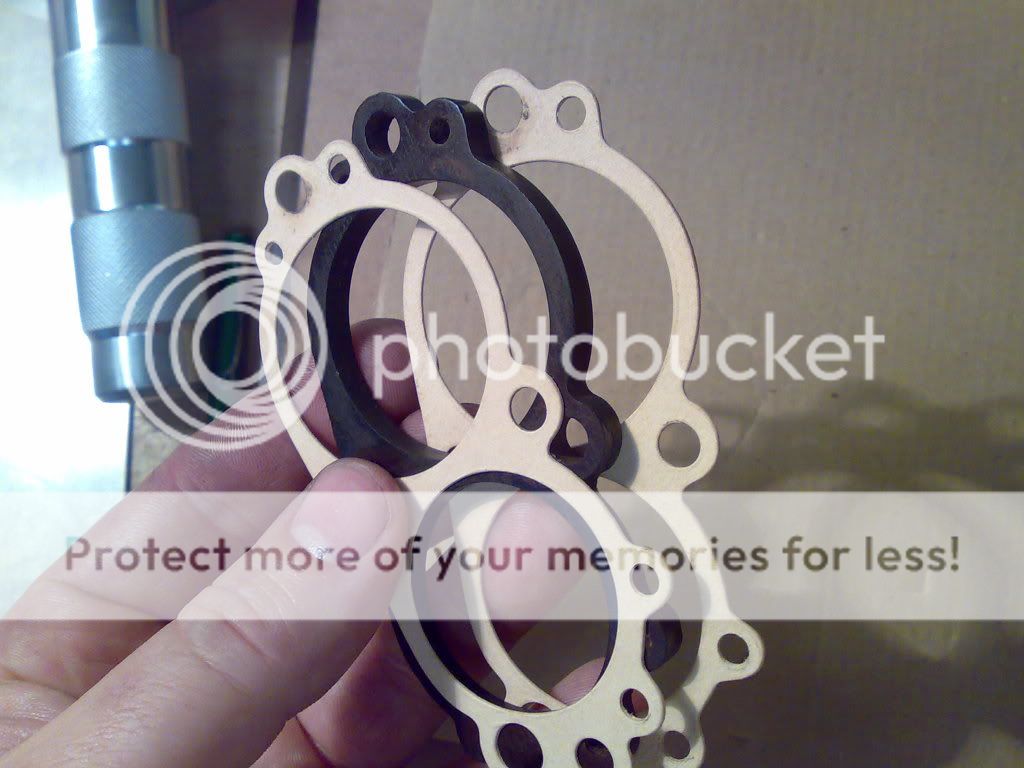
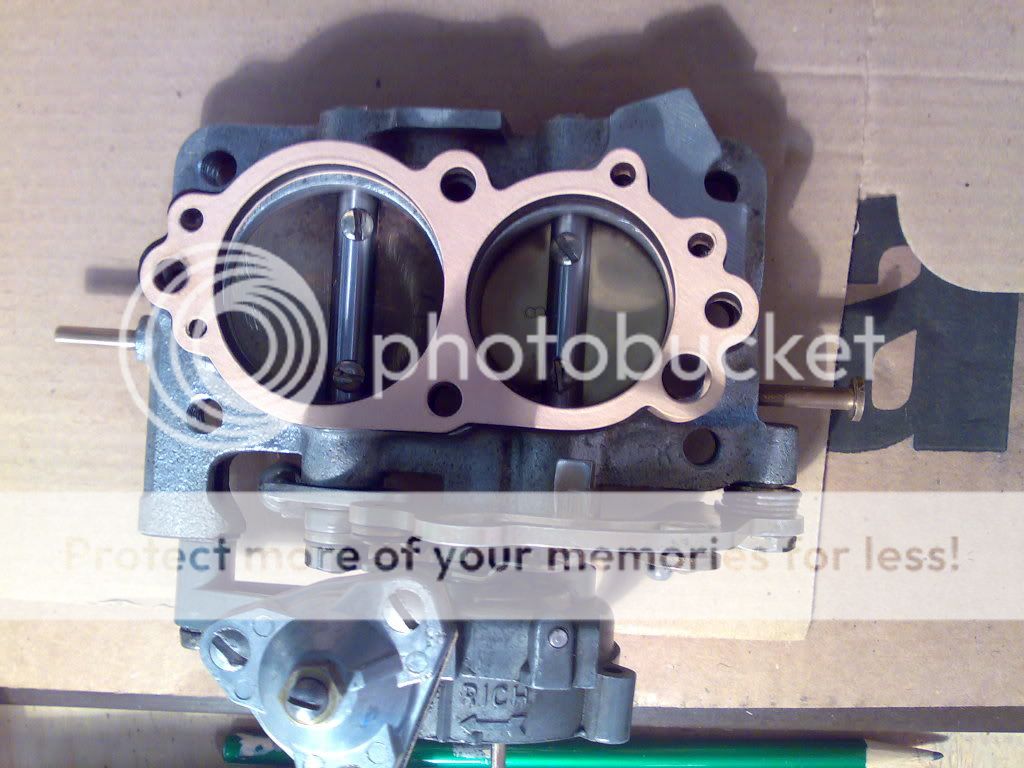
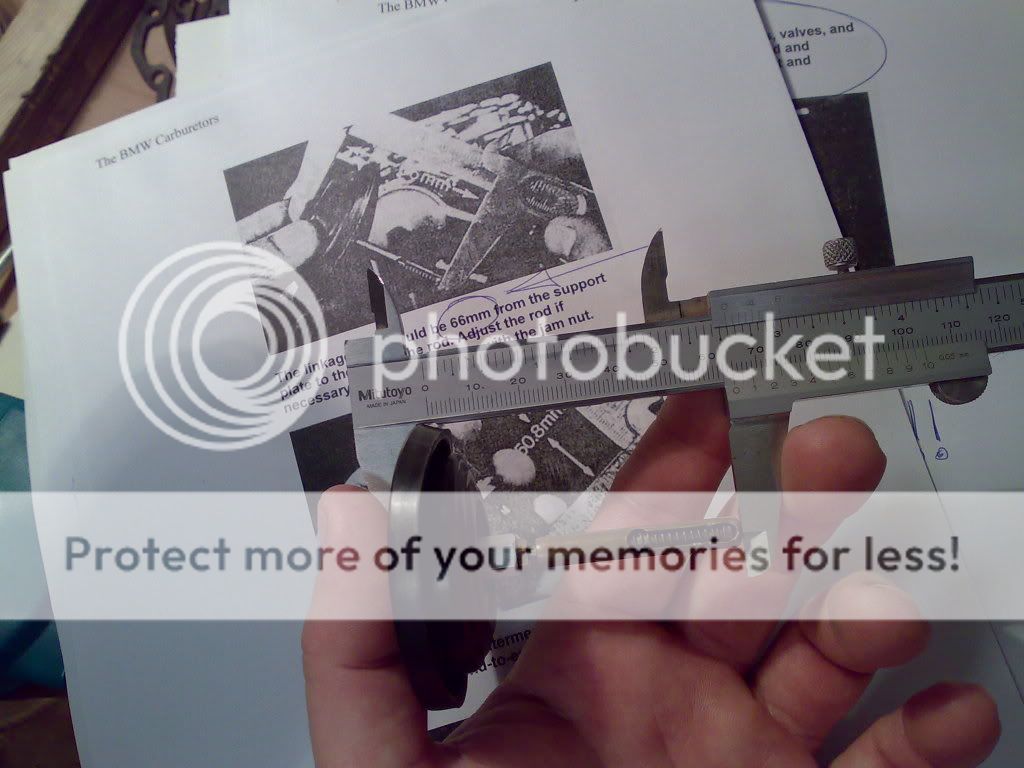
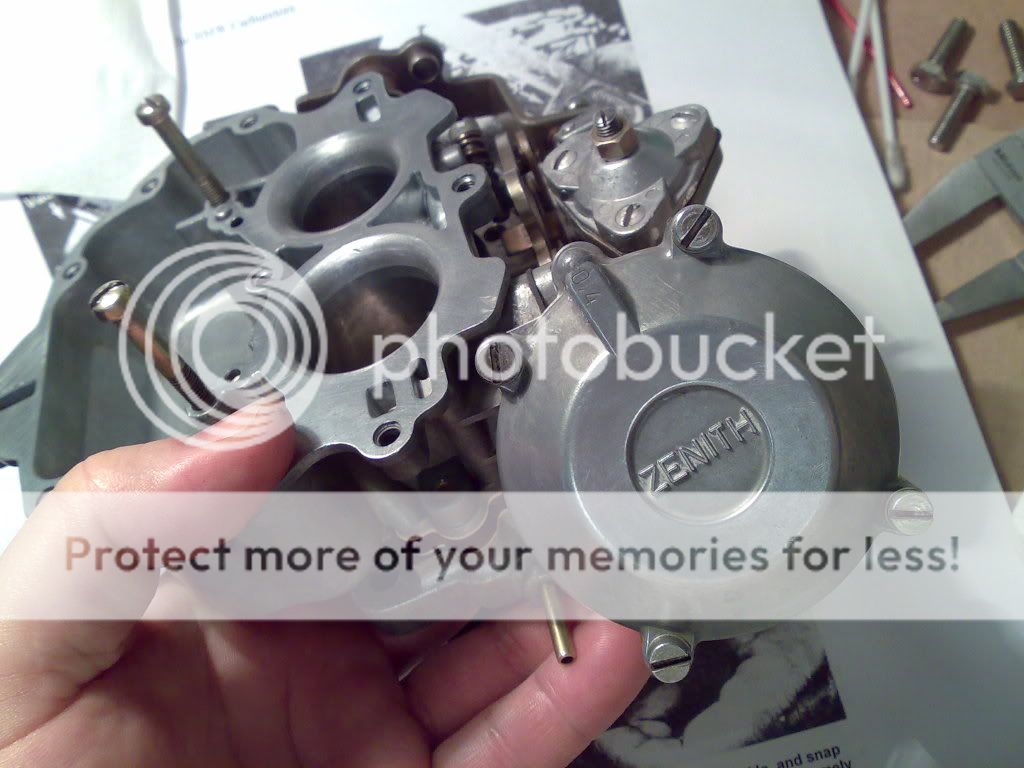
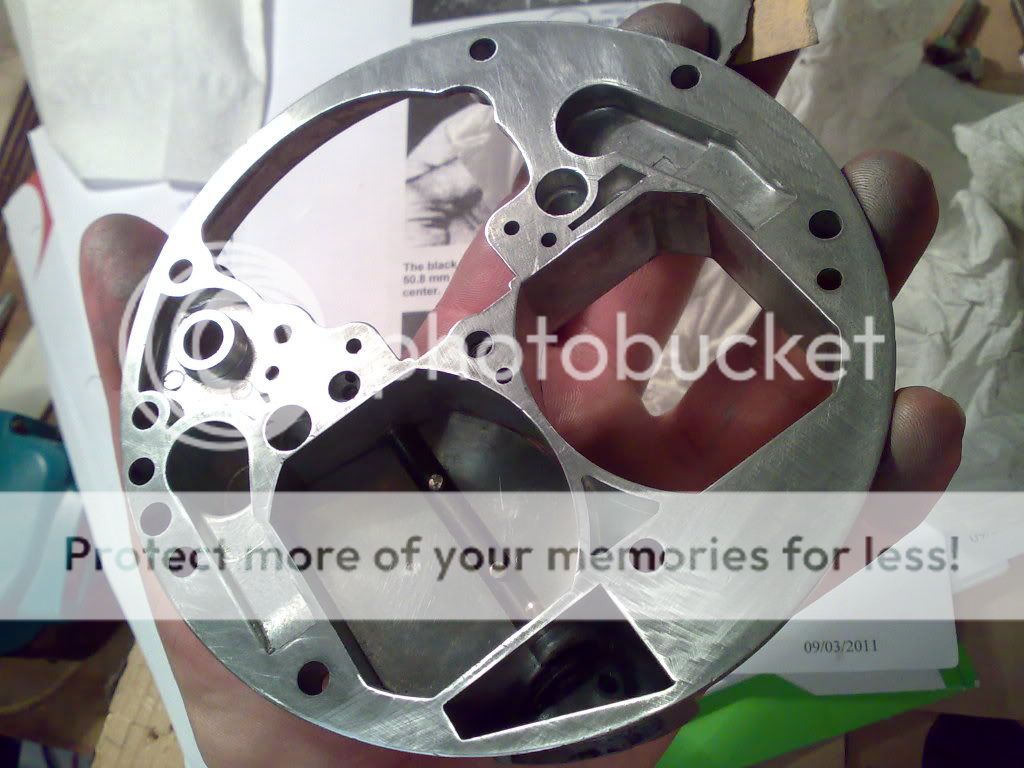
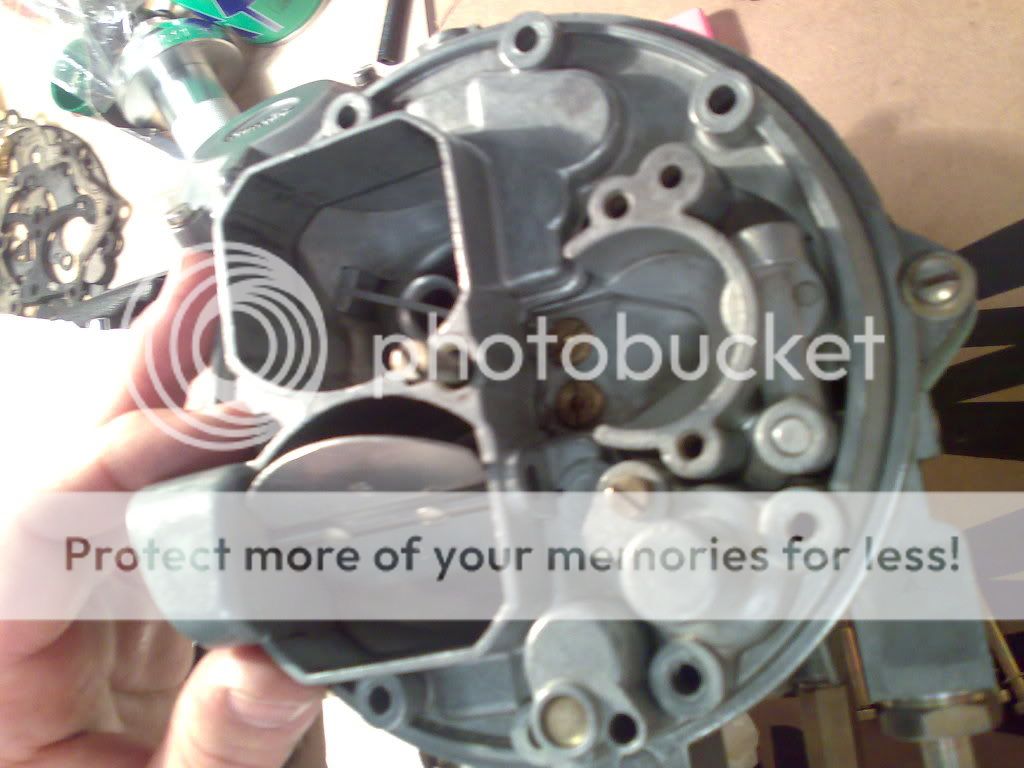
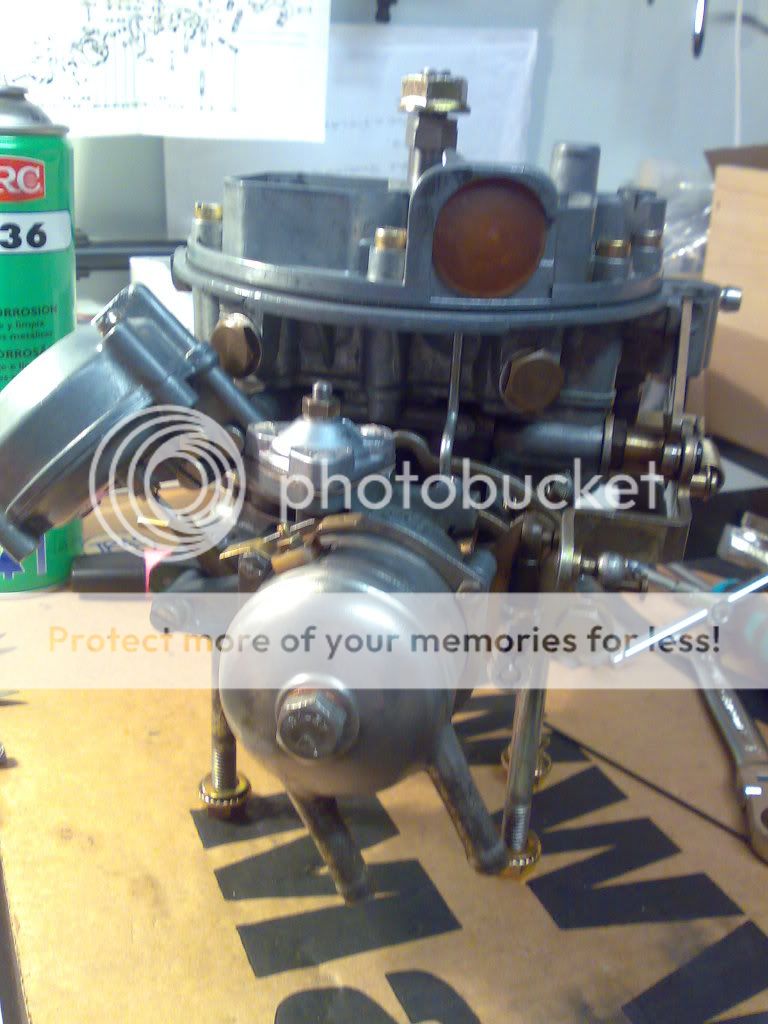
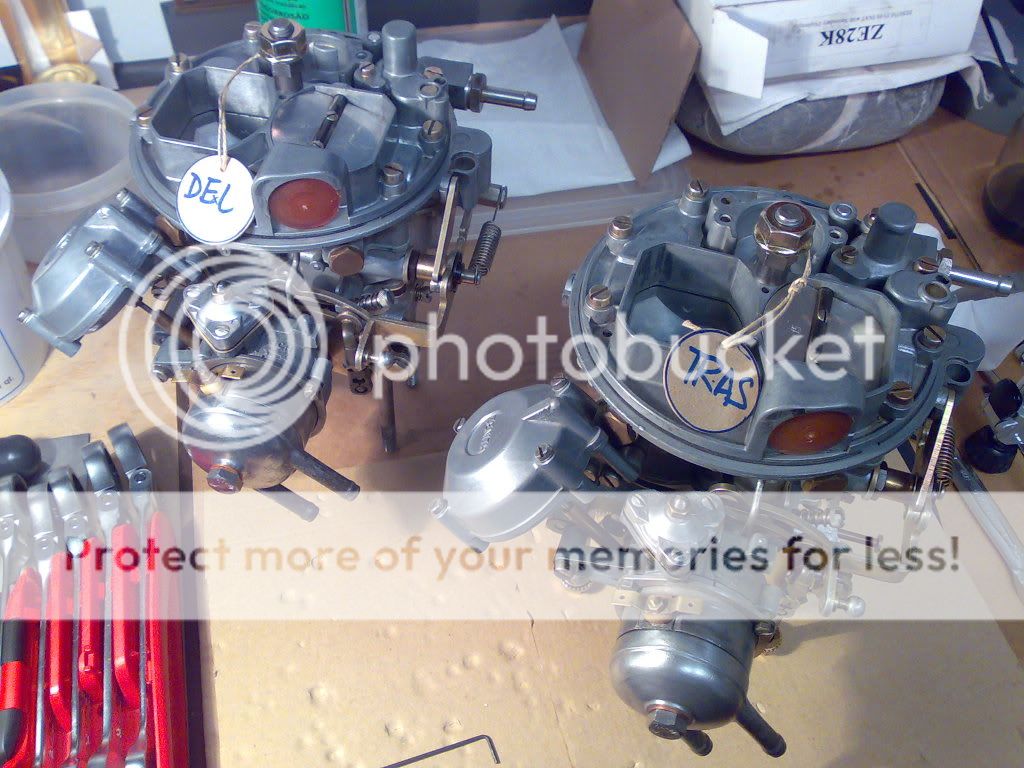
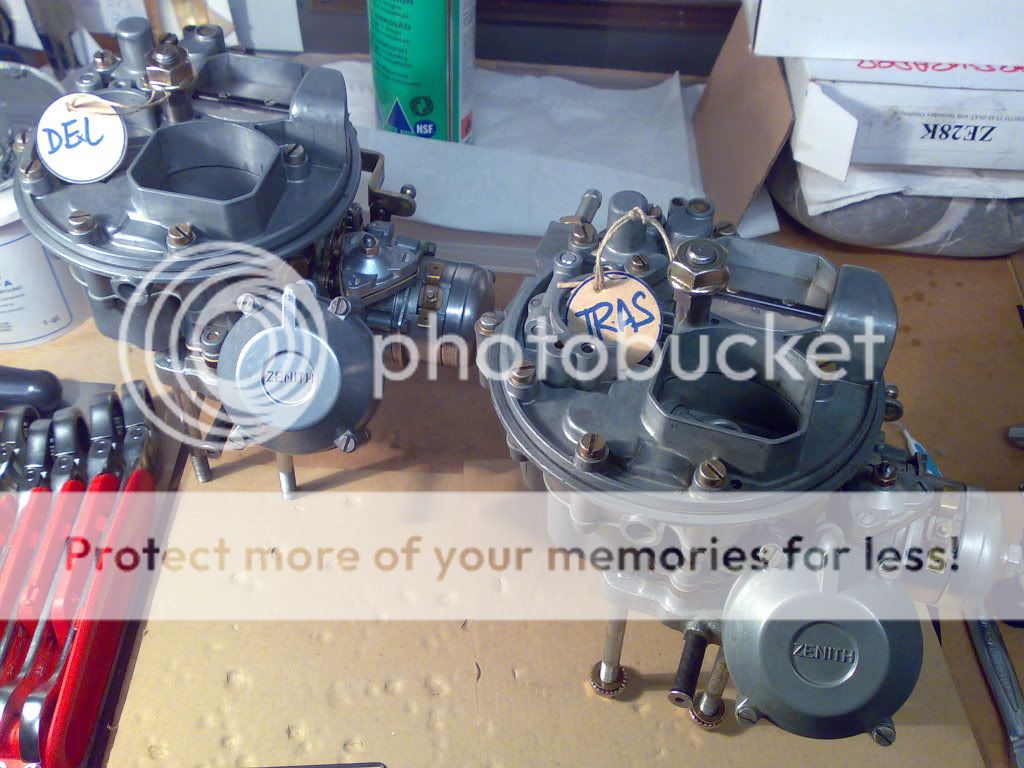
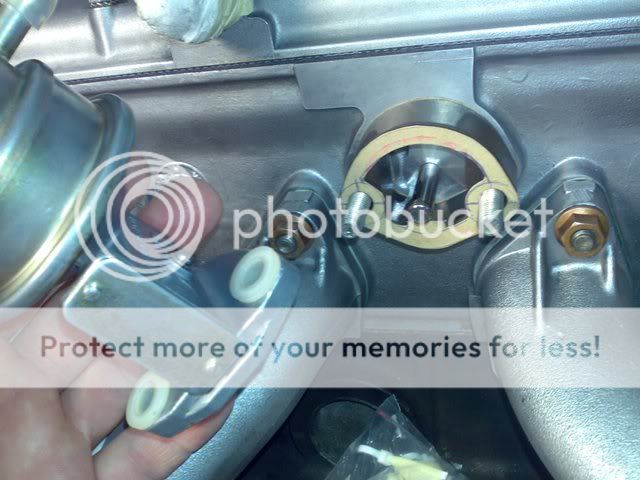
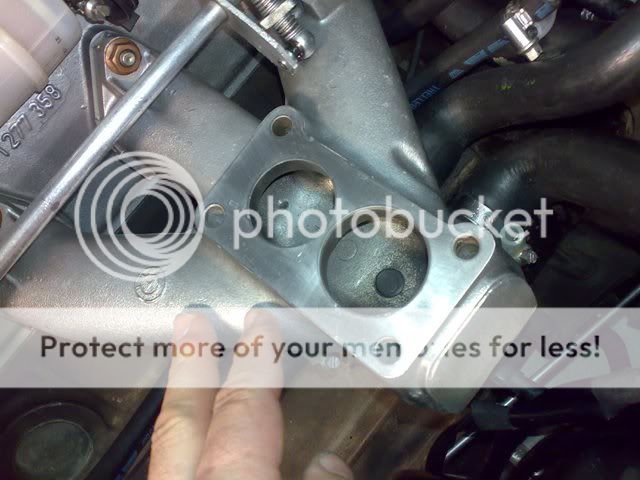
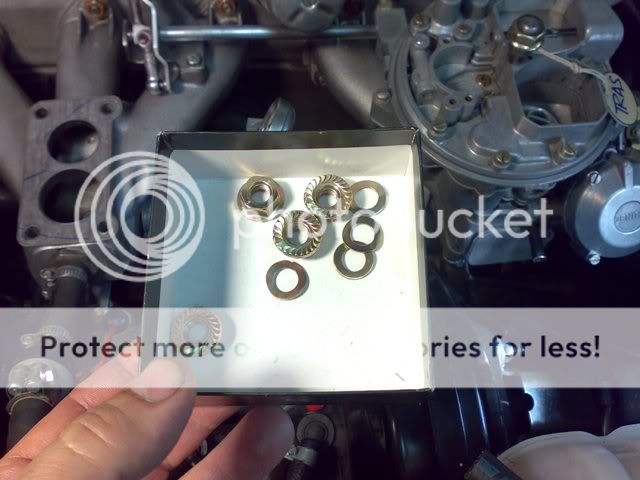
se pulen las bases de los carburadores con lija de agua del 1200, para eliminar cualquier resto, y se pasa un spray de lubricacion para que quede limpio hasta el dia del montaje
250320112019.jpg


250320112020.jpg

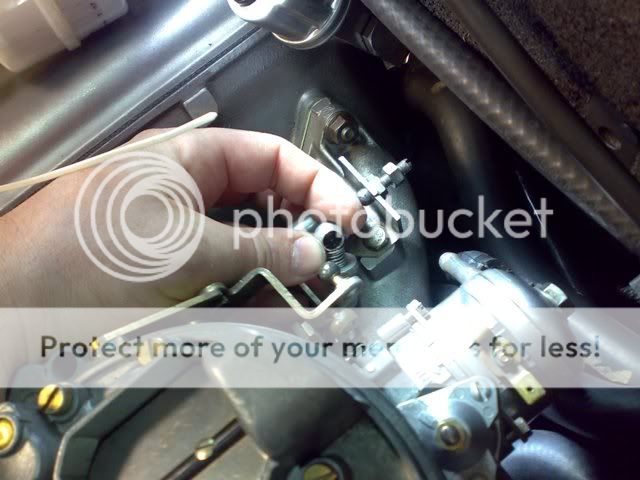
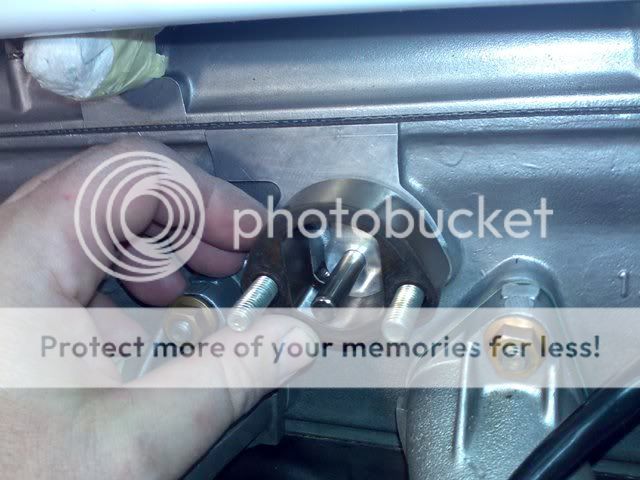
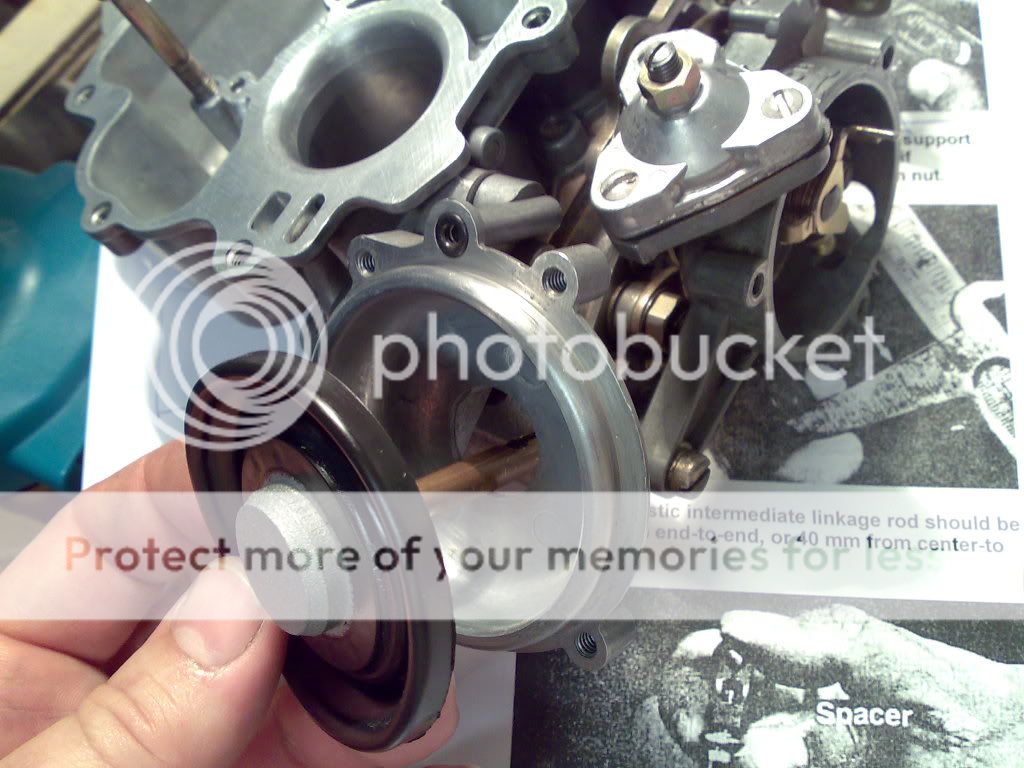
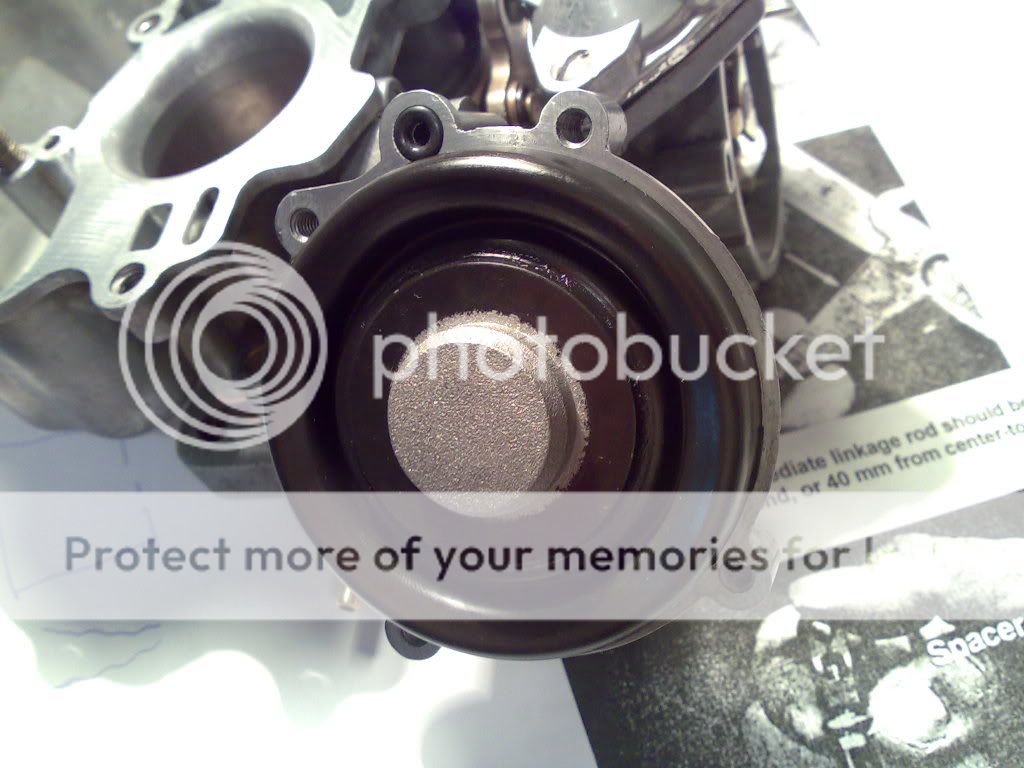
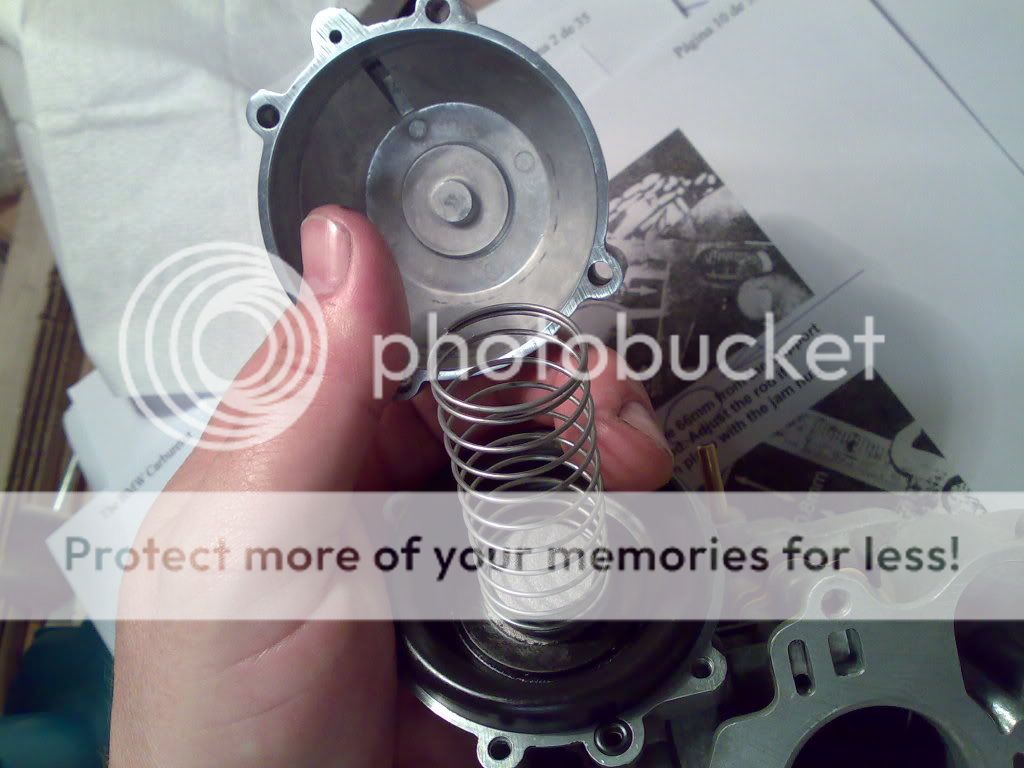
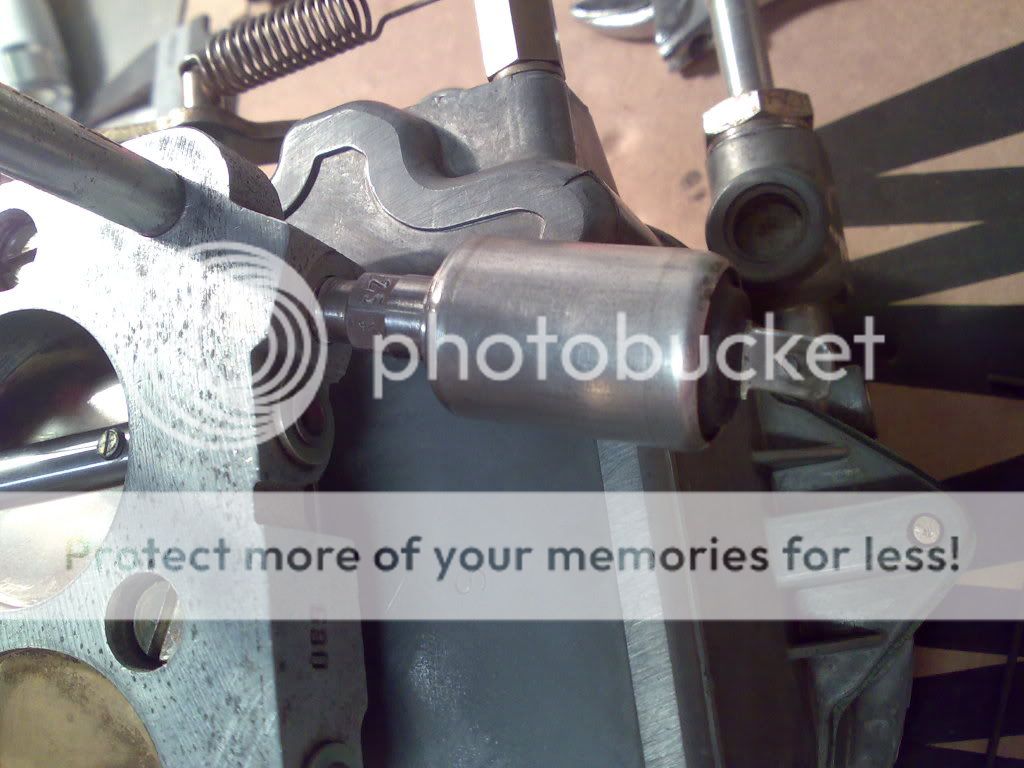
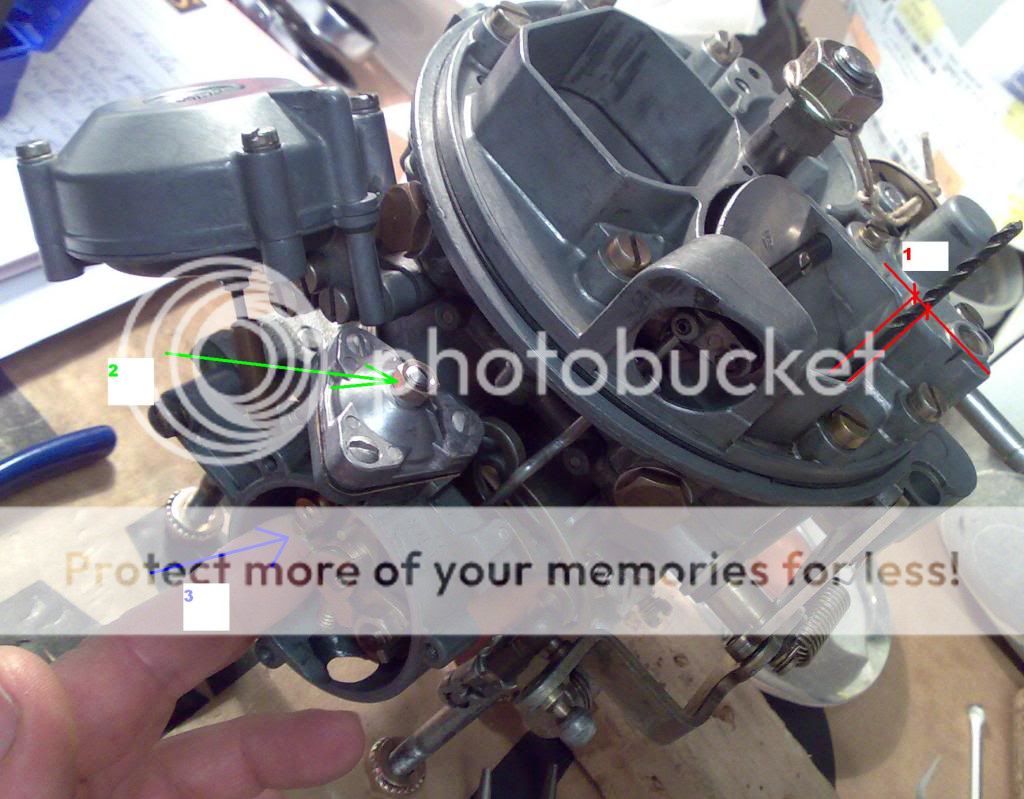
suelto bomba del todo
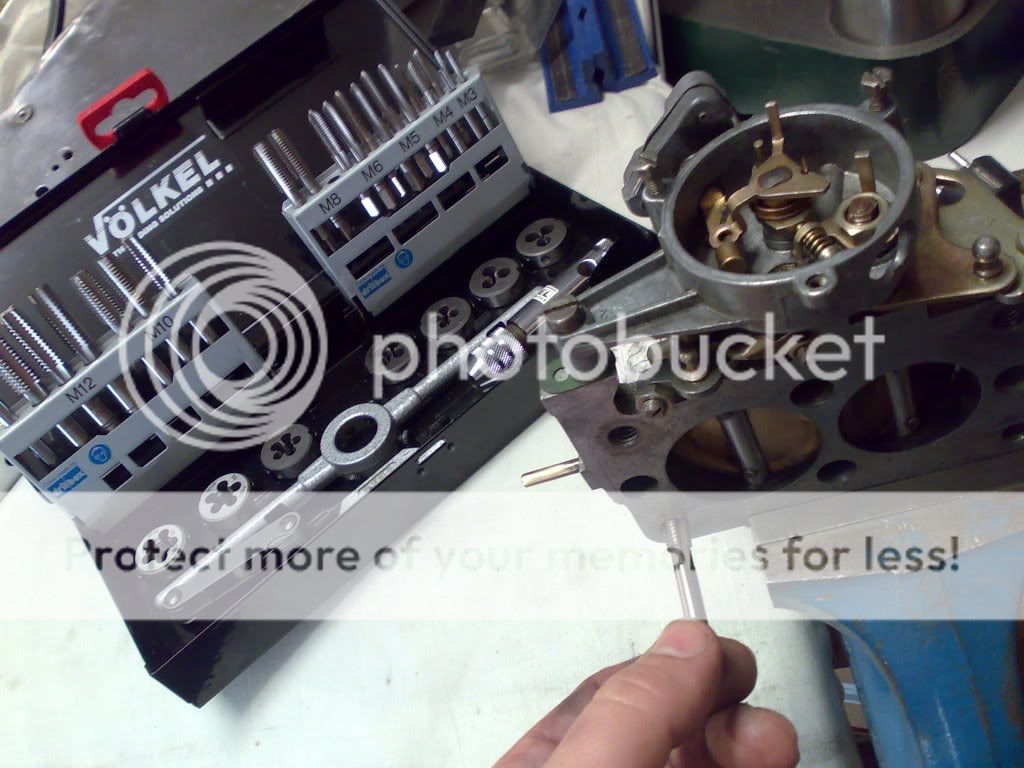
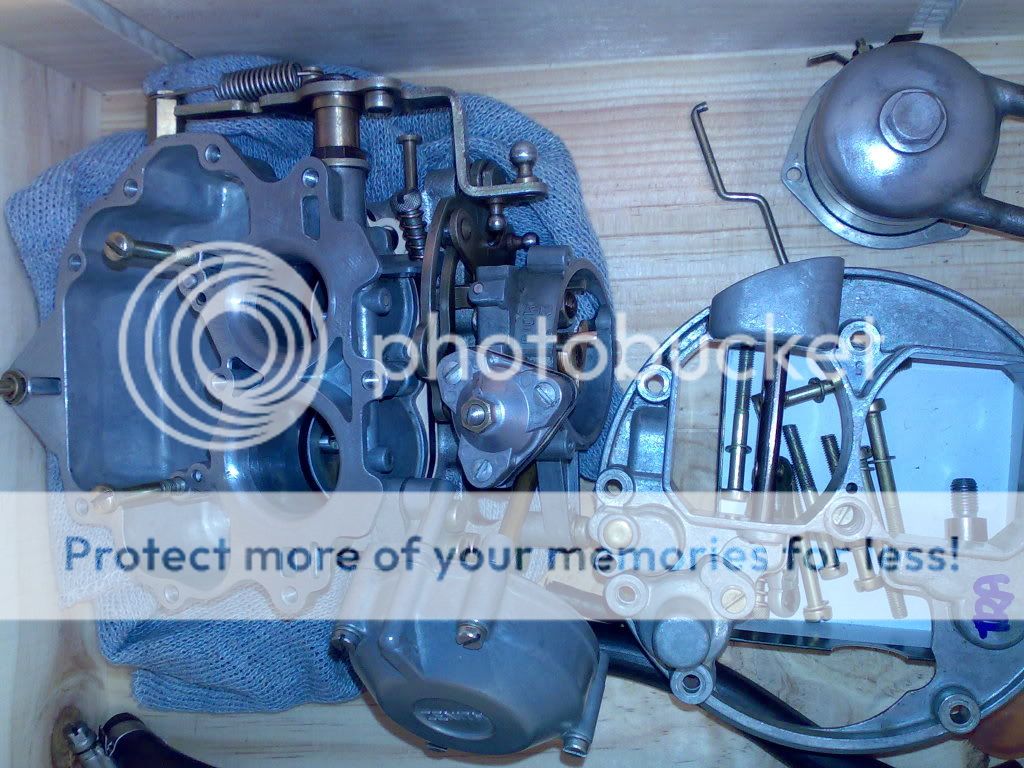
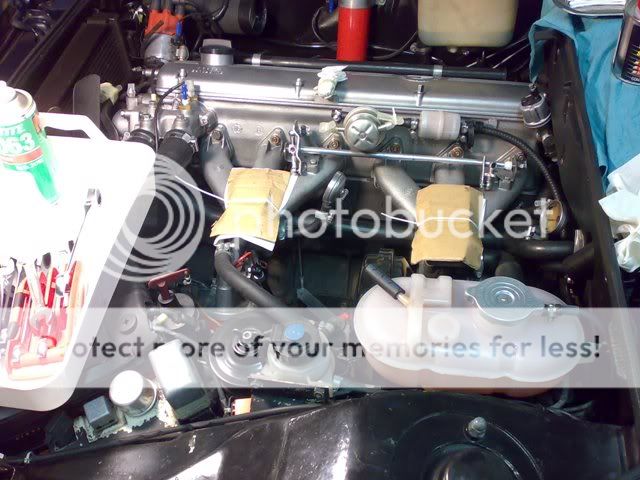
250320112022.jpg

proteger con trapos
250320112023.jpg
 
Last edited:

deQuincey

Quousque tandem...?
Site Donor
Messages
8,414
Reaction score
2,429
Location
BIO - 43°15'46.5"N 2°56'03.7"W
second step

encajonamos los mihura, en cajas de rioja, nada menos
250320112032.jpg

250320112033-1.jpg

de momento se quedan aqui porque me falta alguna junta y porque necesito hacer sitio en la mesa para ellos, pretendo soltarlos al mismo tiempo en dos mesas, ya veremos

otras mierdillas
250320112035.jpg

sobre todo la bomba gasolina me tiene preocupado
250320112037.jpg

250320112038.jpg

me temo que tendre que aflojar, pues el casquillo de laton del balancin esta en las ultimas, y por lo que he indagado no hay recambios, arregla me paso su bomba y esta todavia peor, asi que prepara la cartera
rehacemos el cajon de mierdillas, soltar, limpiar y engrasar
260320112040.jpg

preparo juntas nuevas para la bomba, y presento la secuencia de montaje
tengo un problema, y es que la bomba debe ir muy bien centrada para que el vastago de impulsion quede en su sitio, pues me faltan los dos casquillos de teflon que debieran ir para esa funcion, asi que me los preparara un amiguete en el torno
260320112042.jpg

presento
260320112046.jpg

primera junta
260320112047.jpg

baquelita
260320112048.jpg

segunda junta, todo hecho a mano
260320112049.jpg

bombon
260320112050.jpg

260320112052.jpg

varilla de mando
260320112053.jpg
 

deQuincey

Quousque tandem...?
Site Donor
Messages
8,414
Reaction score
2,429
Location
BIO - 43°15'46.5"N 2°56'03.7"W
first disassembly, rear carb

hi

yesterday i started with the tear down of the rear carb (be aware in the pics "tras"=rear )

all this was done following the zenith disasemble instruction manual provided by mr. porsche61, thank you very much

i found some holes blocked and some dirty corners, but also a bad assembly of the float valve washers, and a wrong gasket !

do not know the overall influence, but for sure it was not doing any good

preparing new gaskets for ulterior assembly:
030420112081.jpg

030420112083.jpg

start, remove automatic choke, three tiny bolts and careful disingage of the bimetallic spring
030420112085.jpg

disingage the top lever, 1,5 allen headed micro-bolt
030420112087.jpg

030420112088.jpg

undo top perimetric bolts
030420112086.jpg

these are long bolts (only two are longer than the others)
030420112089.jpg

problem at 1 o`clock, take a look at the gasket long hole, it opens a lower channel that should not be communicated, (see later photo comparing gaskets)
030420112090.jpg

error in the gasket (classicgarage) middle is the original worn one (39 year old one), front is the new one (source BMW), below is the classicgarage wrong one, take a look to the 10mm hole situated at 1 o`clock, the old and new gaskets are good, not the one that lays on the table
030420112096.jpg

030420112091.jpg

030420112092.jpg

another mistake, float valve washer 1mm instead of 2mm, and wrong material
030420112093.jpg

good ones, 2 aluminium washers total thickness 2mm + new float valve with built-in springs (source BMW):
030420112095.jpg

040420112097.jpg

040420112098.jpg

tiny holes were blocked with dirty and small paper particles
040420112100.jpg

the evil ! that PIA gasket, has given me all the hole-blocking problems, as the paper has disintegrated particles into the holes, it is a spare from classicgarage, you should use the original baquelite with paper gaskets that will maintain the shape when that area is hot
040420112101.jpg

some penetrating oil to clean and rest to try to remove mounting bolts, very rusty and worn out (that will be done tomorrow, hopefully)
040420112103.jpg

almost cleaned and prepared for re-assembly
040420112102.jpg
 

Stevehose

Well-Known Member
Site Donor $$
Messages
12,976
Reaction score
5,649
Location
Sarasota, FL
Fantastic - you've outdone yourself with this one! I am reliving my own nightmares with this but it will help future rebuilders. Am looking forward to the finished product(s) and the start up!
 

deQuincey

Quousque tandem...?
Site Donor
Messages
8,414
Reaction score
2,429
Location
BIO - 43°15'46.5"N 2°56'03.7"W
continue carb overhauling

after undoing the 4 big bolts, using the circular brush i cleaned the surfaces
080420112116.jpg

080420112118.jpg

finish with sand paper no.1200
080420112119.jpg

clean the threads with tools and fat
080420112120.jpg

080420112121.jpg

overview of the working area with the educational USA carbs
080420112122.jpg

detailed cleaning of tiny holes with ortodoncial brush, works fine!
080420112124.jpg


choke, diaphgram:
080420112125.jpg

080420112126.jpg

080420112127.jpg

080420112128.jpg

080420112130.jpg

080420112131.jpg

problem with gasket, not ok, see vaccum-hole position
080420112132.jpg

080420112133.jpg

080420112134.jpg

080420112135.jpg

080420112137.jpg

080420112138.jpg

080420112139.jpg


big intermediate spacer (baquelite), and paper seals

advice on this issue, there is a reported problem about clogging of these small holes, so i decided to increase the size of the spacer holes by 0.5mm, and the paper holes by 1mm:
080420112141.jpg

080420112142.jpg

for the spacer use drill:
080420112145.jpg

for the paper, cutting tools
080420112147.jpg

080420112150.jpg

080420112151.jpg

080420112154.jpg

080420112156.jpg

080420112157.jpg

second stage diaphragm
old:
080420112152.jpg

check 66mm distance
080420112159.jpg

080420112160.jpg

080420112161.jpg

080420112163.jpg

080420112164.jpg

080420112165.jpg

080420112166.jpg


to be continued
 

deQuincey

Quousque tandem...?
Site Donor
Messages
8,414
Reaction score
2,429
Location
BIO - 43°15'46.5"N 2°56'03.7"W
continuation, rear carb finished

sand paper finish
080420112167.jpg


090420112176.jpg

090420112181.jpg

090420112182.jpg

090420112183.jpg

090420112178.jpg


one tip for gasket positioning: introduce a little all the bolts while moving slightly the carb body in order to let the bolts put the gasket in its place

take into account that in this pic there will be only two bolts left, the central ones, so the perimetral ones will be taken away

090420112184.jpg

090420112185.jpg


iddle shut off valve

090420112187.jpg

090420112188.jpg


iddle screw
090420112189.jpg


ne gasket for choke heater housing
090420112192.jpg

090420112193.jpg

090420112198.jpg


connect both joints
090420112191.jpg

views
090420112194.jpg

090420112195.jpg

090420112196.jpg

090420112197.jpg

end
090420112199.jpg
 

61porsche

Well-Known Member
Messages
1,732
Reaction score
28
Location
Dallas
Very well done!

Bakelite- if you ever do this again- counter bore for O-ring like factory solution. ( Half the thickness of the ring.)

Caution- throttle butterflys and shafts- the butterflys are matched and bevel edged to the bores. make sure you mark them well and take the time to make sure they are centered and extremely secure by the screws. I have found two carbs so far that appeared fine, screws were tight, but the butterfly could be shifted on the shaft! No moving allowed.

P.S. I have never found throttle shaft wear. Never. But if you do, there are ball bearing type replacements with teflon seals that a machine shop can put in. But then there's another tale on how to make a Zenith into a race carb..........
 

deQuincey

Quousque tandem...?
Site Donor
Messages
8,414
Reaction score
2,429
Location
BIO - 43°15'46.5"N 2°56'03.7"W
Very well done!
thanks, it is a pleasure to work with detail without hurry

Bakelite- if you ever do this again- counter bore for O-ring like factory solution. ( Half the thickness of the ring.)
i knew this, but it has been impossible to find spares in that way, in my first overhauling (8 months ago) i used the spare from classicgarage, IT WAS S**T !, a very bad gasket altogether made in neopren, it was even unable to maintain the shape and thickness...
so this time i decided to sand-paper and clean the old bakelites, together with paper gaskets, the traditional solution, but bearing in mind the clogging problem, with a little renewal of the design ;-)

Caution- throttle butterflys and shafts- the butterflys are matched and bevel edged to the bores. make sure you mark them well and take the time to make sure they are centered and extremely secure by the screws. I have found two carbs so far that appeared fine, screws were tight, but the butterfly could be shifted on the shaft! No moving allowed.
remark: i didn´t touch the butterfly-shaft assemblies, it seemed dangerous ! (now you gave me the reason for my guessing), ha, ha

P.S. I have never found throttle shaft wear. Never. But if you do, there are ball bearing type replacements with teflon seals that a machine shop can put in. But then there's another tale on how to make a Zenith into a race carb..........

thanks again
 

deQuincey

Quousque tandem...?
Site Donor
Messages
8,414
Reaction score
2,429
Location
BIO - 43°15'46.5"N 2°56'03.7"W
closing the renewal

only pending basic settings in the table, and then into the car, plus synchro,..., i am still studying the manuals, and some threads from this forum:roll:

happy to come to an end with satisfaction

wol_error.gif
Esta imagen ha sido redimensionada. Haz click aquí para ver la imagen completa. El tamaño original es 1024x768 tamaño 195KB.
110420112210.jpg


wol_error.gif
Esta imagen ha sido redimensionada. Haz click aquí para ver la imagen completa. El tamaño original es 1024x768 tamaño 220KB.
110420112202.jpg


wol_error.gif
Esta imagen ha sido redimensionada. Haz click aquí para ver la imagen completa. El tamaño original es 1024x768 tamaño 201KB.
110420112205.jpg


take a look to the scrap pile (how to get 2 good carbs out of 4 regular ones)

110420112207.jpg
 

deQuincey

Quousque tandem...?
Site Donor
Messages
8,414
Reaction score
2,429
Location
BIO - 43°15'46.5"N 2°56'03.7"W
fixing the carbs in the table following the manuals: settings

table settings of the two carbs (before going to the car with them)

the following will be done with the throttle screw always in the high position of the cam (see point 1 in the first pic)

first step:

adjust the throttle butterfly in closed position while maintaning a gap of 1,5mm (see point 2 in blue) between the actuator (point 3) and the diaphgram rod
ajustebancoprimerpasomariposacerrada_1.jpg

in this position the throttle buterfly rod must be fixed using the allen screw that can be seen in the right side of the previous pic


second step:

adjust a 3mm gap in the throttle butterfly while pushing the diaphragm rod up (see red displacement in next pic), to allow this displacement, prior to the fitting the nut and bolt should be undone (refer to two pics later to see the nut in question (marked as 2 in green colour))
ajustebancosegundopasomariposaabierta_1.jpg


the 3mm gap will be placed using a 3mm drill (number 1 in red), introduced in the throttle butterfly
set this position for the diaphgram using the bolt and fix it with the nut (number 2 in green in next pic)

you will need your finger to raise up the diaphgram rod (see 3 blue)

ajustebancosegundopasomariposaabierta_2.jpg


do not forget to maintain the throttle screw in the high position of the cam (see number 2 green in the next pic)

ajustebancosegundopasomariposaabierta_3.jpg


these are the basic settings for the carbs

now close the throttle mechanism box and prepare the place for the carbs in the car, prepare gaskets, nuts, hoses, ...

another setting very nice to do while they are on the table, is to close the iddle screws and undo 1 and 1/2 turn, so then they will be prepared for the synchronization
 

deQuincey

Quousque tandem...?
Site Donor
Messages
8,414
Reaction score
2,429
Location
BIO - 43°15'46.5"N 2°56'03.7"W
lets go to the car with the carbs

new teflon centers for the pump

190420112218.jpg


190420112217.jpg


190420112219.jpg


see new ends (white caps) of the action bar
190420112220.jpg


connect the accelerator bar end
190420112221.jpg


connect water coolant hoses
190420112222.jpg


190420112223.jpg


220420112224.jpg


connect oil pressure sender, old and new for vdo instruments
220420112225.jpg


accelerator bars and plates cleaned and greased
220420112226.jpg


220420112227.jpg


220420112229.jpg


new gasket, old style hand made in 1mm thick oiled paper
220420112230.jpg


rear carb landing in its place
220420112231.jpg


set of new washers and nuts
220420112234.jpg


installation, the rear one is a PIA !
220420112235.jpg


nice tools made life easy
220420112232.jpg


electric connections
220420112239.jpg


fuel hoses
220420112241.jpg


probably tomorrow we will try to start it
 

deQuincey

Quousque tandem...?
Site Donor
Messages
8,414
Reaction score
2,429
Location
BIO - 43°15'46.5"N 2°56'03.7"W
start and syncro

today was "the day"

it was supposed to be the "easy" part, but that assumption was a mistake, new tricks and terrors were prepared for me in the mechanical jungle

i prepared everything, including a new spark-cables-tube, new sparks, check levels, battery,...


250420112246.jpg


250420112245.jpg


250420112253.jpg


you can see my "invented device" for letting the gases from the head go to their appropriated place
250420112247.jpg


so i start the engine, once, again, again,.... and nothing !

ok i considered correct that some time would be need to fill the carbs with fuel, but,...

so i checked the fuel pump, it was no suction, so i suddenly realize that a pump usually "must be fed", then i prepared this device, a reservoir with a transparent hose full with petrol and hanging from the hood
250420112258.jpg

250420112256.jpg


e voila !

so the engine runs at high iddle, but i saw that the pump was leaking a lot of fuel, i stopped at once, and i changed the pump for the old style model (rubber membrane)


250420112251.jpg


then i checked everything for leaks, and so on and i restarted the engine

1700 rpm´s until the engine warmed up, a touch of the accel, and fall until 800 rpm´s

so a piece of hose in my ear, and i started synchronization

sounds good, so a little drove around the street, and,...that´s it !

done !

tomorrow i will check again the fast iddle in the automatic start, and warming up process, i will try to place a video

regards
 

eriknetherlands

Moderator
Site Donor
Messages
2,737
Reaction score
1,985
Location
Netherlands, Eindhoven area
i found .......and a wrong gasket !

do not know the overall influence, but for sure it was not doing any good

030420112081.jpg

030420112083.jpg


030420112085.jpg

disingage the top lever, 1,5 allen headed micro-bolt
030420112087.jpg

030420112088.jpg

undo top perimetric bolts
030420112086.jpg

these are long bolts (only two are longer than the others)
030420112089.jpg

problem at 1 o`clock, take a look at the gasket long hole, it opens a lower channel that should not be communicated, (see later photo comparing gaskets)
030420112090.jpg

error in the gasket (classicgarage) middle is the original worn one (39 year old one), front is the new one (source BMW), below is the classicgarage wrong one, take a look to the 10mm hole situated at 1 o`clock, the old and new gaskets are good, not the one that lays on the table
030420112096.jpg

030420112091.jpg

030420112092.jpg

another mistake, float valve washer 1mm instead of 2mm, and wrong material
030420112093.jpg

As this thread is the best on our site detailing the steps to do your own carb rebuild, I thought I'd aid in improving it a bit ( hardly possible as it's already near perfect)
@deQuincey reported improper gaskets in a kit. This seems to have an explanation:
In my '76 dated dutch bmw service manual the difference of the gaskets is explained: it links the gasket shape to the type of top cap (float chamber ventilation) that you have, see enclosed picture of the book.

Translation of the text:
For vent tower A you can use both gaskets A and B.
For vent tower with side pipe B you can use gasket B, or you can use a modified gasket A to create the oblong hole.
The gasket on the table in DeQ's post wasn't wrong after all.

If you rebuild a set, choosing the gasket B with the oval hole will work for sure. Gasket A also works, but if you have vent tower with side pipe B you just need to elongate the round hole, see dimensions in drawing.
 

Attachments

  • 16380911021273050310991396235192.jpg
    16380911021273050310991396235192.jpg
    196.1 KB · Views: 118
  • 16380921060275179895050658403246.jpg
    16380921060275179895050658403246.jpg
    176.9 KB · Views: 112
Last edited:

eriknetherlands

Moderator
Site Donor
Messages
2,737
Reaction score
1,985
Location
Netherlands, Eindhoven area
Another aspect: I have 8 dead carbs as spares, and in most of them a gasket was missing, likely by previous owner interference; the rubber ring gasket on the idle shot off valve. Also in the pics of DeQ above they are missing.

Note how in the picture there is a metal ring, and a rubber ring to seal the idle shut off valve to the throttle valve body.
I think that a missing rubber seal may lead to additional false air being sucked in.

I'll add some dimensions of the parts later on, so other are able to source something similar.
 

Attachments

  • 16381911937125370111301066604925.jpg
    16381911937125370111301066604925.jpg
    304.7 KB · Views: 116
Last edited:

deQuincey

Quousque tandem...?
Site Donor
Messages
8,414
Reaction score
2,429
Location
BIO - 43°15'46.5"N 2°56'03.7"W
Another aspect: I have 8 dead carbs as spares, and in most of them a gasket was missing, likely by previous owner interference; the rubber ring gasket on the idle shot off valve. Also in the pics of DeQ above they are missing.

Note how in the picture there is a metal ring, and a rubber ring to seal the idle shut off valve to the throttle valve body.
I think that a missing rubber seal may lead to additional false air being sucked in.

I'll add some dimensions of the parts later on, so other are able to source something similar.


it is interesting , but you can easily replace it using some light loctite in the thread, it will seal
 

Belgiumbarry

Well-Known Member
Messages
1,618
Reaction score
1,117
Location
Belgium
i admire your courage to restore those over complex Zenith's.... i would have dumped them from minute one for a pair of webers. ;)
 
Top