trunk rear panel - template

rsporsche

Moderator
Site Donor $$
Messages
10,699
Reaction score
3,725
Location
Atlanta, GA
those of you who previously followed this thread in the PARTS forum ... i thought i would move the further discussion to where it should be ... in the projects forum. the previous thread was - http://www.e9coupe.com/forum/showthread.php?t=9588

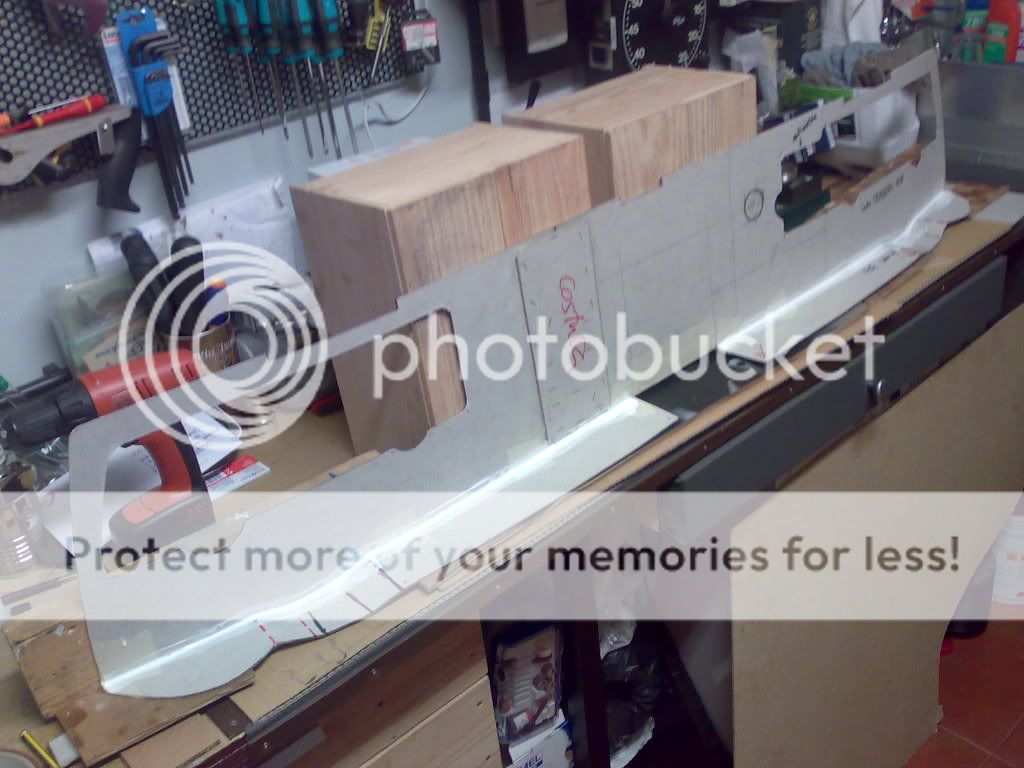
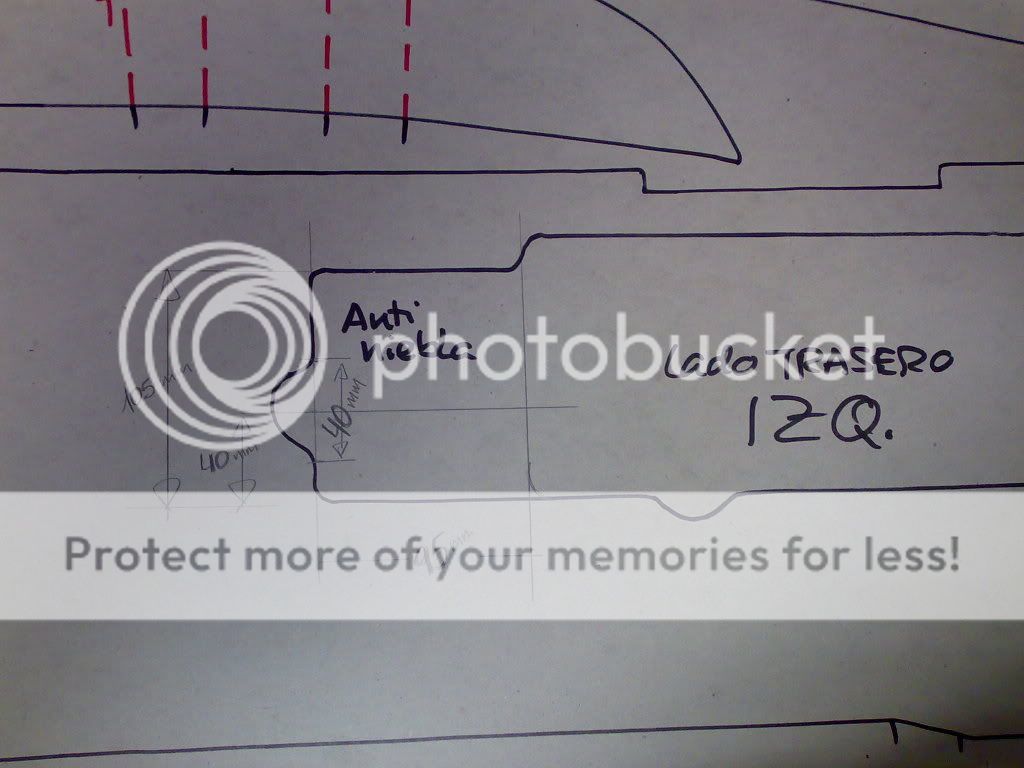
i have updated the drawing, based on the measurements we did against Steve's (stevehose) original piece at oktoberfest. if anybody that asked for a progress copy of the autocad drawing wants a copy of the revised drawing, send me a PM with your email address. in the meantime, i will be making (hopefully) a final test panel over Thanksgiving ... either out of masonite or upholsterer's cardboard (if i'm able to get it).
 

Attachments

  • bmw - e9 trunk panel - final Model.jpg
    bmw - e9 trunk panel - final Model.jpg
    73.2 KB · Views: 282
Last edited:

Stan

Well-Known Member
Site Donor $$
Messages
7,009
Reaction score
1,526
Location
Newmarket, New Hampshire
Nice job!
I hope you find the upholsterers cardboard and it works. I made one of Masonite but would rather the thinner cardboard
Stan
PS eye is much better today!
 

rsporsche

Moderator
Site Donor $$
Messages
10,699
Reaction score
3,725
Location
Atlanta, GA
Stan,

1st of all, i'm glad you + your eye are doing much better.

one thing we did find out comparing Steve's panel with the drawing, is that Fritz didn't put the screws in the same place ... he put them in the general area. will keep the group posted on the final test / fit

best
scott
 

Stan

Well-Known Member
Site Donor $$
Messages
7,009
Reaction score
1,526
Location
Newmarket, New Hampshire
I wonder if the holes could be deleted, drawn in the general area and whoever makes the panel is instructed to use their old panel as a template to cut those holes?
 

rsporsche

Moderator
Site Donor $$
Messages
10,699
Reaction score
3,725
Location
Atlanta, GA
i think thats the right approach. the holes on the drawing are the ones in my car. i might relocate them and make them symmetrical.
 

deQuincey

Quousque tandem...?
Site Donor
Messages
8,435
Reaction score
2,460
Location
BIO - 43°15'46.5"N 2°56'03.7"W
nice job, can be transmited to everybody

as i have carried this work last week, i can say that the template is very nice, check mine:

250520073001.jpg


anyway a couple of comments:

1- i have decided not to drill the holes for the license plate screws, because there is no real need to remove that with the type of license plates that we have in spain (riveted)

2- take care two missing bending lines in each border side of the taller part (near the tail lamps holes), in my picture is not yet completed but when i went to the car to check i had to cut more material in that area

regards and thanks again
 

rsporsche

Moderator
Site Donor $$
Messages
10,699
Reaction score
3,725
Location
Atlanta, GA
deQuincey, can you please send me a scale copy (sketch or pdf) of your light cutout for the rear foglight - with the context of the hole for the license plate and as much as the light cutout as possible. some people might like having that information.

thanks
scott
 

deQuincey

Quousque tandem...?
Site Donor
Messages
8,435
Reaction score
2,460
Location
BIO - 43°15'46.5"N 2°56'03.7"W
deQuincey, can you please send me a scale copy (sketch or pdf) of your light cutout for the rear foglight - with the context of the hole for the license plate and as much as the light cutout as possible. some people might like having that information.

thanks
scott

gimme an email address in a P.M., please, and i will do my best
 

deQuincey

Quousque tandem...?
Site Donor
Messages
8,435
Reaction score
2,460
Location
BIO - 43°15'46.5"N 2°56'03.7"W
foglamp opening

hi, sorry for the delay

here is the drawing that can allow you build the extended hole that includes the foglamp, figures in mm

hope it works !

regards

110620073109.jpg


110620073111.jpg
 

rsporsche

Moderator
Site Donor $$
Messages
10,699
Reaction score
3,725
Location
Atlanta, GA
Barry,

send me your email address and i will send you a pdf. you can have it printed, then spray mounted to waterproof panel board, cut it out and put it together. then cover it with elephant skin. i have on of these in my coupe - it fits great and looks great. the pdf does NOT have the pattern for the rear fog light as i don't have one.

btw - its made in 2 pieces, i glued some spacer blocks on the back of the main panel ... to lock in the top pieces. glued / taped it together ... then covered it with elephant skin - full contact cement

cheers
scott
 

rsporsche

Moderator
Site Donor $$
Messages
10,699
Reaction score
3,725
Location
Atlanta, GA
if anybody else would like this pdf - please send me you email address ... while i have the file located.
 

dave v. in nc

Well-Known Member
Site Donor $
Messages
3,039
Reaction score
1,214
Location
North Carolina, USA
Hi Scott,

As I mentioned in my PM, I had laid my ratty one from the parts car out to "relax" to make a pattern; you make this chore much easier (my old man knees thank you)...nice of you to share your labor with the rest of us. Not sure how you earn "trophy points", but I nominate you for one :)

Dave V. in NC
 

rsporsche

Moderator
Site Donor $$
Messages
10,699
Reaction score
3,725
Location
Atlanta, GA
happy to share guys. creating the drawing allowed me to make a version and fit it ... make adjustments and start the process over. i have made 3 of these, and i think it now fits pretty well. i am happy to create drawings for things we can make for our coupes.

i have sent to all those who have requested, so if you didn't get it ... let me know
 

afeustel

Well-Known Member
Site Donor $
Messages
552
Reaction score
177
Location
Houston
Hi Scott. Please send me a drawing template file. Thanks. Drew (pm sent).
 
Top